Verilink 8100A (34-00237) Product Manual User Manual
Page 103
C o n f i g u r a t i o n
4-29
Modify Existing PVC
1
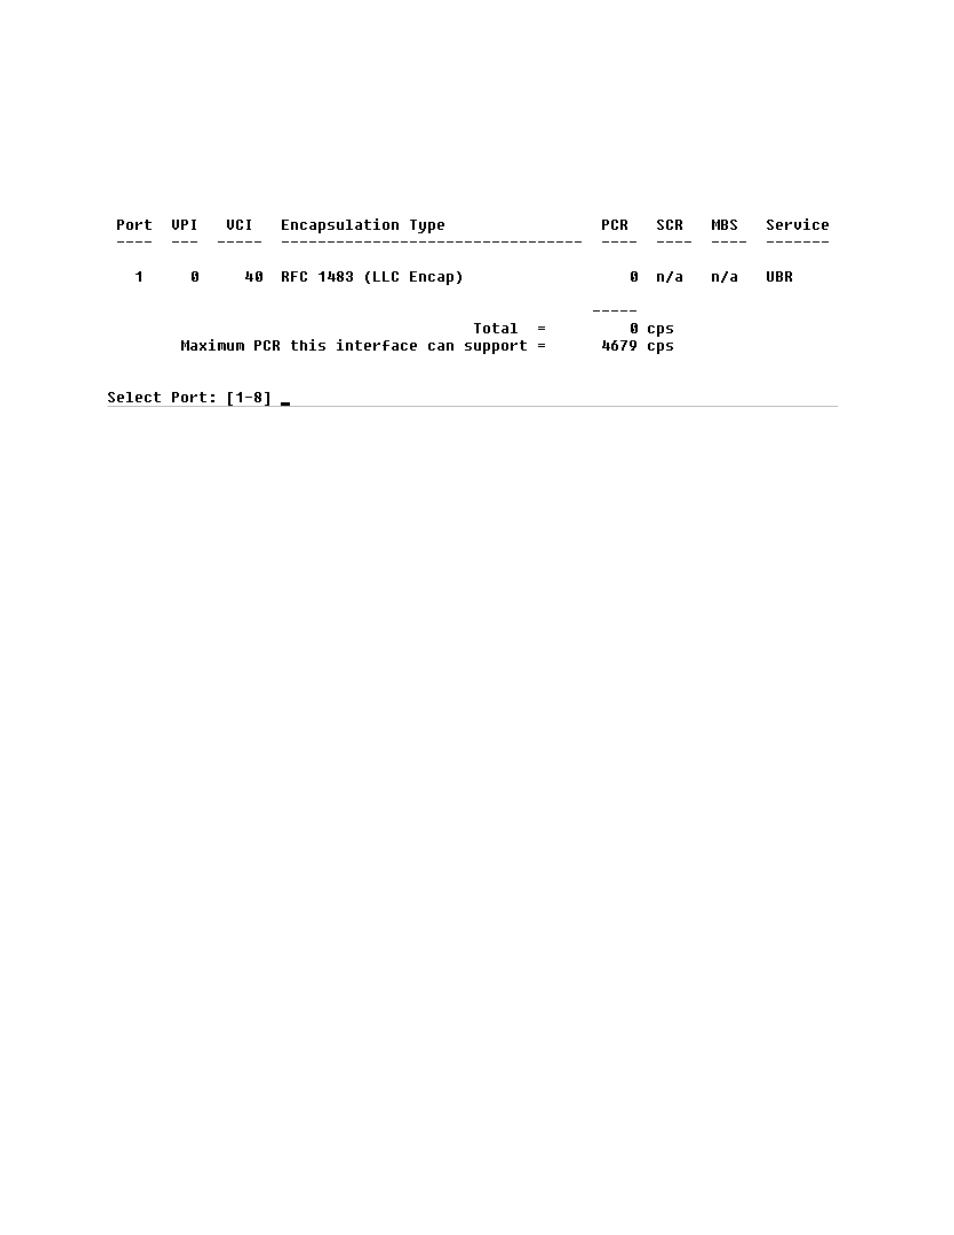
Type “2” on the ATM PVC Configuration menu (Figure 4.36). The IAD
displays the following port table, and prompts you to select the appropriate
port.
2
Type the port number and press Enter.The IAD prompts you to enter the
VPI:
3
Type a VPI value between 0 and 255 (default 0) and press Enter. The IAD
then prompts you to enter the VCI:
4
Type a VCI value between 32 and 65535 (the default is 38 for data and 39
for voice) and press Enter. The IAD displays the ATM Encapsulation
Configuration menu (Figure 4.37).
Select the encapsulation you want to assign to this PVC, and respond to
prompts for other PVC parameters that depend on the chosen encapsulation.
Delete PVC
To delete a PVC, follow the steps below.
1
Type “3” on the ATM PVC Configuration menu (Figure 4.36) to select
Delete PVC. The IAD displays the port list and a prompt.
2
Type the port number to delete and press Enter.
3
To delete the PVC, type “Y”, or cancel the deletion by typing any other
character. The IAD saves the configuration and displays the PVC
Configuration menu where you may continue with other PVC management
tasks.
Show Current PVCs
1
To display a list of current PVCs, type “4” on the ATM PVC
Configuration menu (Figure 4.36) to display the port table with associated
PVCs:
2
When you have finished viewing the list, press any key to return to the
ATM PVC Configuration menu.
- 8108 Series IAD (34-00339.B) Product Manual 8508 Series IAD (34-00339.B) Product Manual 8208 Series IAD (34-00339.B) Product Manual 8308 Series IAD (34-00339.B) Product Manual 7500p Series IAD (34-00334.B) Product Manual 7200p Series IAD (34-00334.B) Product Manual 7000 Series (34-00334) Product Manual