Verilink 8100A (34-00237) Product Manual User Manual
Page 87
C o n f i g u r a t i o n
4-13
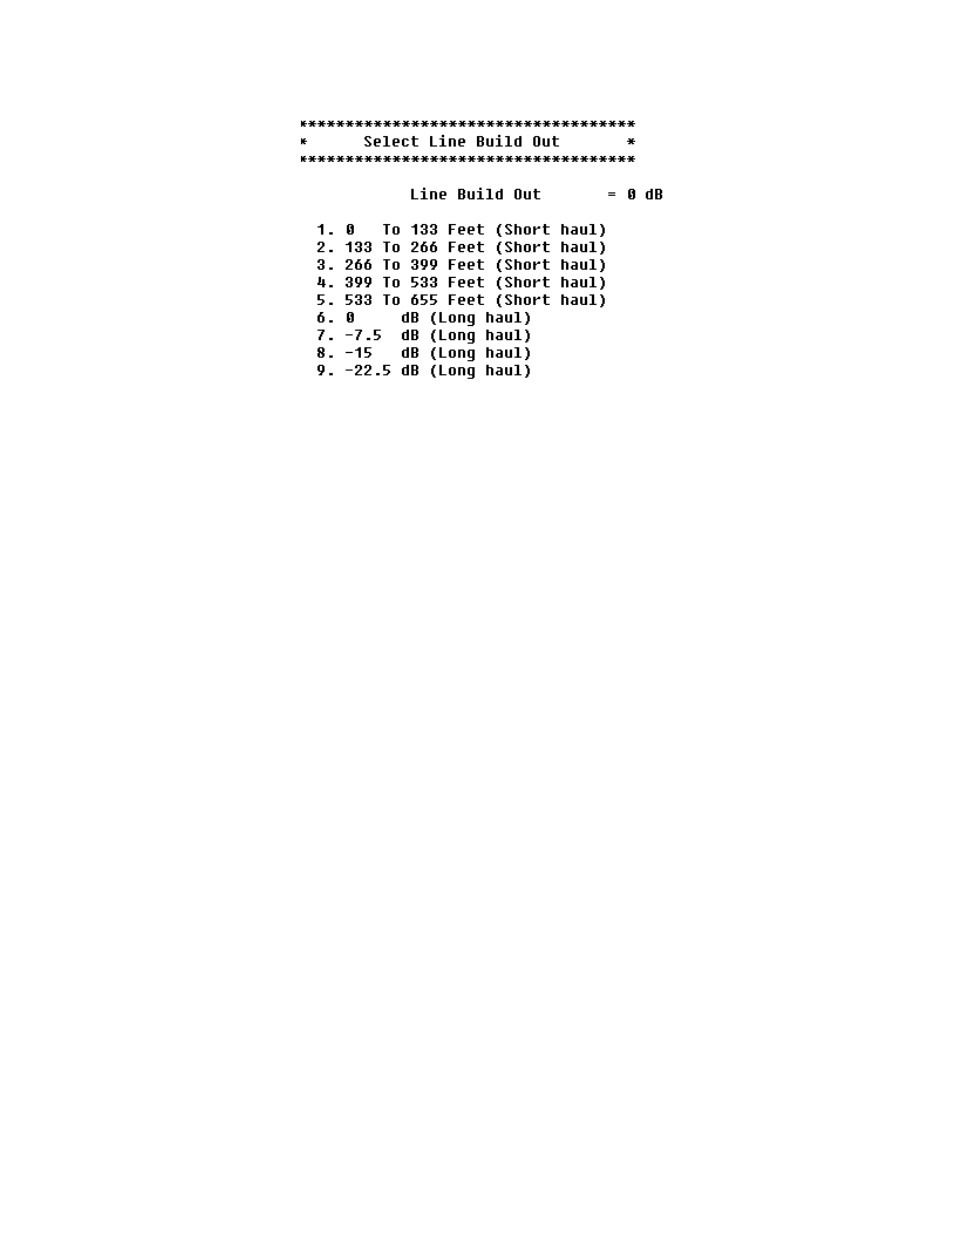
Figure 4.16
Select Line Build Out Menu
2
Type the option to select the line build out that corresponds to the T1 span
length in use. The IAD resets the interface and redisplays the Select Line
Build Out menu.
3
Press Escape to return to the T1 Configuration menu and continue with
other configuration tasks.
Select B8ZS or AMI
To select B8ZS or AMI, follow the steps below.
1
To set zero suppression, type “3” on the T1 Configuration menu (Figure
4.14) to select B8ZS or AMI. The IAD displays the current setting and
prompts you to change it.
2
Type “Y” to change the setting.
3
Press Escape to return to the T1 Configuration menu and continue with
other configuration tasks.
Configure Loopback
To configure loopback, follow the steps below.
1
Type “4” on the T1 Configuration menu (Figure 4.14) to configure
loopback. The IAD displays the current setting for each type of loopback
and ESP loopback commands, and the Loopback Configuration menu.
2
Type the option number “1”, “2”, “3”, “4” or “5” to enable or disable
loopbacks. The IAD makes the change and resets the interface.
3
Type “6” to enable or disable receipt of ESF loopback commands. (This
option is valid only when Framing Mode is set to ESF). The IAD saves the
changes and redisplays the Select Loopback Configuration menu.
4
Type “7” to configure the loopback time-out period.
5
Press Escape to return to the T1 Configuration menu and continue with
other configuration tasks.
Configure Active
Channels
To configure Active Channels, follow the steps below.
- 8108 Series IAD (34-00339.B) Product Manual 8508 Series IAD (34-00339.B) Product Manual 8208 Series IAD (34-00339.B) Product Manual 8308 Series IAD (34-00339.B) Product Manual 7500p Series IAD (34-00334.B) Product Manual 7200p Series IAD (34-00334.B) Product Manual 7000 Series (34-00334) Product Manual