Setting the wan port ip address, Resetting the iad – Verilink 8100A (34-00237) Product Manual User Manual
Page 44
2-8
8 0 0 0 S e r i e s
3
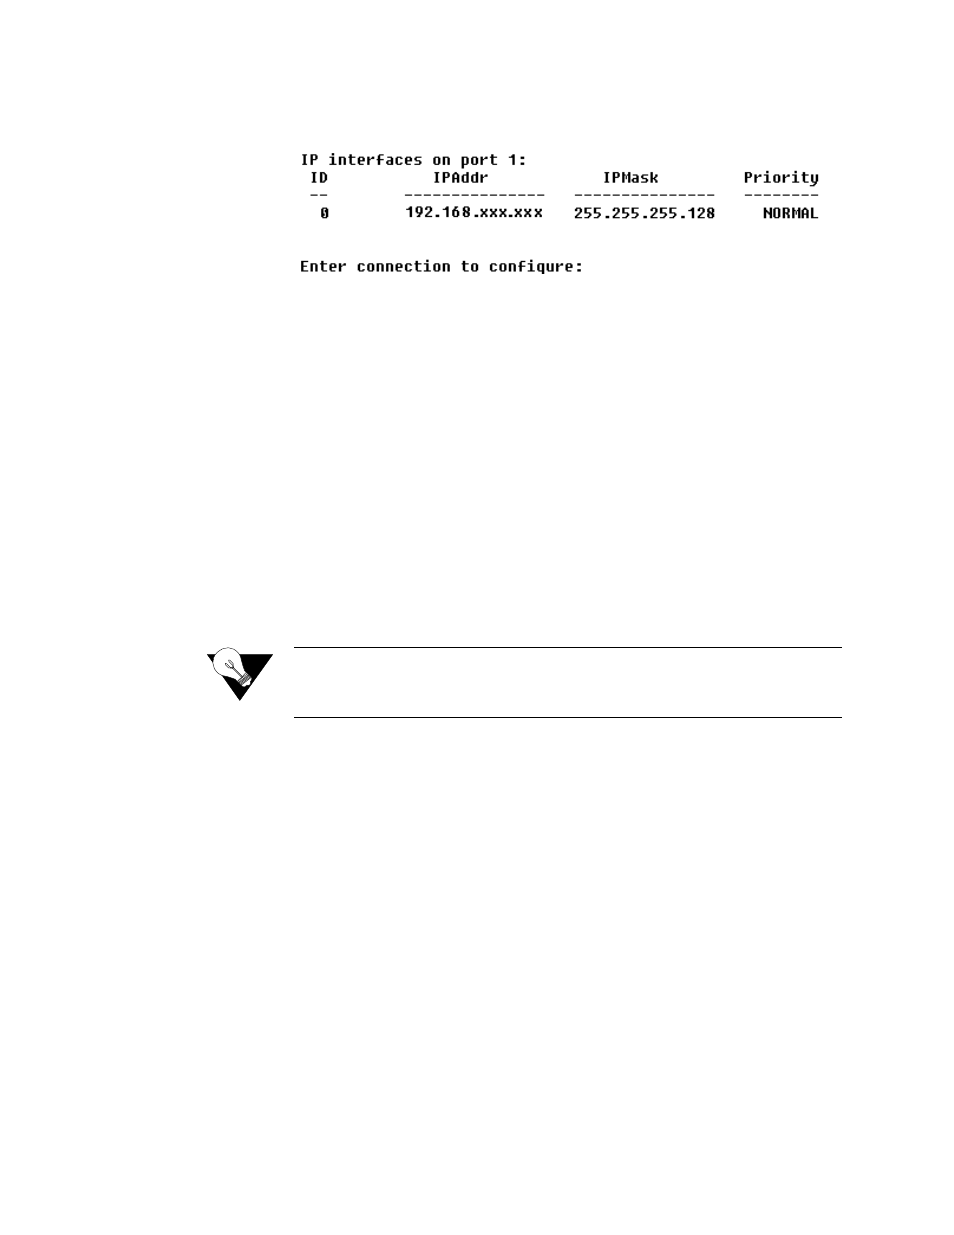
Type “2” to set the IP address for the Ethernet port. If the IP address is
configured for the port, the IAD displays information about the interface
and a prompt such as that shown in the example below:
4
Type the ID number of the connection you want to configure (in this case,
“0”
) and press Enter.
5
Type the new IP address, and press Enter (or press Enter to retain the
current IP address). The IAD displays the Current Subnet Mask and
prompts you for a new one.
6
Type the new Subnet Mask (usually
255.255.255.0
) and press Enter. The
IAD prompts you to select High or Normal priority.
7
To give the interface normal priority, type “N” or press Enter.
8
Type “Y” or Enter to save the new IP address and subnet mask.
9
To exit, press Escape, and then type “Y” to terminate the session.
10
Quit the terminal emulator program.
11
Reset the IAD as described below (“Resetting the IAD”) for the new IP
address to be in effect.
NOTICE:
When you configure the IAD, you must restart the IAD each time you
change the settings for those changes to take effect. You may make
several configuration changes before resetting
.
If you plan to use Telnet for configuration tasks (Connecting via Telnet on
page 2-9), this is a good time to disconnect the serial cable from the PC and
IAD.
Setting the WAN Port IP Address
To set the WAN port IP address, follow the same procedures as those listed in
Setting the Ethernet Port IP Address on page 2-6.
Resetting the IAD
Many configuration tasks require that you reset (or restart) the IAD before the
new settings or configuration will take effect. When you use the menu
interface (or the Command Line Interface - Chapter 6, “Command Line
Interface”) to make changes, or change the physical characteristics of the IAD
(such as the Ethernet port MAC address), you must reset the IAD.
- 8108 Series IAD (34-00339.B) Product Manual 8508 Series IAD (34-00339.B) Product Manual 8208 Series IAD (34-00339.B) Product Manual 8308 Series IAD (34-00339.B) Product Manual 7500p Series IAD (34-00334.B) Product Manual 7200p Series IAD (34-00334.B) Product Manual 7000 Series (34-00334) Product Manual