Configure atm pvcs, Configure atm pvcs -24, Configure – Verilink 8100A (34-00237) Product Manual User Manual
Page 98: Atm pvcs
Advertising
4-24
8 0 0 0 S e r i e s
Figure 4.33
Current Configuration Table
3
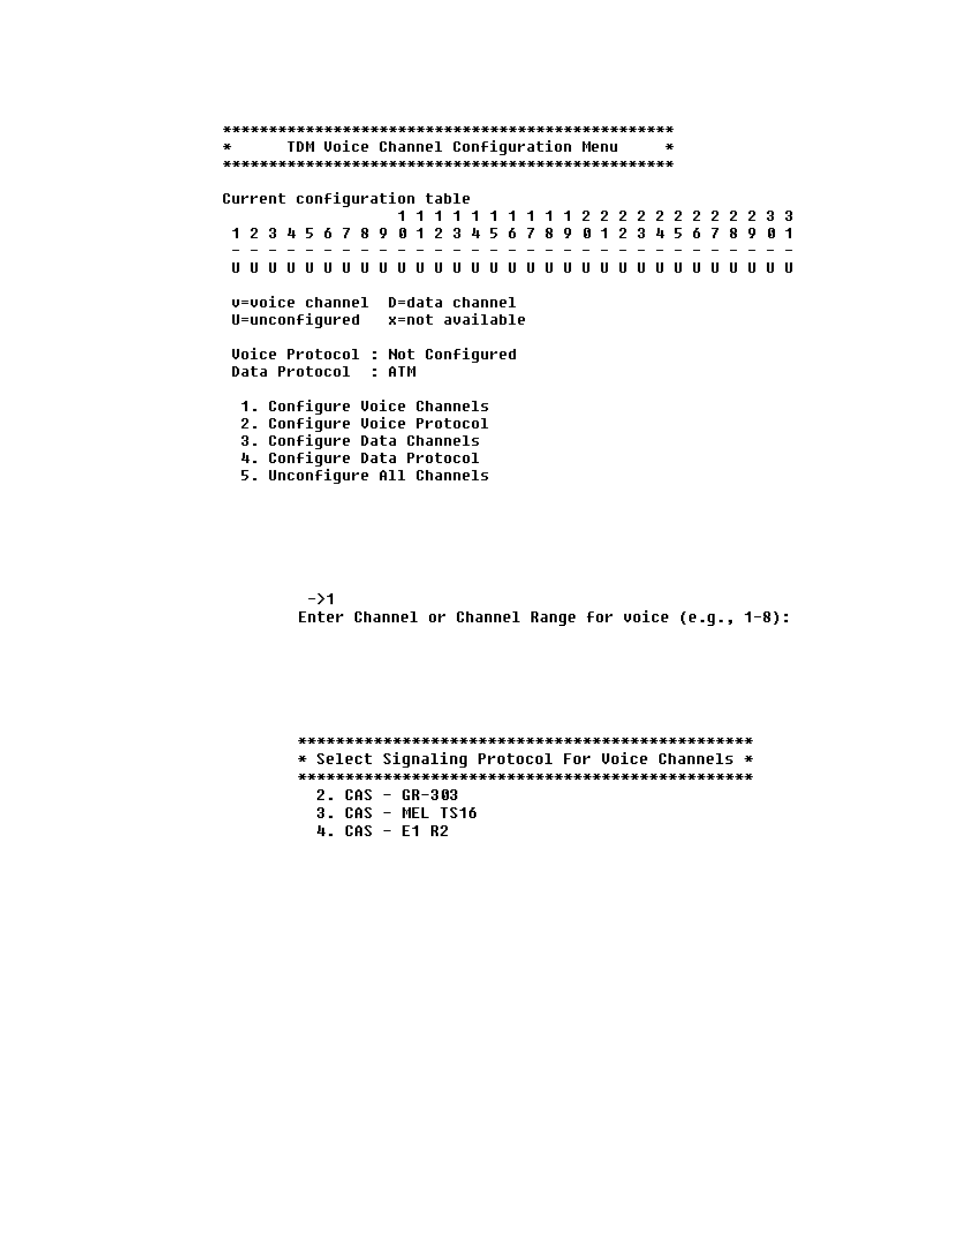
Type “1” to select a channel range for voice as shown in Figure 4.34.
Figure 4.34
Configure Voice Channels
4
Type “2” on the T1/E1 Channel Configuration menu (Figure 4.33) to
select the signaling protocol for voice channels.
Figure 4.35
Select Signaling Protocol for Voice Channels
5
Type “3” on the T1/E1 Channel Configuration menu (Figure 4.33) to
select a channel range for data channels. You will see a screen similar to
that shown in Figure 4.34.
6
Type “4” on the T1/E1 Channel Configuration menu (Figure 4.33) to
select the datalink protocol for the data channels.
Configure
ATM PVCs
You may configure up to eight ATM PVCs on the IAD. Remember always to
reset the IAD to make PVCs active.
Advertising
This manual is related to the following products:
- 8108 Series IAD (34-00339.B) Product Manual 8508 Series IAD (34-00339.B) Product Manual 8208 Series IAD (34-00339.B) Product Manual 8308 Series IAD (34-00339.B) Product Manual 7500p Series IAD (34-00334.B) Product Manual 7200p Series IAD (34-00334.B) Product Manual 7000 Series (34-00334) Product Manual