TA Triumph-Adler DCC 2526 User Manual
Page 241
Section 7 COPIER MANAGEMENT
7-105
6
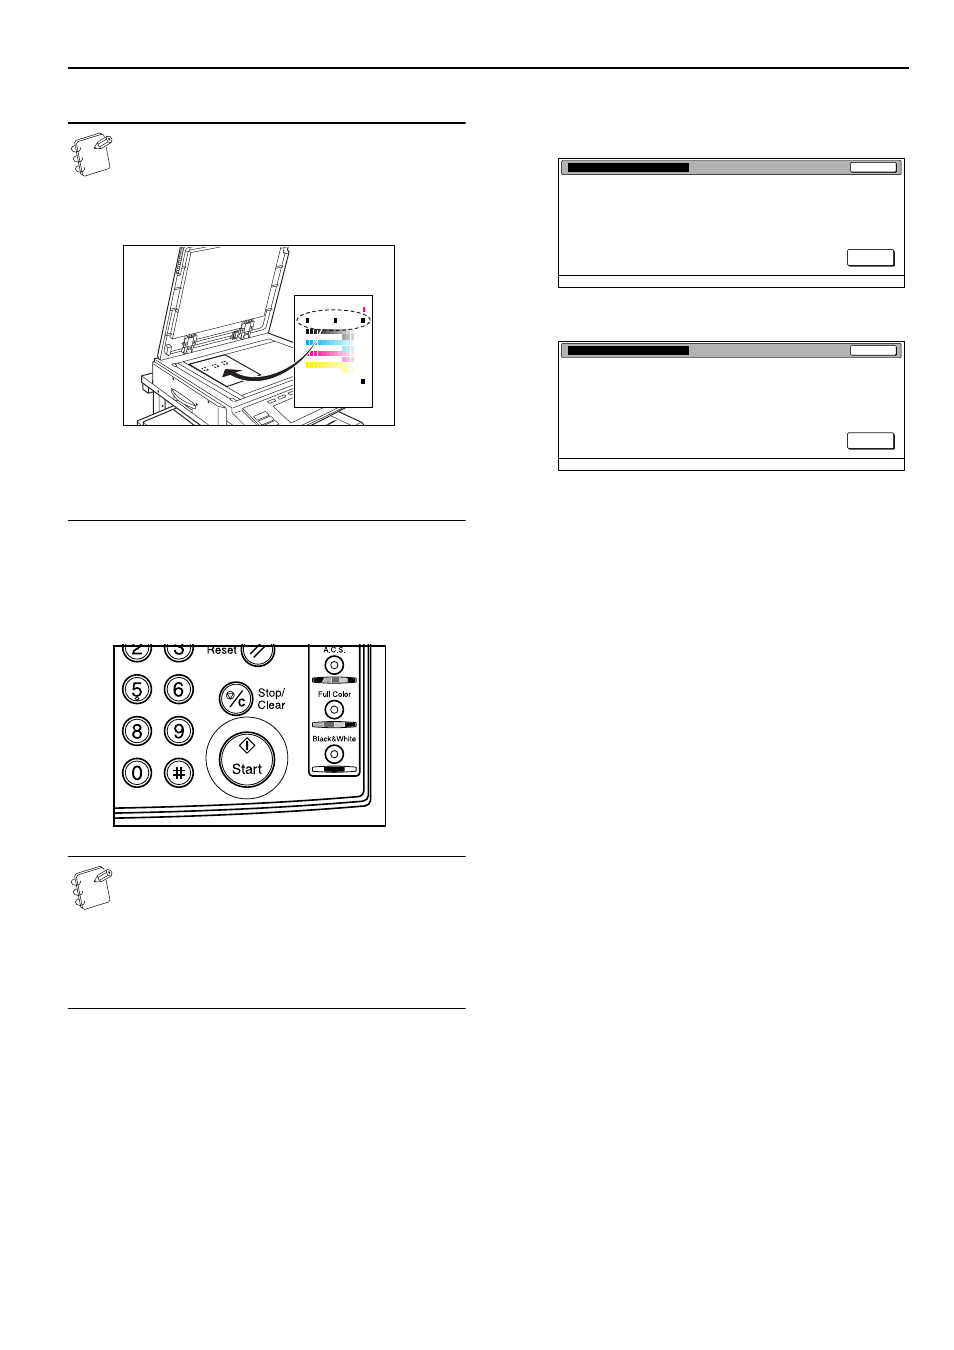
Once that pattern has been printed out, set it on the platen.
NOTES
• Check to make sure that there is on magenta colored
box () in the upper right corner of the color pattern.
• Set the color pattern on the platen so that the 3 squares
are located towards the rear of the platen as shown in
the illustration.
• BE SURE to place the color pattern face-down on the
platen.
• To cancel the auto color adjustment procedure, simply
press the “Cancel” key.
7
Close the original cover.
8
Press the [Start] key.
The color pattern will be scanned and auto color
adjustment performed automatically.
NOTE
There are a total of three color patterns, and the next
color pattern is output after step 8 is complete. Repeat
steps 6 through 8 three times to output all three color
patterns. The number of magenta colored boxes () in the
upper right corner of each color pattern indicates which
one it is (first, second, or third). Be sure that you use the
color patterns in the proper sequence.
9
Once adjustment is completed, the touch panel will return
to the screen in step 5.
Inch specifications
Metric specifications
10
Press the “Close” key.
The touch panel will return to the screen in step 4.
11
Press the “Close” key.
The touch panel will return to the screen in step 2.
Press the “End” key.
The touch panel will return to the contents of the “Basic”
tab.
Close
Default setting - User adjustment
Output 3 color pattern to adjust the image quality
Auto gray adjust
On
Close
Default setting - User adjustment
Auto Grey Adjust
On
Output 3 colour pattern to adjust the image quality