Connecting to a computer for hdmi video and audio – Epson LightScene EV-115 2200-Lumen WXGA Laser 3LCD Projector (Black) User Manual
Page 32
32
3.
Place the open cable clips around the power cord and HDMI cable, but do not lock them.
4.
Slide each cable clip onto the anchors and lock the clips onto the power and HDMI anchors as
shown.
To remove the cable clips, open the clips and disconnect the cables. Then pinch the sides of each cable
clip anchor and carefully pull them out of the cable clip slots.
Parent topic:
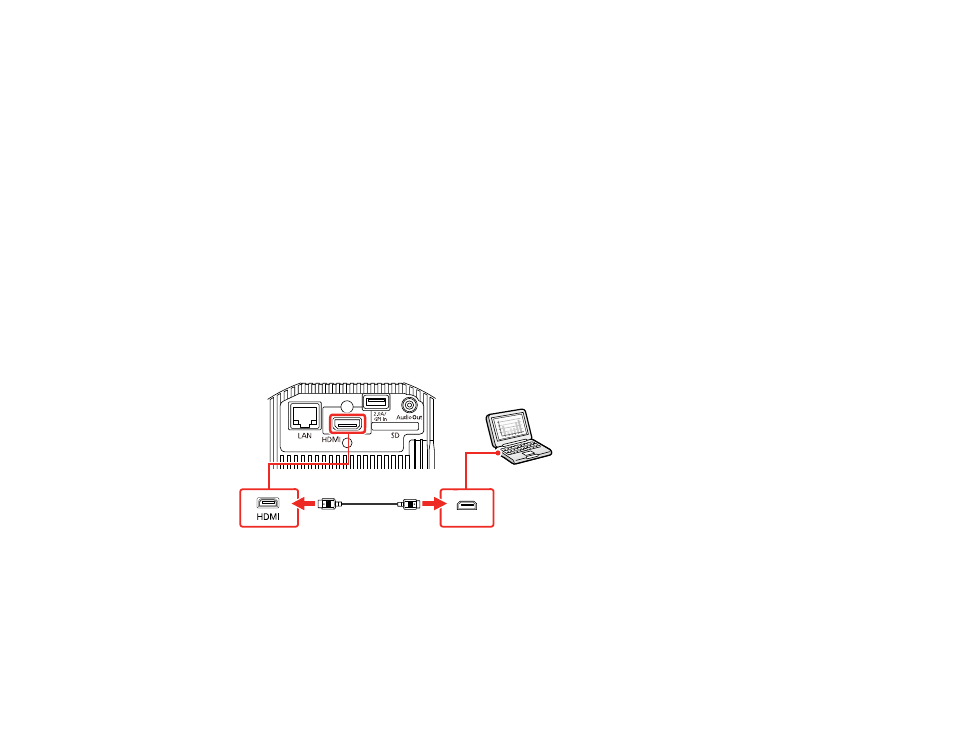
Connecting to a Computer for HDMI Video and Audio
If your computer has an HDMI port, you can connect it to the projector using an optional HDMI cable.
Note:
To connect a Mac that does not include an HDMI video output port, you need to obtain an adapter
that allows you to connect to the HDMI input port on the projector. Contact Apple for compatible adapter
options. To connect a smartphone or tablet, you may need to obtain an adapter that allows you to
connect to the HDMI input port on the projector. This allows you to mirror your smartphone or tablet
screens, watch movies, and more. Contact your device manufacturer for compatible adapter options.
1.
Connect the HDMI cable to your computer's HDMI output port.
2.
Connect the other end to the projector's
HDMI
port.
Note:
The projector converts the digital audio signal sent from your computer into a stereo analog signal
if you are connecting to external speakers. (Make sure the HDMI audio playback device on your
computer's audio settings is set to
EPSON PJ
.)
Parent topic: