Correcting image shape with corner markers – Epson BrightLink 1485Fi 5000-Lumen Pixel-Shift Full HD Ultra-Short Throw 3LCD Interactive Laser Projector User Manual
Page 123
123
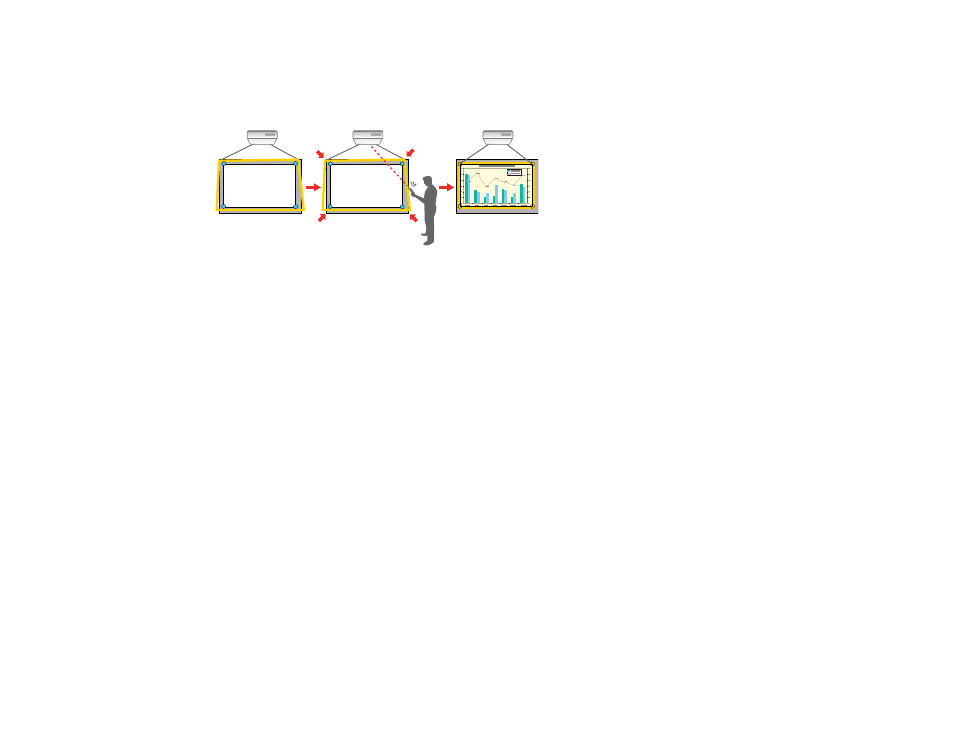
Correcting Image Shape with Corner Markers
If you have installed corner markers on the projection surface, you can use the projector's
Auto Screen
Adjustment
setting to correct the image shape automatically.
Note:
The projected image needs to be 110 inches (279.4 cm) or less diagonally to use the Auto Screen
Adjustment. Make sure the projector is squarely facing the projection surface. Auto Screen Adjustment
may not work if your image surface:
• Is not flat.
• Is patterned.
• Is dirty.
• Has obstructions or objects on the image surface.
Note:
The projector includes 4 magnets and 4 stickers for Auto Screen Adjustment. If your projection
surface is magnetic, attach the stickers to the magnets. If you projection surface isn't magnetic, attach
the stickers directly to the projection surface. If you attach the stickers directly to the surface, they can
only be used once.
Note:
Before performing Auto Screen Adjustment, set the screen type setting. The adjustments reset
when you change the
Screen Type
. You may not be able to correct the image shape correctly when you
shift the image.
1.
Press the
Menu
button.