Epson BrightLink 1485Fi 5000-Lumen Pixel-Shift Full HD Ultra-Short Throw 3LCD Interactive Laser Projector User Manual
Page 176
176
5.
Select the area you want to adjust and press
Enter
.
Note:
The area you selected is displayed in orange. Adjust overlapping areas starting with the
brightest areas first. For example, adjust area 2 to match area 1, then adjust area 3 to match area 2.
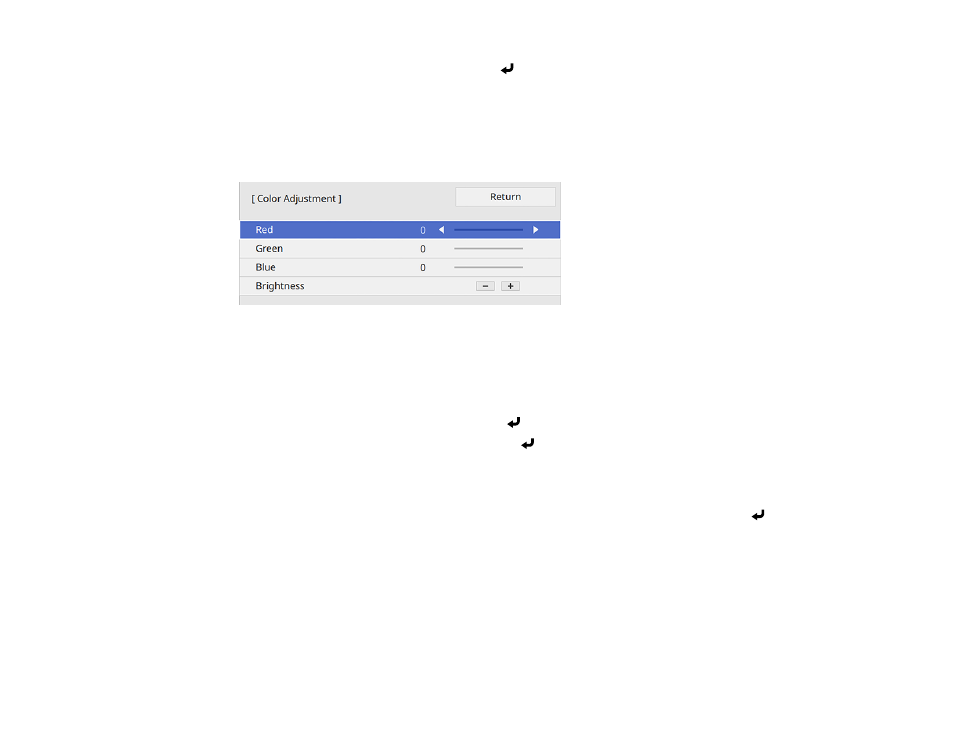
6.
Adjust the brightness and tone of the areas that do not overlap to match the areas that overlap using
the displayed adjustment sliders. Then press the
Esc
button.
7.
Repeat the previous two steps as needed until all areas match.
8.
If the tone of some areas do not match, you can adjust them using the
Area Correction
setting.
Continue with the next step. Otherwise, press the
Menu
button to exit.
9.
Press the
Esc
button to return to the Black Level screen.
10. Select the
Area Correction
setting and press
Enter
.
11. Select the
Start Adjustments
setting and press
Enter
.
You see a screen with boundary lines indicating areas that are overlapping. The boundary lines are
based on the
Top Edge
,
Bottom Edge
,
Right Edge
, and
Left Edge
settings you selected for the
Edge Blending
setting.
12. Use the arrow buttons to select a boundary line of the area you want to adjust and press
Enter
.