Saving received faxes in the inbox – Epson L1455 User Manual
Page 117
Saving Received Faxes in the Inbox
You can set to save received faxes in the printer's inbox. Up to 100 documents can be saved. If you use this feature,
received documents are not automatically printed. You can view them on the printer's LCD screen and print only
when needed.
Note:
Saving 100 documents may not be possible depending on the usage conditions such as the file size of saved documents, and
using of multiple fax saving features at a time.
Setting to Save Received Faxes in the Inbox
1.
Enter Setup from the home screen.
2.
Select System Administration > Fax Settings > Output Settings > Fax Output.
3.
Check the current settings displayed on the screen, and press Settings.
4.
Select Save to Inbox > Yes.
5.
Select the option to use when the inbox is full.
❏ Receive and print faxes: The printer prints all received documents that cannot be saved in the Inbox.
❏ Reject incoming faxes: The printer does not answer incoming fax calls.
Checking the Received Faxes on the LCD Screen
1.
Enter Fax from the home screen.
Note:
When there are received faxes that have not been read, the number of unread documents is displayed on the fax mode
icon on the home screen.
2.
Select Open Inbox.
3.
If the inbox has been password protected, enter the inbox password or the administrator password.
4.
Select the fax to view from the list.
The contents of the fax are displayed.
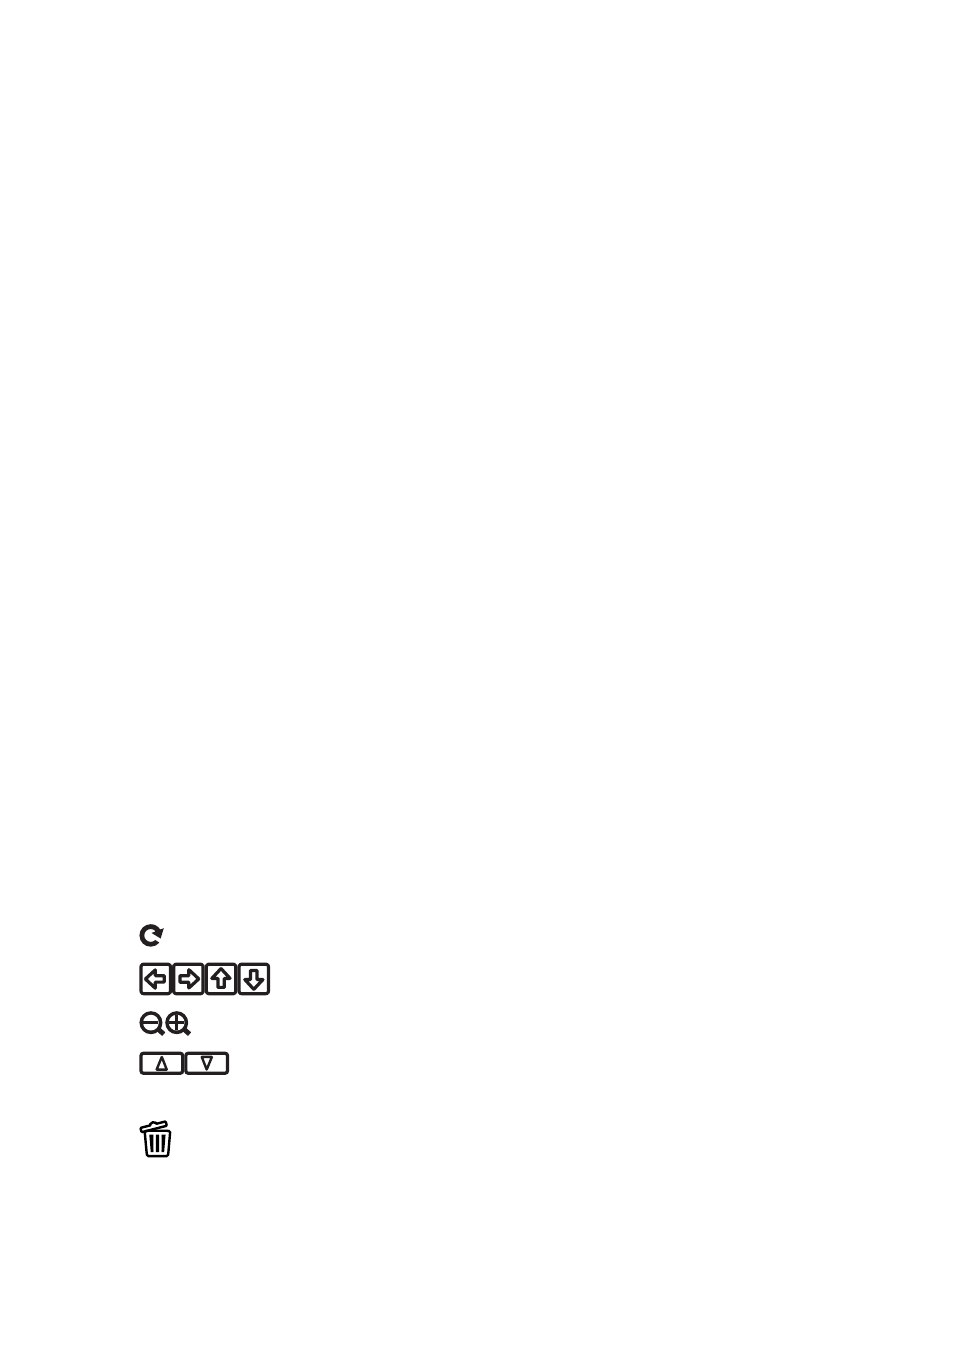
❏
: Rotates the image to the right by 90 degrees.
❏
: Moves the screen in the direction of the arrows.
❏
: Reduces or enlarges.
❏
: Moves to the previous or the next page.
❏ View: Displays or hides the operation icons.
❏
: Deletes the previewed documents.
User's Guide
Faxing
117