Rugged Cams HD Megapixel User Manual
Page 84
84
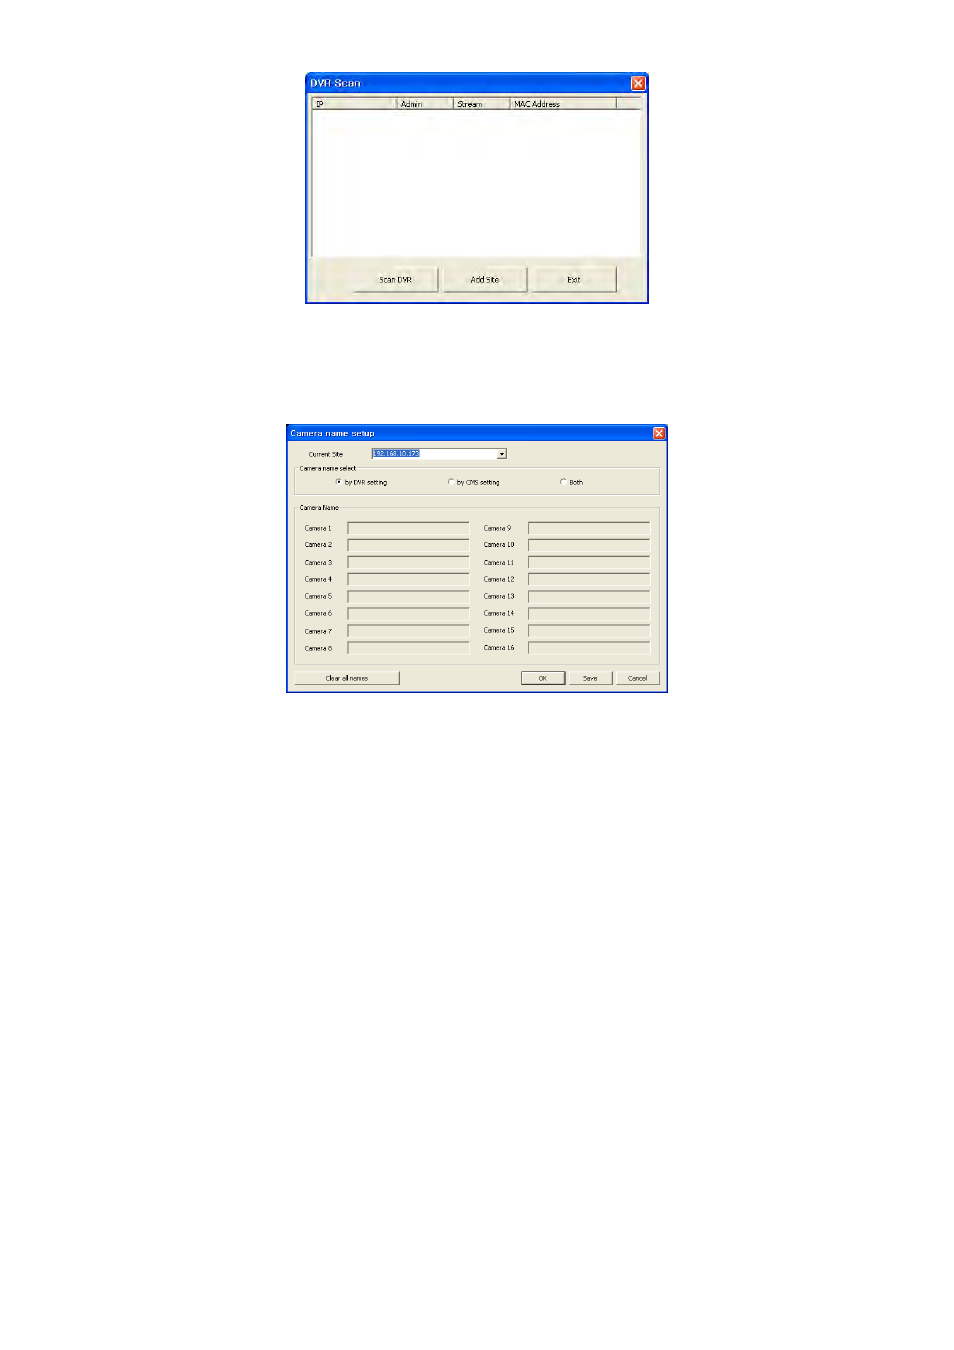
- Click “Scan DVR” button then IP address of DVR will be listed which is currently connected with PC in the network.
- Select the IP address and click “Add site” then the connected DVR is automatically registered in the CMS.
Camera Name
- It helps to set the camera name in CMS program other than DVR camera name.
- Click “Camera Name” then the following will appear.
- Select one site by clicking “Current Site”.
- Choose camera name between DVR and CMS setting or both.
By DVR setting : Display camera name of DVR.
By CMS setting : Display Camera name of CMS.
Both : Display both as [DVR name]-[CMS name].
- Type the name of each cameras in “Camera Name” item. It is not available when select displaying DVR name only.
- It is possible to erase all names by clicking “Clear all names”.
- Click “Save” to save the setting.
- Save and close the setting panel by clicking “OK”.
- Exit without saving by clicking “Cancel”.
Remote Site Login Setup: Input ID and Password.
- Please do not input ID and Password if wish a popup window for logon ID and password to appear at the time of
connection to CMS.
- Please input ID and Password if wish to connect directly to CMS without ID and password verification.
- ID and Password should be coincident with those of DVR. If Password for DVR has not been set up, enter ID only (check
with DVR: SETUP>SYSTEM>Account>User in DVR).
- Transfer Camera Select enables user to set the kind of channel(s) that show during the initial connection.
Add Site: Click this button to add DVR site. User may be able to register up to 256 DVR site.
Delete Site: use this button to delete the already registered DVR site(s).
E-map Setup: Use this to upload saved E-map image file (see 10.2 E-map).
Popup Display: Setup for beep and popup displays when event input.
Beep: Beep when event occur.
Covert On: Tick the box off, then it shows the covert screen.
Please choose ‘OK’ to confirm the setting.