Auto correction of brightness and contrast, Ting optimizer (p.189, 3auto correction of brightness and contrast – Canon EOS-1D X Mark II DSLR Camera (Body Only) User Manual
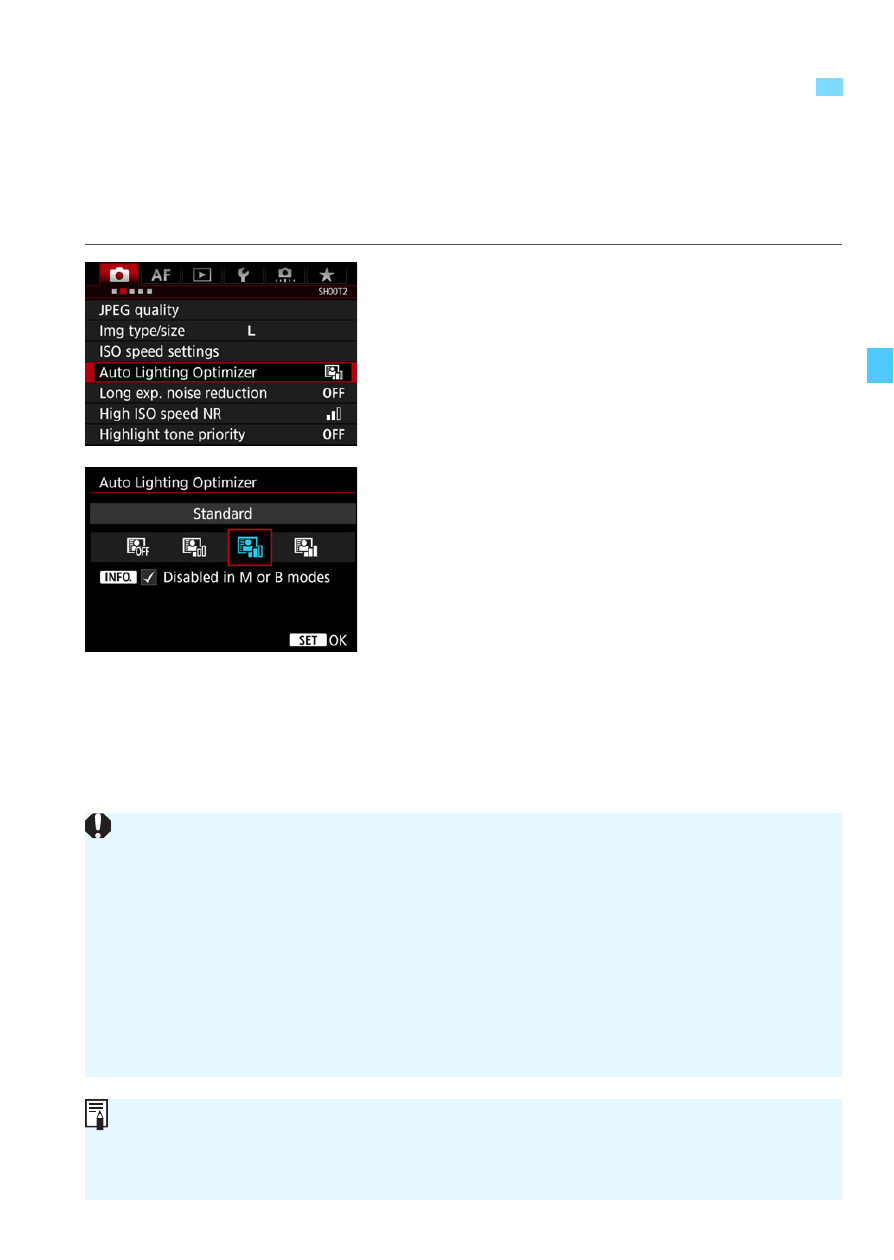
Page 189: Select [auto lighting optimizer, Select the setting, Take the picture
189
If the image comes out dark or the contrast is low, the brightness and
contrast can be corrected automatically. This function is called Auto
Lighting Optimizer. The default setting is [
Standard
]. With JPEG
images, the correction is applied when the image is captured.
1
Select [Auto Lighting Optimizer].
Under the [
z
2
] tab, select [
Auto
Lighting Optimizer
], then press
<
0
>.
2
Select the setting.
Select the desired setting, then press
<
0
>.
3
Take the picture.
The image will be recorded with the
brightness and contrast corrected if
necessary.
3
Auto Correction of Brightness and Contrast
Depending on the shooting conditions, noise may increase.
If the effect of Auto Lighting Optimizer is too strong and the image is too
bright, set [
Low
] or [
Disable
].
If a setting other than [
Disable
] is set and you use exposure
compensation or flash exposure compensation to darken the exposure,
the image may still come out bright. If you want a darker exposure, set
this function to [
Disable
].
When you set multiple exposures (p.248) or highlight tone priority
(p.193), [
Auto Lighting Optimizer
] will be automatically set to [
Disable
].
In step 2, if you press the <
B
> button and remove the [
X
] mark for
[
Disabled in M or B modes
] setting, the [
Auto Lighting Optimizer
] can be
set even in the <
a
> and <
bulb
> modes.