Canon EOS-1D X Mark II DSLR Camera (Body Only) User Manual
Page 195
195
3
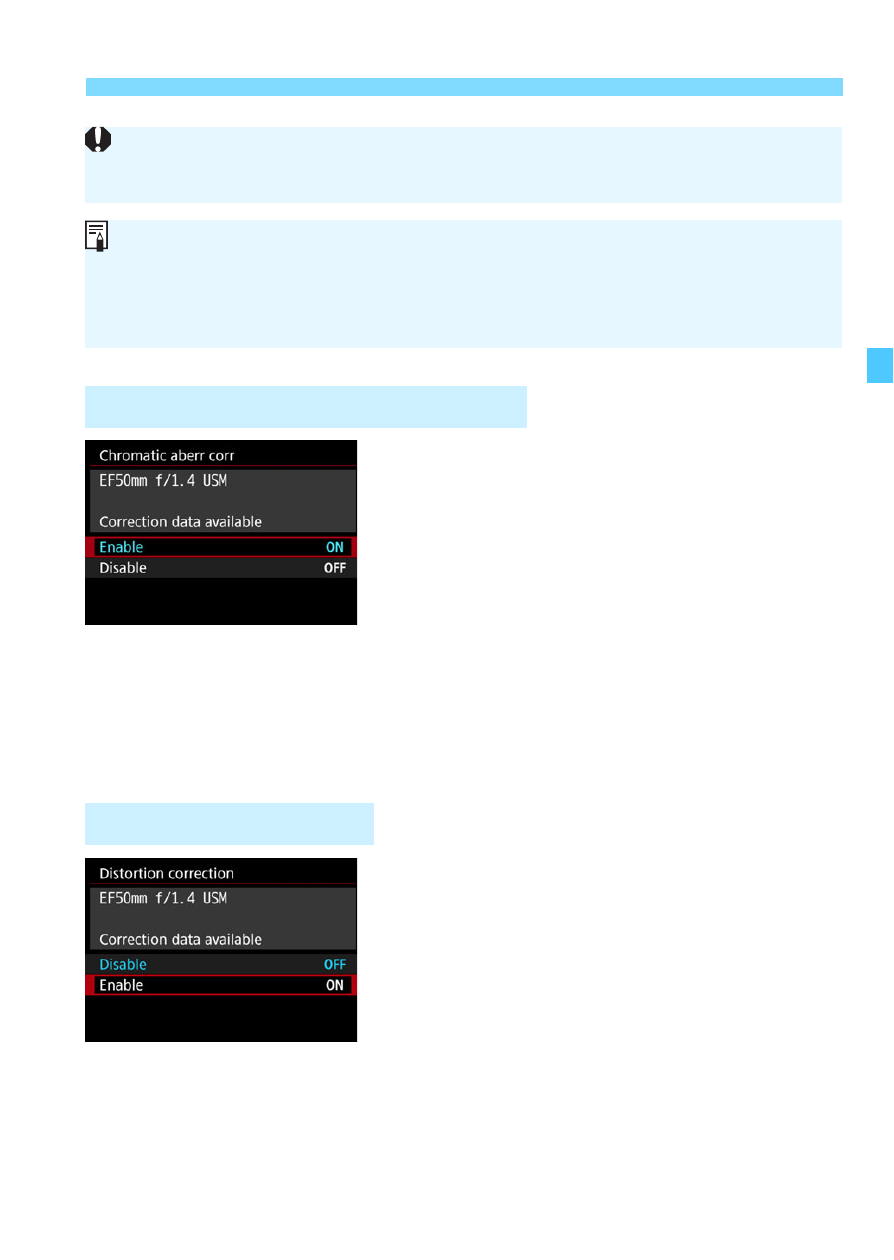
Correction of Lens Aberrations
1
Select [Chromatic aberr corr].
2
Select [Enable].
Check that [
Correction data
available
] is displayed for the
attached lens.
Select [
Enable
], then press <
0
>.
3
Take the picture.
The image will be recorded with the
chromatic aberration corrected.
1
Select [Distortion correction].
2
Select [Enable].
Check that [
Correction data
available
] is displayed for the
attached lens.
Select [
Enable
], then press <
0
>.
3
Take the picture.
The image will be recorded with the
distortion corrected.
Chromatic Aberration Correction
Depending on shooting conditions, noise may appear on the image
periphery.
The correction amount applied will be lower than the maximum
correction amount that can be applied with Digital Photo Professional
(EOS software, p.552).
The higher the ISO speed, the lower the correction amount will be.
Distortion Correction