Ready to register document(s), Select function, Metric specifications – TA Triumph-Adler DC 2075 User Manual
Page 121
Section 6 DOCUMENT AND OUTPUT MANAGEMENT FUNCTIONS
6-5
4
Touch the “Change name” key and then enter a name for the
documents.
If you do not want to register a name for the documents, go
directly to the next step.
Inch specifications
Ready to register document(s).
Document registration
Cancel
Job
Auto
1 sided
Auto size
100%
Shared Data Box
Job006
Basic
Change
name
Quality
Edit
Back Edge
Reduce
/Enlarge
Original
type
Select
orig. size
Select
regi. size
Orig. set
direction
Place originals then press Start key.
25/10/'01 19:20
Original
Register
11x8
1
/
2
"
8
1
/
2
x11"
Metric specifications
Ready to register document(s).
Job cancel
Job
1-sided
100%
Shared Data Box
Job001
Basic
Quality
Edit
Back Edge
Reduce/
Enlarge
Original
type
Orig. set
direction
Set original. Press Start key.
Original
A4
A4
Register
Form registration
25/10/'01 19:20
Auto
Auto size
Select
size orig.
Select
regi. size
Change
name
NOTE
Refer to “Entering characters” on page 7-79 for information on
entering characters.
5
Touch the “Select orig. size” [“Select size orig.”] key, the
“Select regi. size” key, the “Original type” key, the “Reduce/
Enlarge” key and/or the “Orig.set direction” key, if you want to
perform the corresponding settings.
If you want to access the “Scanning density” key and/or the
“Orig.image quality” [“Image quality”] key to make those
settings, touch the “Quality” key.
If you want to set access the “Border Erase” [“Erase Mode”]
key and/or the “Continuous scanning” [“Multiple scanning”]
key to make those settings, touch the “Edit” key.
6
Press the [Start] key. Scanning of the documents will start.
Once all of the documents have been completely scanned,
the touch panel will return to the screen in step 3.
If you want to register another document, repeat steps 3
through 6.
7
Touch the “End” key. The touch panel will return to the
contents of the “Basic” tab.
2 Printing out stored documents
Perform the following procedure when you want to print out
documents that are stored in a shared data box.
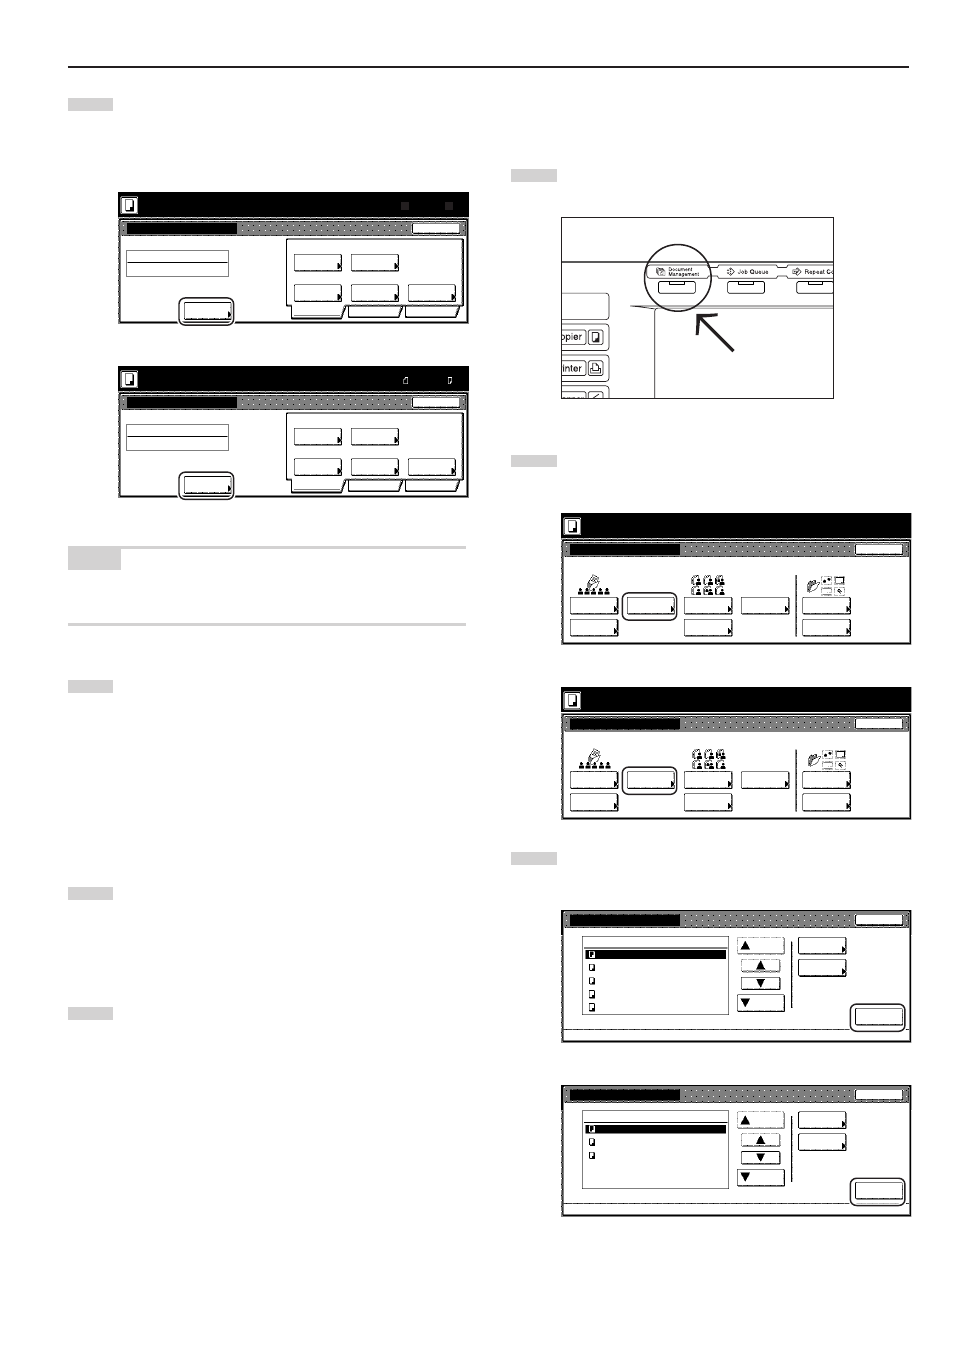
1
Press the [Document Management] key. The “Document
Management” screen will be displayed.
2
Touch the “Document printing” key under “Shared Data Box”.
The “Document printing” screen will be displayed.
Inch specifications
Select function.
Document Management
End
Shared Data Box
Synergy Print Box
Form box
Document
reg.
Document
printing
Document
reg.
Document
printing
Form
reg.
Box
Editing
Box
Editing
Box
Editing
25/10/'01 19:20
Metric specifications
Select function.
Document Management
25/10/'01 19:20
End
Shared Data Box
Synergy Print Box
Form box
Document
registr.
Document
printing
Document
printing
Document
registr.
Form
registr.
Box
Editing
Box
Editing
Box
Editing
3
Select the documents to be printed out and then touch the
“Finish selecting” key.
Inch specifications
Document printing
Up
Finish
selecting
Cancel
Document Management - Shared Data Box
Down
Order of
indication
Conf/Crrt.
details
001/010
Job 005
Job 004
Job 003
Job 002
Job 001
1
1
1
1
1
25/10/01
25/10/01
25/10/01
25/10/01
25/10/01
Document data box
Metric specifications
Document printing
Up
Finish
Selecting
Job cancel
Document Management - Shared Data Box
Down
Order of
indication
1
1
1
001/003
Document data box
JOB003
JOB002
JOB001
Check/Rev.
details
25/10/01
25/10/01
25/10/01