Ready to copy – TA Triumph-Adler DC 2075 User Manual
Page 222
Section 8 OPTIONAL EQUIPMENT
8-2
2
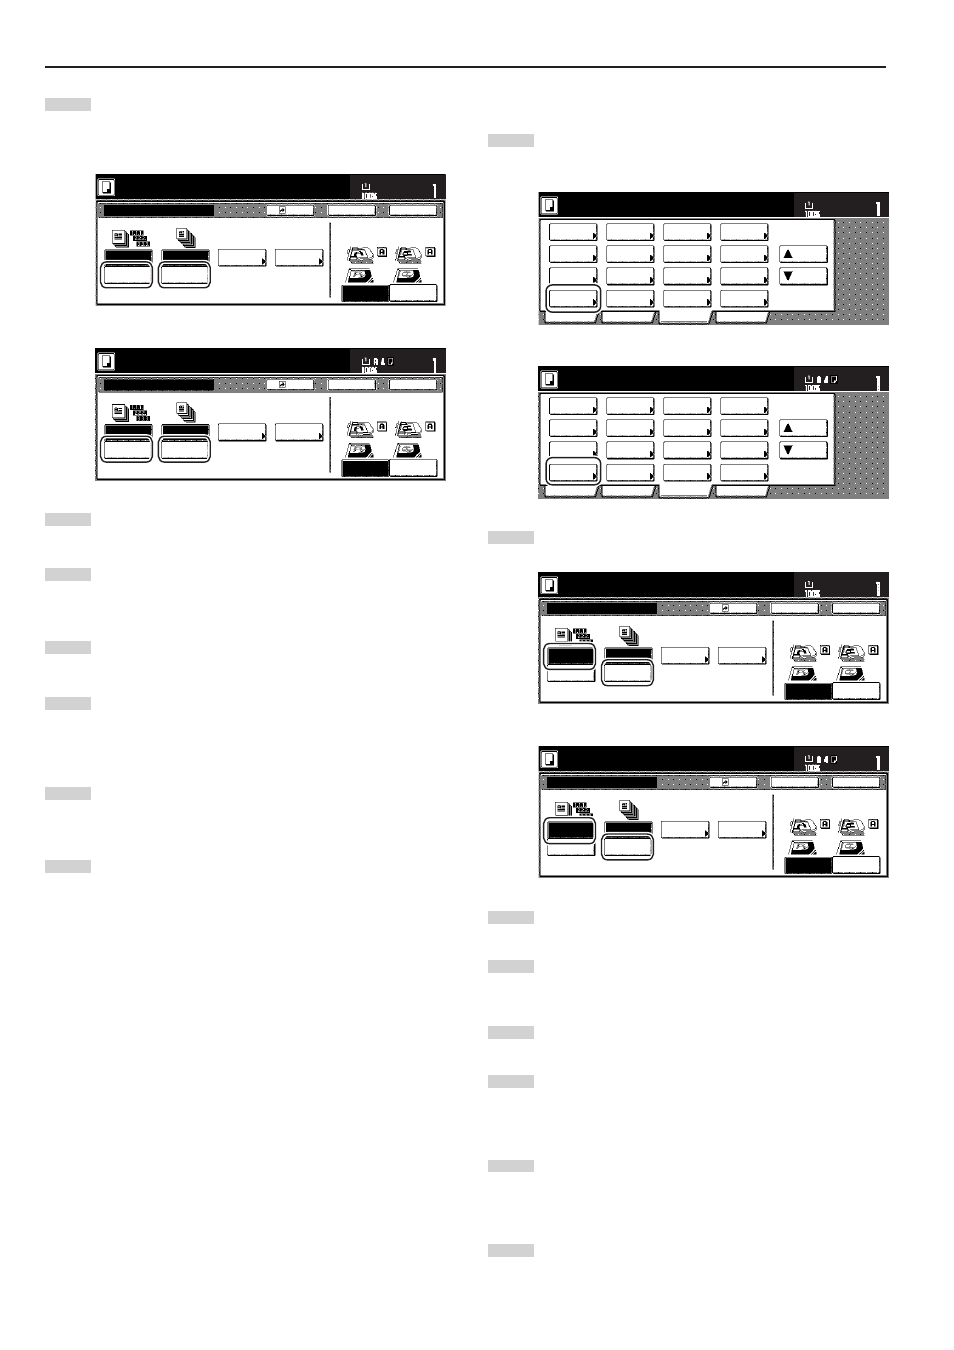
Touch the “Sort:ON” key.
(Only for metric specification copiers produced)
The “Output each page” key will change to the “1 set” key.
Inch specifications
Sort:OFF
Off
On
Sort:ON
O f f s e t
S o r t
S t a p l e
Staple
mode
P u n c h
Punch
mode
Back
Register
Close
Sort/Finished
Ready to copy.
Rear
Left top
corner
Check direction
Check direction of
original top side.
Set
Paper size
11x8
1
/
2
"
Metric specifications
Sort:Off
None
Output
each page
Sort:On
G r o u p
S o r t
S t a p l e
Staple
Mode
P u n c h
Punch
Mode
Back
Register
Close
Sort/Finished
Ready to copy.
Back Edge
Left top
corner
Check direction
Check direction of
original.
Set
Paper size
3
Touch the “On” [“1 set”] key.
4
Touch the “Close” key. The touch panel will return to the
screen in step 1.
5
Set the originals to be copied.
6
Press the [Start] key.
Scanning of the originals will start and the number of
originals that was set will be displayed.
7
Copying will start and each of the finished copy sets will be
stacked separately by shifting their position of ejection.
8
Once copying is completed, removed the finished copy sets
from the Finisher.
2 Copying in the Group mode
1
Touch the “Function” tab and then touch the “Sort/Finished”
key. The “Sort/Finished” screen will be displayed.
Inch specifications
2 sided/
Separation
Select
paper
Combine
Reduce
/Enlarge
Margin/
Centering
Forms
Overlay
Page #
Function
Basic
User choice
Program
Cover
Mode
Booklet
Sort/
Finished
Border
Erase
Exposure
mode
Orig.image
quality
Ready to copy.
Select
orig. size
Auto
Selection
Batch
scanning
Up
Down
Set
Paper size
11x8
1
/
2
"
Metric specifications
Select
paper
2-sided/
Split
Merge copy
Reduce/
Enlarge
Margin/
Imag. shift
Page
numbering
Function
Basic
User choice
Program
Cover
Mode
Booklet
Erase
Mode
Exposure
mode
Image
quality
Sort/
Finished
Ready to copy.
Select
size orig.
Auto
selection
Large # of
originals
Form
overlay
Up
Down
Set
Paper size
2
Touch the “Sort:OFF” key.
Inch specifications
Sort:OFF
Off
On
Sort:ON
O f f s e t
S o r t
S t a p l e
Staple
mode
P u n c h
Punch
mode
Back
Register
Close
Sort/Finished
Ready to copy.
Rear
Left top
corner
Check direction
Check direction of
original top side.
Set
Paper size
11x8
1
/
2
"
Metric specifications
Sort:Off
None
Output
each page
Sort:On
G r o u p
S o r t
S t a p l e
Staple
Mode
P u n c h
Punch
Mode
Back
Register
Close
Sort/Finished
Ready to copy.
Back Edge
Left top
corner
Check direction
Check direction of
original.
Set
Paper size
3
Touch the “On” [“Output each page”] key.
4
Touch the “Close” key. The touch panel will return to the
screen in step 1.
5
Set the originals to be copied.
6
Press the [Start] key.
Scanning of the originals will start and the number of
originals that was set will be displayed.
7
Copying will start and each set of copies made from each
original will be stacked separately by shifting their position of
ejection.
8
Once copying is completed, removed the finished copy sets
from the Finisher.