Adding narration to your movie - guided edit – Adobe Premiere Elements 12 User Manual
Page 236
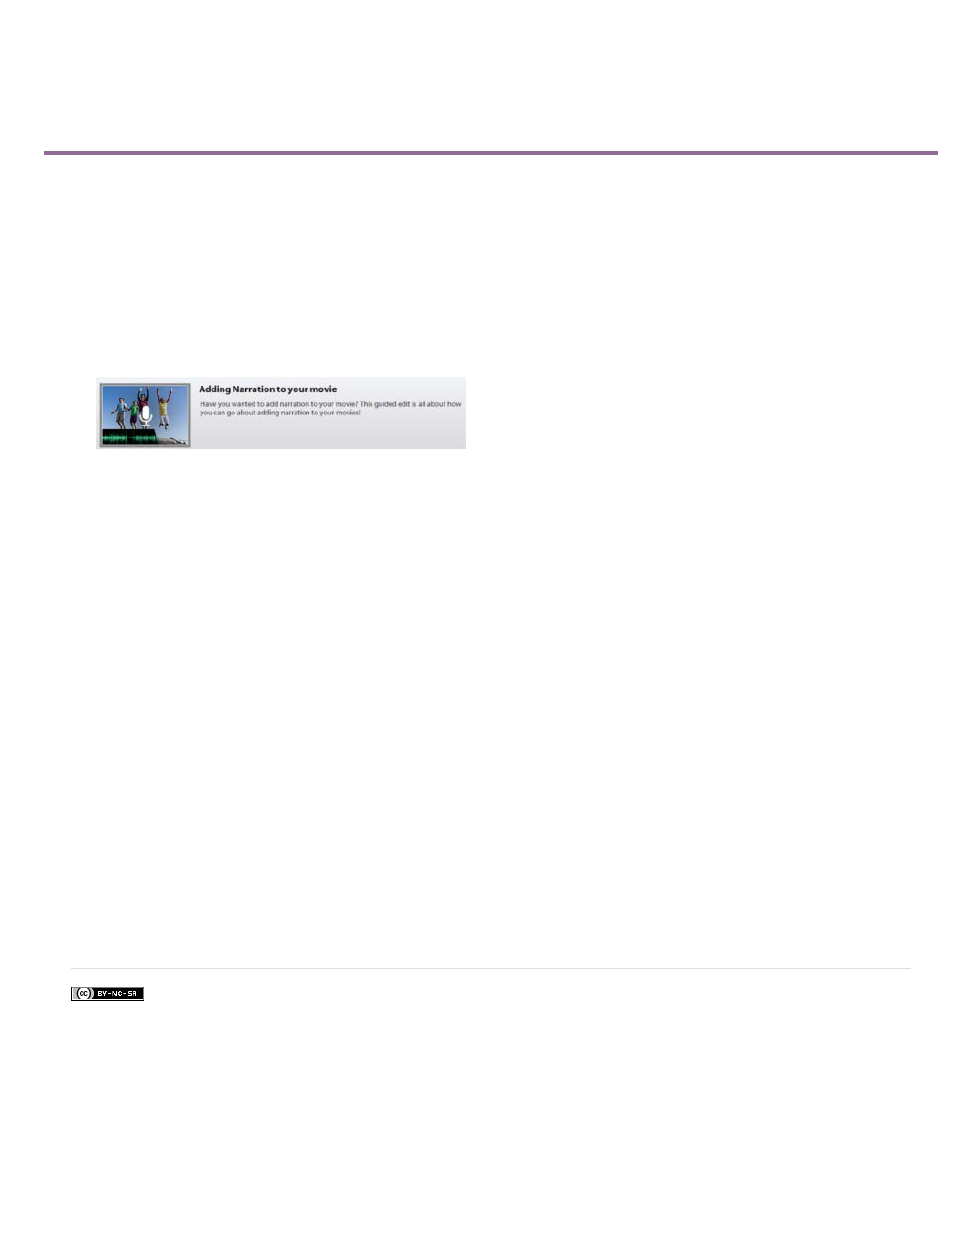
Adding Narration to your movie - Guided Edit
Facebook posts are not covered under the terms of Creative Commons.
Video footages or pictures in a video clip convey a story or idea. But, adding narration or voiceovers add a personal touch or amplify the story-
telling potential of the video clip. Describing a certain section of the video entices the viewer. Therefore, narrations add a powerful impact
especially for documentary movies or biographies. Adding narrations to your video clips has been simplified in Adobe Premiere Elements by a
guided edit.
This Guided Edit is a tutorial on adding narration to your video clip. To add narration to your video clips using this Guided edit, follow these steps:
1. This Guided Edit is a walkthrough on adding narration to your video clips.
Click Back and Next to move forward or backward in the guided edit's steps.
Adding Narration - Guided Edit
2. Click Add media to import the video clip you add scores to. Ignore if the video clip is already present on the timeline.
3. Select the option to import media.
4. Select Guided > Adding Narration to your movie
5. Attach a microphone (input source) to add narration to your movie, click next.
6. Select the Default Device.
In the Audio Hardware section of preferences, click ASIO Settings. Select the input tab and choose your input device.
7. To add narration to your movie, move the CTI to the point where you want the narration to begin. Open the Tools panel from the action bar.
Choose Narration.
8. Press Record to start the recording. Adjust the Mic Sensitivity by moving the slider. Press Stop to stop recording. Click Done to finish adding
narration.
232