Capturing or adding various aspect ratios, View a project’s aspect ratio – Adobe Premiere Elements 12 User Manual
Page 60
Note:
If you display rectangular pixels on a square-pixel monitor, images appear distorted, for example, circles distort into ovals. However, when
displayed on a broadcast monitor, the images appear correctly proportioned because broadcast monitors use rectangular pixels. Premiere
Elements exports clips of various pixel aspect ratios without distortion. It automatically adjusts the pixel aspect ratio of your project to the pixel
aspect ratio of the clips. You can encounter a distorted clip if Premiere Elements interprets pixel aspect ratio incorrectly. Correct the distortion by
manually by specifying the source clip’s pixel aspect ratio.
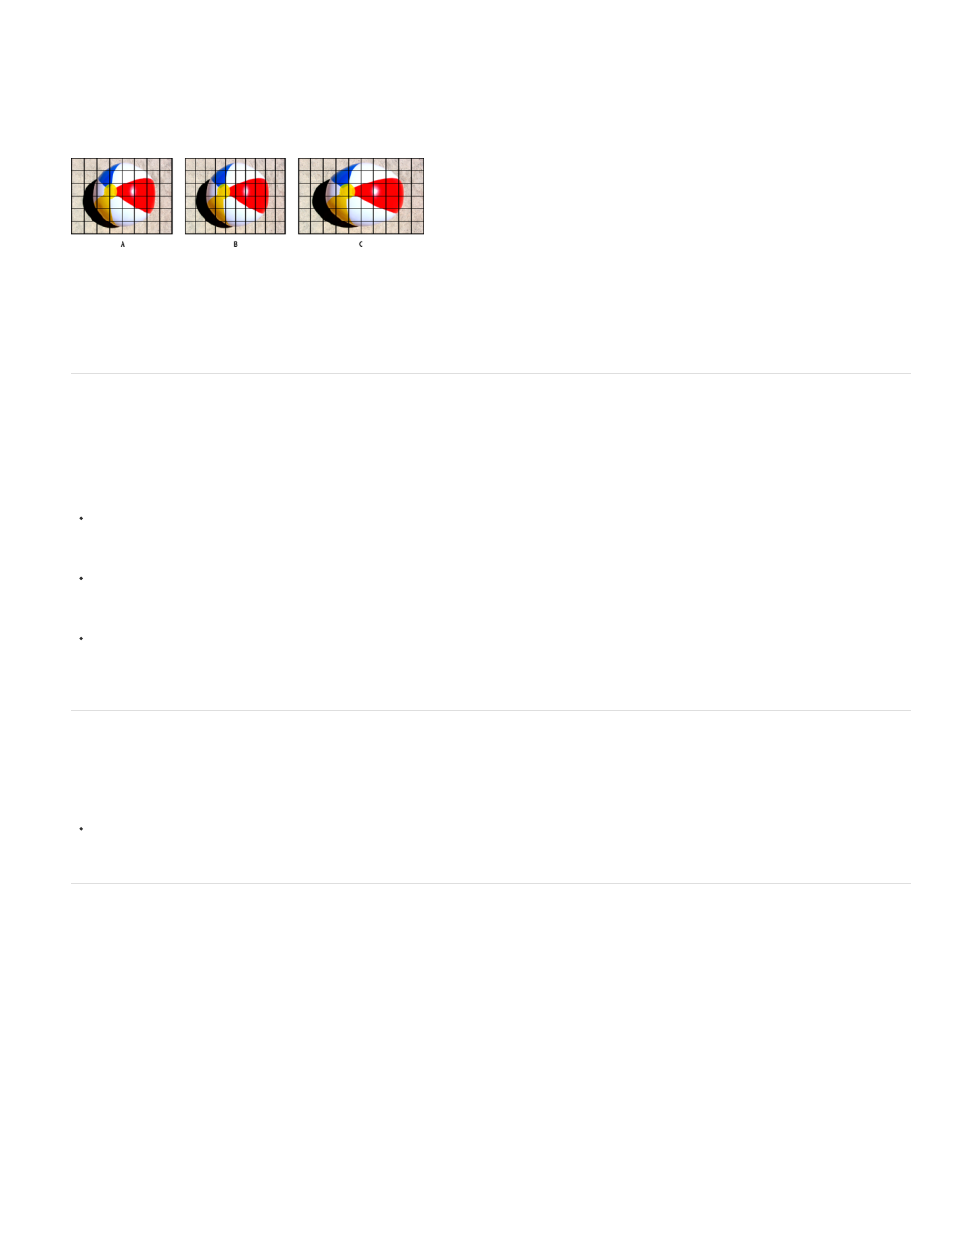
Pixel and frame aspect ratios
A. Square pixels and 4:3 frame aspect ratio B. Nonsquare pixels and 4:3 frame aspect ratio C. Nonsquare pixels displayed uncorrected on a
square-pixel monitor
Capturing or adding various aspect ratios
Premiere Elements attempts to automatically compensate for pixel aspect ratios and preserve the frame size of added images. Images that you
add are treated in the following ways:
Add video with D1 resolution 720 x 486 or DV resolution 720 x 480. Premiere Elements automatically sets the video’s pixel aspect ratio to
D1/DV NTSC (0.9). For a footage with D1 or DV resolution 720 x 576, Premiere Elements sets its pixel aspect ratio to D1/DV PAL (1.067).
However, it helps to see the Project Assets panel or the Interpret Footage dialog box to ensure that all files are interpreted correctly.
Premiere Elements automatically assigns pixel aspect ratios to files by using the Interpretation Rules.txt file in the Premiere Elements/Plug-in
folder. If a specific type of image is consistently misinterpreted (distorted), modify the entries in the Interpretation Rules.txt file. If you want to
override the pixel aspect ratio interpretation for files already in a project, use the Interpret Footage command.
To change the size of a clip in Premiere Elements, select the clip and change the Scale property of the Motion effect. The Motion effect is
available in the Properties view with the clip selected in the Expert view timeline.
View a project’s aspect ratio
The preset you choose when you start a project sets the pixel aspect ratio for the project. You can’t change the aspect ratio after it is initially set.
Choose Edit > Project Settings > General.
Adjust pixel aspect ratio for a still image or source clip
To combine diverse footage within a project and generate an output without distorting source images, ensure that all files are interpreted correctly.
When you set the pixel aspect ratio of a file, use its original ratio, not the ratio of the project and final output.
1. In the Expert view, click Project Assets.
2. Select the still image or source clip.
3. Choose File > Interpret Footage.
4. In the Pixel Aspect Ratio section, select Use Pixel Aspect Ratio From File to use the original ratio of the file. Alternatively, choose one of the
56