Working with menu markers – Adobe Premiere Elements 12 User Manual
Page 250
Working with menu markers
Note:
Note:
Understanding menu markers
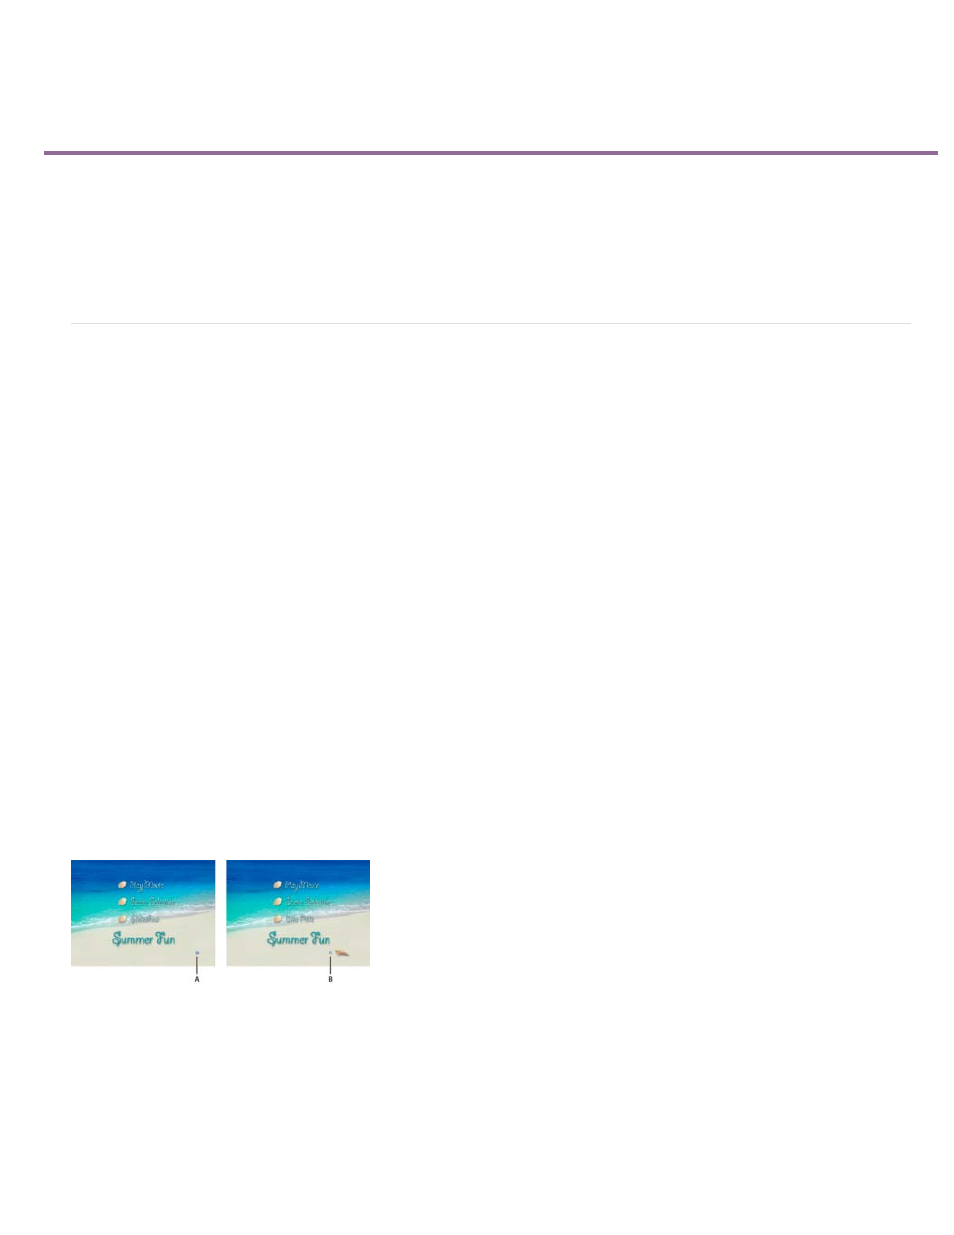
Add scene markers automatically
Add menu, scene, or stop markers manually
Find a menu or scene marker
Move or delete a menu or scene marker
Edit menu or scene marker attributes
Understanding menu markers
You can easily add menu markers to your videos. You can add scene markers automatically or manually. Premiere Elements creates a menu
based on the markers. The type of menu markers you add to the Expert view timeline depends upon how you want your viewers to access the
video.
You can use all types of markers in a movie. However, once the disc player encounters a stop marker, it returns to the main menu. Later, if you
rearrange clips in the Quick view timeline or the Expert view timeline, the markers remain in their original locations. You might have to update their
locations and edit their names to keep them relevant to the movie.
Do not confuse menu markers (scene, main menu, and stop markers) with clip and timeline markers. All of them mark locations within the
clip. However, Premiere Elements uses the scene and menu markers to link the video frame in the Quick view/Expert view timeline to disc menus
buttons. Clip markers and timeline markers help you position and trim clips.
Main menu markers
Main menu markers divide the video into separate movies. Buttons on the main menu link to main menu markers. You manually place main menu
markers to indicate the beginning of each movie that you want listed on the main menu of your disc. If the main menu template you select contains
extra buttons (buttons other than the Play Movie or Scenes buttons), those buttons link to the main menu markers. In addition, they play from each
marker until they reach a stop marker or the end of the media in the Expert view timeline. If the main menu does not contain enough main menu
marker buttons, Premiere Elements duplicates the main menu. In addition, it adds a Next button on the primary main menu. If you have no main
menu markers in your movie, Premiere Elements omits the extra buttons from the main menu.
If you use main menu markers, choose a template with at least three main menu buttons. (The first button, Play Movie, plays the movie from
beginning to end. The second, Scenes, links to Scenes Menu 1.)
The Play button on the main menu automatically links to the starting point of the time ruler. You needn’t place a main menu marker there.
Duplicate menus created when a movie contains more main menu markers than buttons on a template
A. Next button leads to duplicate menu B. Previous button returns user to Main Menu 1
Scene markers
Scene markers divide a movie into separate scenes. Scene buttons on the main menu link to different scenes in your movie. They appear on
scene menus one after another (not grouped by movie). Use scene markers (without stop markers) when you want the movie to play from start to
246