Inserting the controller board, Removing the two screws on the metal plate – Compuprint 4247-Z03 User Manual
Page 26
v
Limit your movement. Your movement can create static electricity that, when
released to the Controller Board, can damage the electronic components on the
Controller Board. Sliding your foot across carpeting is an example of how you
create unwanted static electricity.
v
Handle the Controller Board only by the edges and prevent others from making
direct contact with it.
v
Before removing the Controller Board from the protective package, ground the
package to exposed metal at the back of the printer. This will release any static
charge that may have developed on the package or on your body. Hold the
package against the metal for at least two seconds.
v
When you are instructed, remove the Controller Board and install it directly into
the Controller Board slot without setting it down. If you have removed the
Controller Board from the protective package and cannot immediately insert it in
the printer, place the protective package on a flat surface, and set the Controller
Board on top of the protective package.
Inserting the Controller Board
Attention:
Ensure that the printer is powered off before installing or removing
the Controller Board.
If the Controller Board is installed while the printer is powered on, the controller
will not synchronize with the printer mechanism board. Unpredictable printer
behavior will result.
Perform the following steps to install the Controller Board:
1.
Ensure that the printer is powered off. Installing the Controller Board with the
printer power on will result in unpredictable printer behavior.
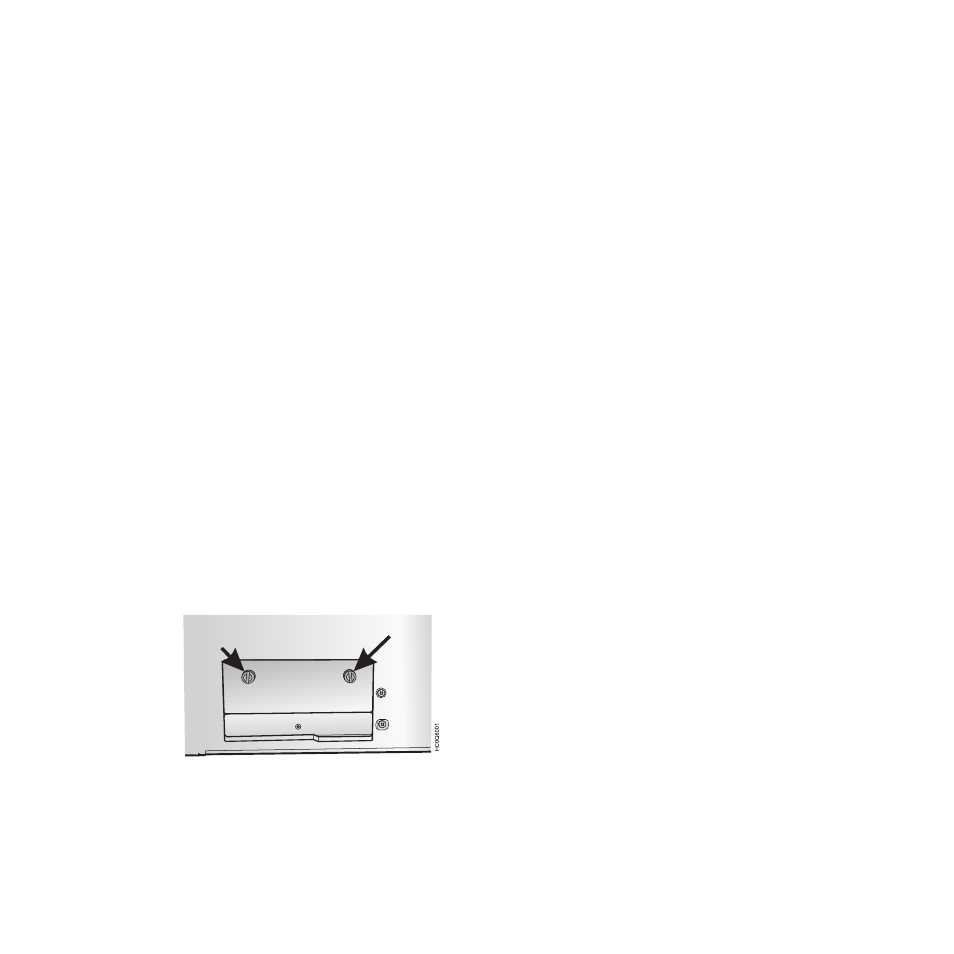
2.
Use the screwdriver that came in the Controller Board box to remove the metal
plate on the back of the printer by unscrewing the two screws.
Note:
Save the two screws as you need them to attach the Controller Board to
the back printer. Save the metal plate for reuse if the Controller Board is
removed.
3.
Use the information under “Handling the Controller Board” on page 9 as you
remove the Controller Board from its shipping box and from the protective
package.
Figure 11. Removing the two screws on the metal plate.
10
User's Guide