2 mounting, 1 optional rear-mounting support brackets – Comtech EF Data CLO-10 User Manual
Page 40
CLO-10 Link Optimizer
Revision 1
Installation
MN/CLO-10.IOM
2.2
Mounting
Figure 2-1 provides a “cut-away” side view of a typical CLO-10 rack configuration, combining use of
CLO-10s and – as furnished by Comtech EF Data or others – modems, up converters, and down
converters. Mount all equipment in the rack(s) as required for efficient arrangement and operation.
(Note: For depiction of the CLO-10 in optional redundancy configuration, refer to Appendix A.
REDUNDANCY SYSTEM OPERATION for details and illustrations pertaining to this setup.)
If the CLO-10 is to be mounted in a rack, ensure that there is adequate clearance for ventilation,
particularly at the sides. In rack systems where there is high heat dissipation, forced air cooling
must be provided by top or bottom mounted fans or blowers. Under no circumstance should the
highest internal rack temperature be allowed to exceed 50°C (122°F).
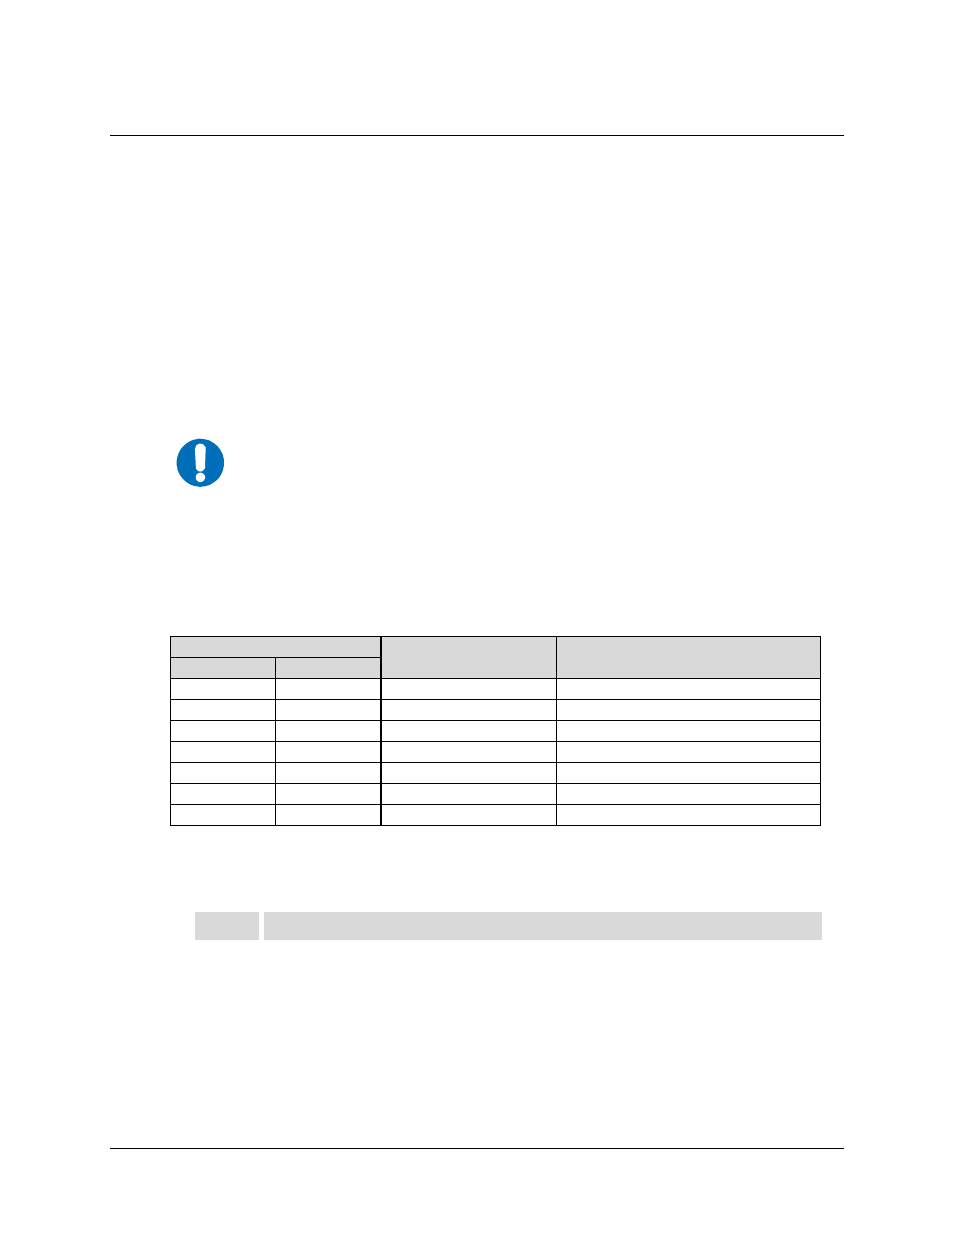
IMPORTANT
Because a cooling fan is installed in the right-hand side of the unit, the CLO-10
CAN NOT have rack slides mounted to the side of the chassis. Comtech EF
Data therefore recommends that an alternate method of support, such as rack
shelves, is employed within the rack. If there is any doubt, please consult the
Comtech EF Data Customer Support department.
2.2.1 Optional Rear-Mounting Support Brackets
Install optional rear-mounting support brackets using mounting kit KT/6228-2 or KT/6228-3:
Quantity
Part Number
Description
KT/6228-2
KT/6228-3
2
2
HW/10-32SHLDR
Screw, #10 Shoulder
4
4
HW/10-32FLT
Washer, #10 Flat
2
2
HW/10-32SPLIT
Washer, #10 Split
2
2
HW/10-32HEXNUT
Nut, #10 Hex
2
─
FP/6138-1
Bracket, 4”, Rear Support
─
2
FP/6138-3
Bracket, 10”, Rear Support
4
4
HW/10-32x1/2RK
Bolt, #10 Rack Bracket
The tools required for this installation are a medium Phillips
™ screwdriver and a 5/32-inch SAE
Allen
™ Wrench. The kit is installed as illustrated in Figure 2-2 via the following procedure:
Step
Procedure
1
Secure the #10 shoulder screws to the unit chassis through the rear right and left
side mounting slots, using the #10 flat washers, #10 split washers, and #10 hex
nuts as shown.
2
Install the rear support brackets onto the equipment rack threaded rear
mounting rails, using the #10 rack bracket bolts.
3
Mount the unit into the equipment rack, ensuring that the shoulders of the #10
shoulder screws properly engage into the rear support bracket slots.
2–2