2 switch firmware update procedure – Comtech EF Data CRS-300 User Manual
Page 186
CRS-300 1:10 Redundancy Switch
MN/CRS300.IOM
Modem, RMI/TMI, and Switch Configuration
Revision 19
5–22
The firmware download files are available from Comtech EF Data in two archive file formats:
*.exe (self extracting) and *.zip (compressed). Some firewalls will not allow the downloading of
*.exe files; in this case, download the *.zip file instead. If applicable, one version prior to the
current release is also available for download.
For additional help with "zipped" file types, refer to the help files provided with the
"PKZIP for Windows", "WinZip", or "ZipCentral" file archiving programs. “PKZIP for
Command-line” is not supported due to file naming conventions.
To verify the correct firmware number, see Step 2 in Sect. 5.5.3.2.1 Getting Started: Prepare for
the Firmware Download.
5.6.1.2 Switch Firmware Update Procedure
5.6.1.2.1 Getting Started: Prepare for the Firmware Download
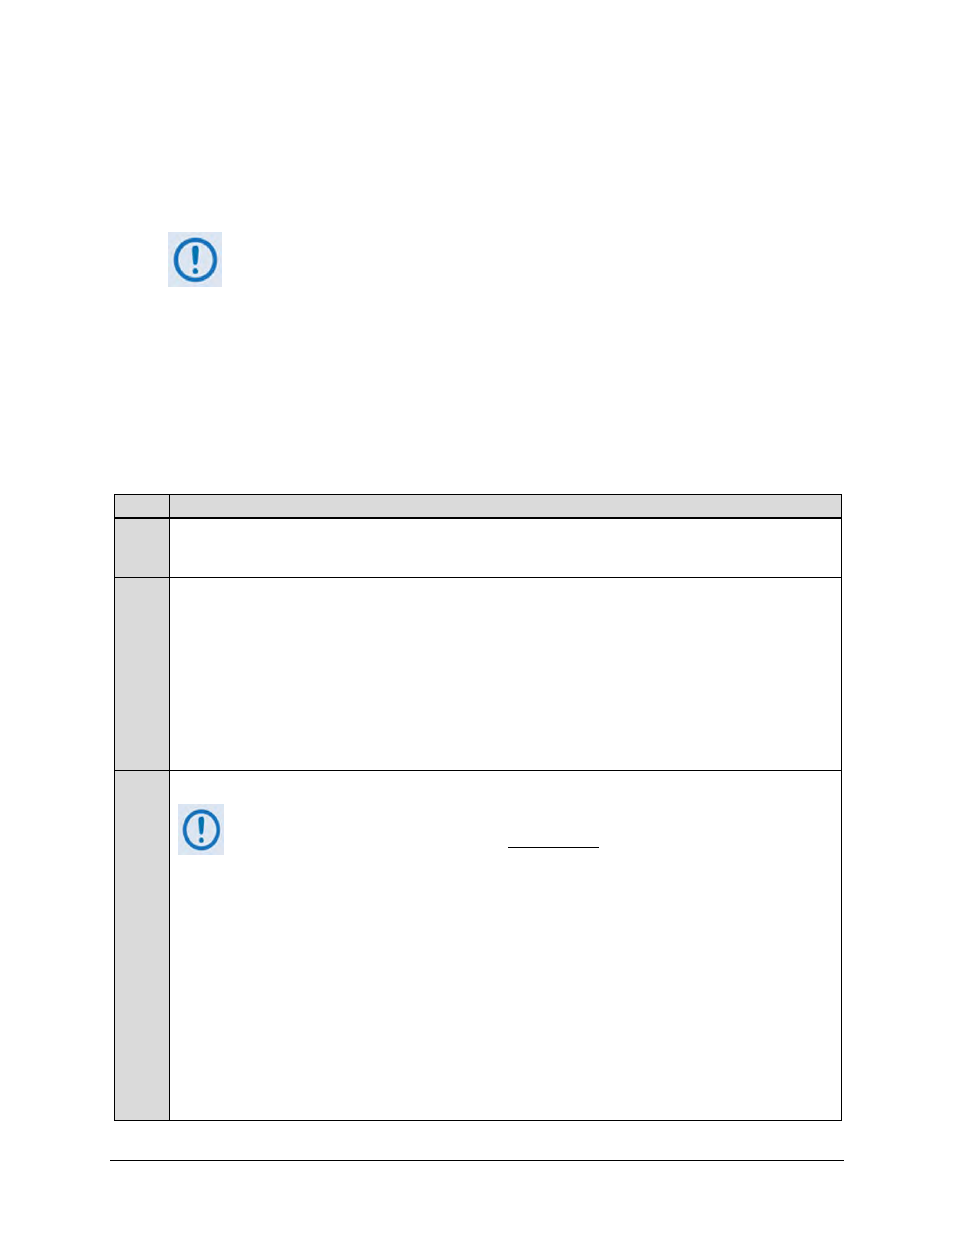
Step Task
1
Connect the Switch “Remote Control” connector (located on the CRS-230 System Controller) to a serial port on
your Windows-based User PC. Make sure that you are running a terminal emulator program on your PC such as
Tera Term or PuTTY.
2
Identify the CRS-300 firmware number and current running version:
•
From the Switch front panel – the firmware version is available from the VFD’s top-level “splash” screen. To
view this screen, press the [CLR] key several times.
For more information, see Chapter 6. FRONT PANEL OPERATION.
•
Using Serial Remote Control query – the firmware version can be obtained with the <0SWR? query.
For more information, see Chapter 7. SERIAL-BASED REMOTE PRODUCT MANAGEMENT..
3
Create a temporary folder (subdirectory) on the User PC for the firmware archive file download.
•
These examples use drive letter “c:”. You may use any valid, writable drive letter.
•
Typical for all tasks: Type the command without quotes, and then press [ENT] to execute.
You may create a temporary folder on a Windows-based PC using differing methods:
A. Use the Windows Desktop to create and rename the temporary folder.
•
Right-click anywhere on the desktop to open the popup submenu, and then select New > Folder to create
the temporary folder. The “New Folder” will be created on the desktop.
•
Right-click on the “New Folder” and then select ‘Rename’ from the popup submenu. Rename this folder to
"temp" or some other convenient, unused name.
B. Use Windows Command-line to create the temporary folder.
•
First, click [Start] on the Windows taskbar, and then click the Run... icon (or, depending on Windows OS
versions prior to Windows 95, click the MS-Command-line Prompt icon from the Main Menu).