Hardware mounting options for fx series fx-1005 – Comtech EF Data FX Series Administrator Guide User Manual
Page 45
Comtech EF Data / Stampede
FX Series Administration Guide - Version 6.1.1
45
Chapter: Overview - FX Series
Section: FX Series Appliances Data Sheet
MN-FXSERIESADM6 Rev 5
1.8.7 Hardware Mounting Options for FX Series FX-1005
Tabletop Mounting (Standard)
To mount the FX-1005 on the table, use the rubber feet in the tabletop mounting pack.
Follow the following procedures as a guideline: (may be pre-attached)
1. Place the rubber feet on the mounting spots at the bottom of the FX-1005 .
2. Place the FX-1005 on the table using the rubber feet.
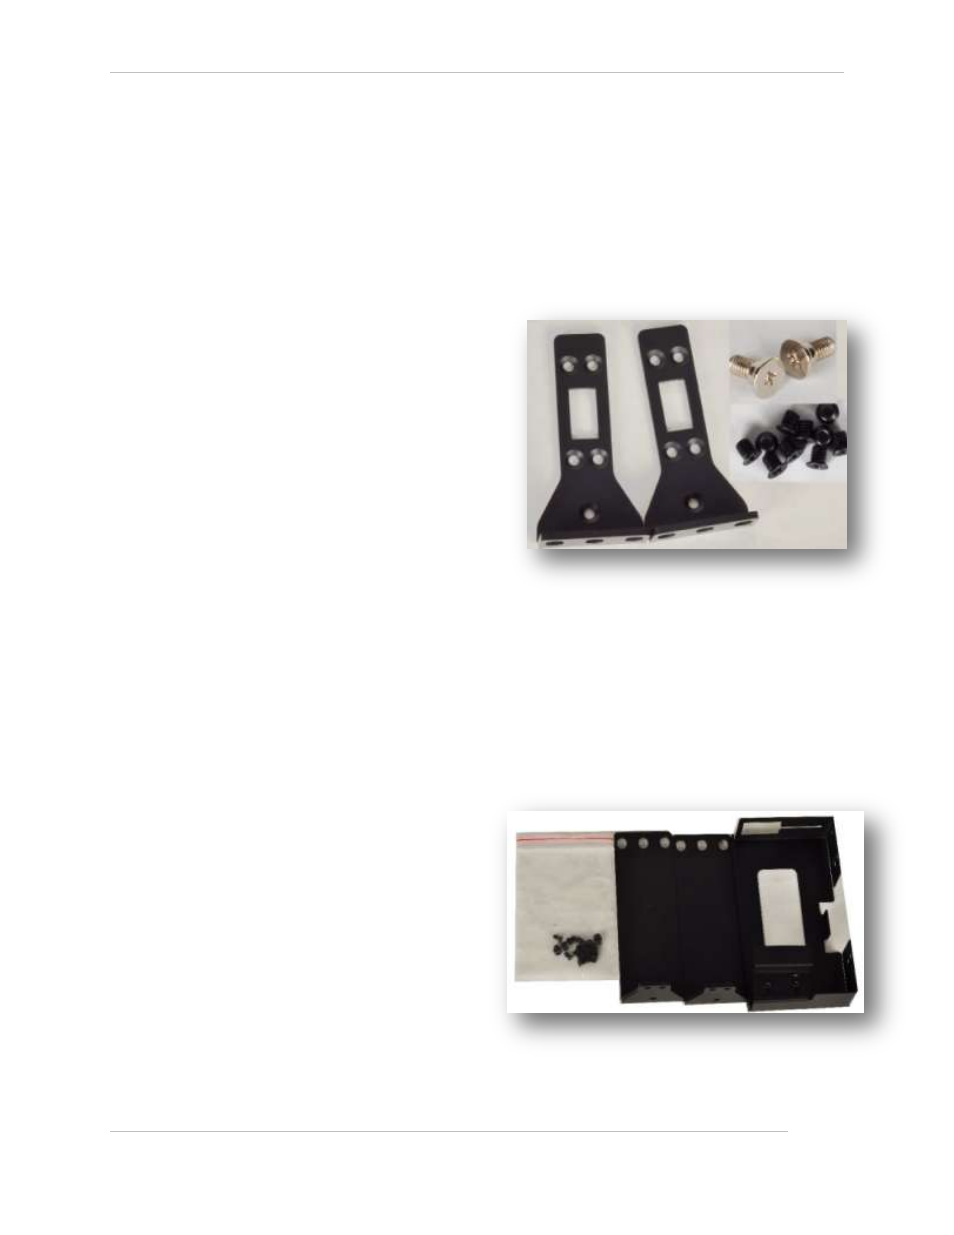
Double Unit Rack Mount (Optional Accessory)
To mount two FX-1005 systems onto the rack, use the mounting kit with the screw pack.
Follow the following procedures as a guideline:
1. Attaching two screws having a washer
under the head to the inner side of the
system’s chassis.
2. Align the screws of one system with
the mounting slots of the other system
and mount the two systems side by side
by clipping them together
3. Make sure that the attachment between
the two systems is secure and the
mounting screws are locked in place.
4. Use the screws provided to fix the short
ear-bracket to the left and right sides of
the system as shown in the picture.
5. Use the mounting hardware included to
attach and secure the bracket to the rack.
Installing the ear-bracket to the rear side as an alternative rack mounting
NOTE: The short-ear bracket could also be mounted at the rear side of the system. Thus, the rear panel of
the system could be mounted in the front of the rack mounting equipment.
Single Unit Rack Mount (Optional Accessory)
NOTE: Place the power adaptor in the bracket first before installing the adaptor holder.
To mount the FX-1005 onto the rack, use the
mounting kit with the screw pack.
Follow these procedures as a guideline:
1. Attach the adaptor mounting bracket
to the system by fastening 5 screws
2. Place the adaptor in the adaptor
mounting bracket.
3. Make sure that the power adaptor’s
AC socket is not blocked. Align the AC
socket with the holes on the mounting
bracket.
4. You could use the adaptor holder to
hold your adaptor to prevent it from
sliding back and forth.
5. Use 3 screws provided to fix the bracket to the left and right side of the system.
6. Use the mounting hardware included to attach and secure the bracket to the rack.