2 – names and functions of parts – Teac HS-20 User Manual
Page 16
16
TASCAM HS-20
2 – Names and functions of parts
SAVE AS button
This name and saves the content of the timeline.
This can only be selected when stopped.
(See “Saving AES31 editing information” on page 42.)
CREATE AES31 button
This opens the AES31 NAME screen where you can
create new AES31 files.
This can only be selected when stopped.
(See “Creating new AES31 editing information” on page
43.)
IMPORT ALL TAKES button
This imports all takes in the current folder.
This can only be selected when stopped. (See “Importing
9
Input monitoring indicators
The indicators at the left end of the level meters show the
status of input monitoring. The indicator background colors
show the input monitoring status.
Playlist Mode
Timeline mode
Take mode
MON OFF
MON ON
0
Level meters
The input signal levels are shown when input monitoring is
on, during recording standby and when recording.
Each channel also has an overload indicator at its right end
that appears red when the input overloads.
During playback, track playback levels are shown when
input monitoring is off.
When the input source is set to a digital input, but there is
no input signal or if the input signal differs from the internal
setting, the channel meter display area appears gray and
one of the following messages appears.
Message
Meaning
D-IN NO SIGNAL No input signal
D-IN UNLOCK
Input signal is not synchronized with
system
D-IN NOT AUDIO Cbit information of input signal is
not audio
D-IN Cbit ERROR
Other Cbit information of input
signal differs from actual operation
mode
D–IN NO SIGNAL shown
The following settings can be made for the display of the
level meters on the METER SETUP screen from the MENU
screen.
o
Metering point
o
Peak hold time
o
Release time
o
Overload indicator peak level
o
Reference level line display on/off
q
Time display area
This area shows 4 equal divisions of the timeline for the set
time display mode.
This area scrolls horizontally to correspond with the time
counter.
w
Mark display area
Timeline marks appear here.
This area scrolls horizontally to correspond with the time
counter.
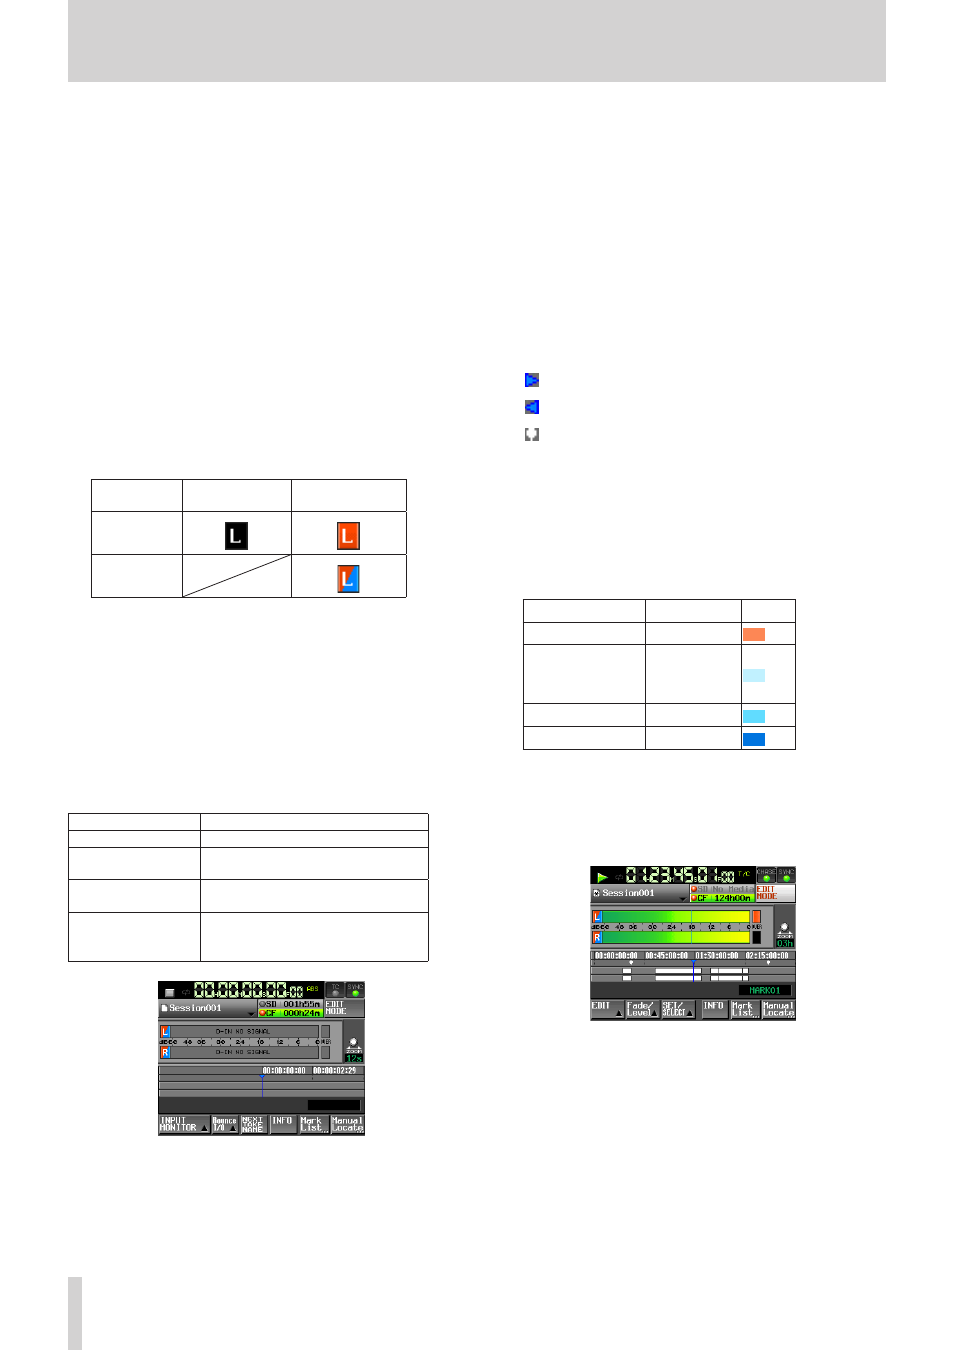
IN mark
OUT mark
Other types of marks
e
Track display area
This shows the track regions.
The left track is on the top and the right track is on the
bottom.
Region fade-ins, fade-outs and cross-fades are shown in
light blue.
The status of each region is shown by color as shown below.
Normal
White
Being recorded
Red
Fade-in
Fade-out
Cross-fade area
Light blue
Selected region
Medium blue
Selected silent part Dark blue
This area scrolls horizontally along with the time counter.
r
EDIT MODE button
Touch this to turn editing mode on/off. In this mode you can
divide, erase, and trim regions, for example. (See “Editing the
t
Recording media info button
This shows which of the card slots is being used and its
remaining recording time.
The background color is green during playback and red
while recording.
If there is no media in the card slot, No Media appears on a
light gray background.
If the card has no folders, "No Project"appears. When an
unformatted card is inserted, UNFORMAT appears.
When a card is inserted in the card slot that is not being
used for recording, UNMOUNT appears. When recording
stops, this will change to its ordinary appearance.