Printing a snapshot, Dial-up connection, Starting the dialer – Visara 1783 User Manual
Page 139: About, Starting, Screen snapshot, Printing from, Printing a snapshot -13, Dial-up connection -13, Starting the dialer -13
Chapter 11: Using personal productivity tools
707042-002
11-13
Printing a snapshot
1. Select a printer from the list to which the image will be printed. If print to file is
chosen, enter a path and filename for the snapshot.
CAUTION: The Print to File feature can consume significant memory resources. Use
with care.
2. Select one of the following screen portions:
•
Whole Screen
– Prints the entire display.
•
Selected Window
– Click on the window to be printed.
•
User Defined Area
– Drag the mouse to frame the exact area to be printed.
3. Click the
Begin
button; if
Whole Screen
was chosen, no other action is required –
the snapshot will be sent to the printer. If
Selected Window
was chosen, click the
window to be printed with the hand pointer. If
User Defined Area
was chosen, drag
the mouse to frame the exact area to be printed.
4. Click the
Close
button to stop printing and/or to close the Snapshot window.
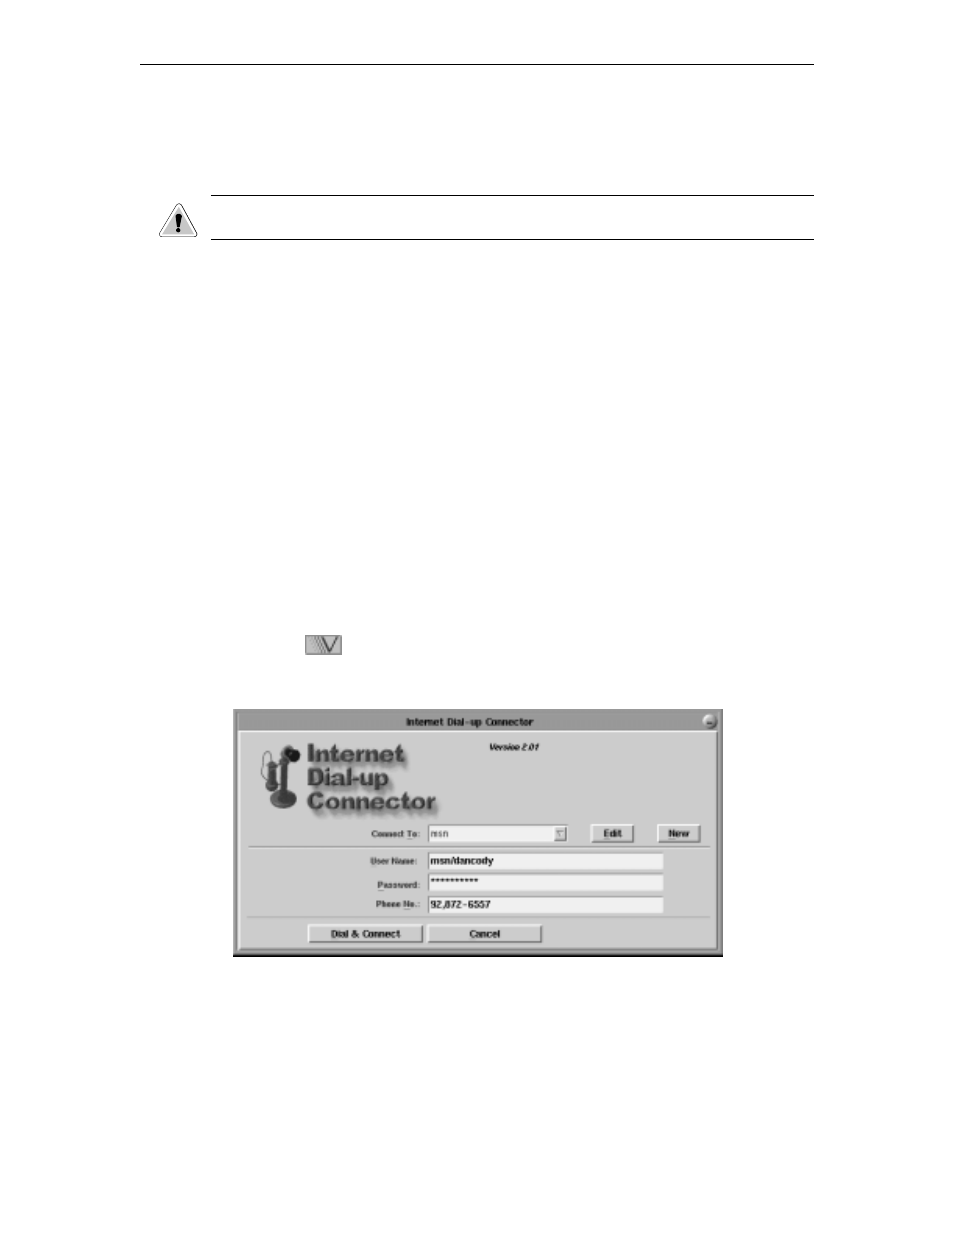
Dial-up connection
If you don’t have a direct connection to the Internet, a connection will need to be established
using the Internet Dial-up Connector. With the Internet Dial-up Connector, you can set up
and make a connection to your Internet Service Provider (ISP). The dialer supports dialing
scripts and basic TCP/IP configurations to automate your connection.
Starting the Dialer
1. Click the
button (located at the lower left-hand corner of the screen).
2. Select
Dialer
from the application menu.