Working with modules – Wavetronix Click 500 (programmable controller) (CLK-500) - User Guide User Manual
Page 35
34
CHAPTER 5 • USING CLICK SUPERVISOR
Alternatively, you can connect without the ID number:
1 Leave a 0 in the Click ID text field. Click Supervisor will look for all connected devices
on the network.
2 Click Connect. The Device Selection screen will appear, and after a few moments, the
list will be populated with the computer-programmable devices on the network. The
list is divided into three columns: ID shows the ID number of the device, Click shows
the product number of the device, and Description shows the name of the device.
3 Click on the device you’d like to connect to and hit Select. After downloading the com-
munication file, the program will return you to the Click Supervisor main screen.
Note
After connecting, you may see a dialog box asking if you’d like to upgrade. Each ver-
sion of Click Supervisor has the newest firmware for all the Click devices, and when it
connects to a device it will check to see if the firmware in the program is newer than
that in the device. If it is, you will see the dialog box. If you’d like to upgrade your
device with the newest firmware, click
Yes.
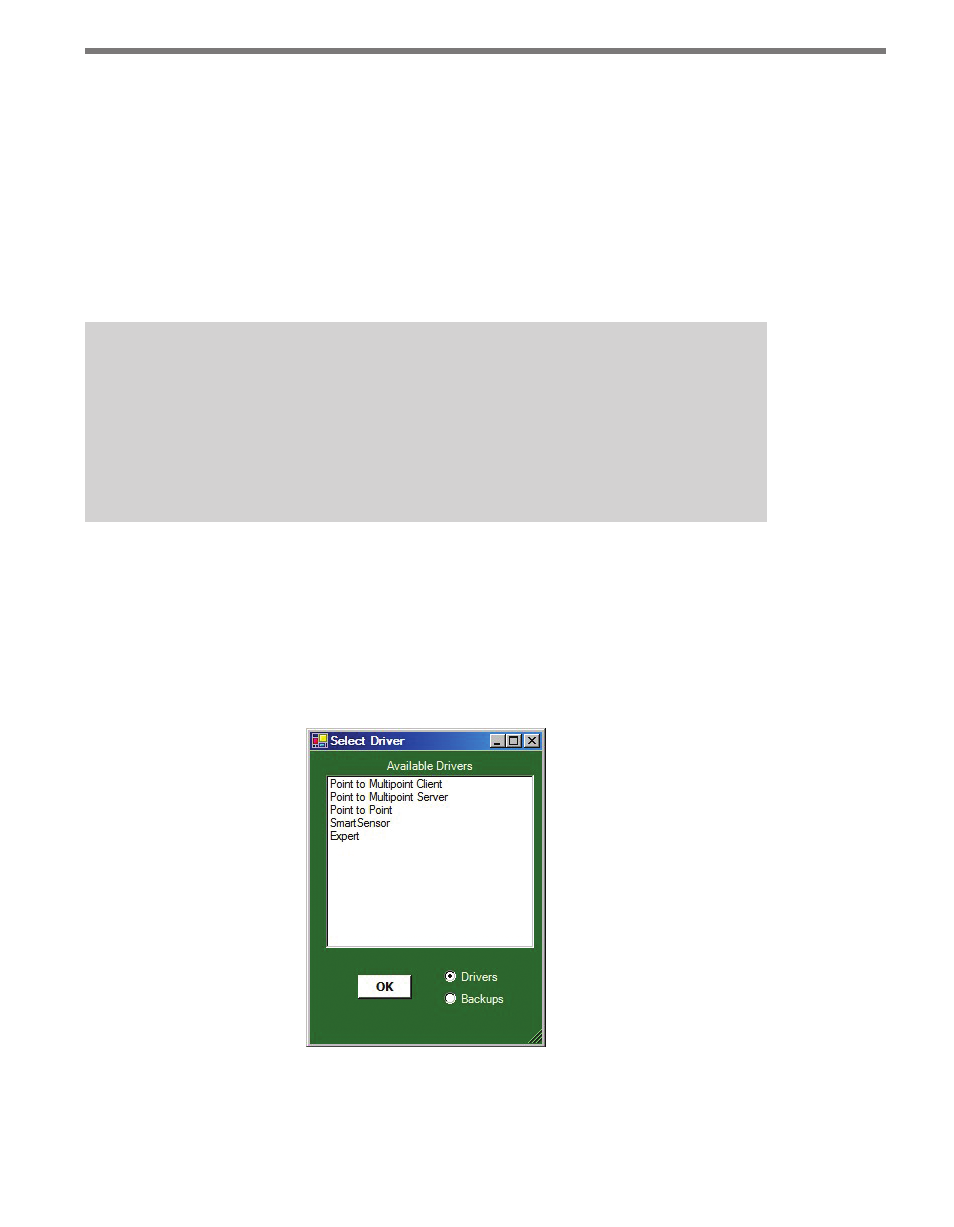
Working with Modules
You will now be able to select Setup Click and choose a driver to start working with the
device (see Figure 5.5). The drivers under Setup Click will be different for every device you
connect to. For information on how to configure each device through Click Supervisor, see
that device’s chapter in Part II or in the Click 500 Series User Guide for more information.
Figure 5.5 – Selecting a Driver
From the Select Driver screen, you can also access backups you’ve made of settings (how to
save these settings is discussed in each chapter in Part II that deals with Click Supervisor).