Apple 27" Studio Display (Nano-Texture Glass, Tilt Adjustable Stand) User Manual
Page 47
Studio Display
073-00335-A | 47
© 2022 Apple Inc. All rights reserved.
Display (VESA mount adapter) | Reassembly
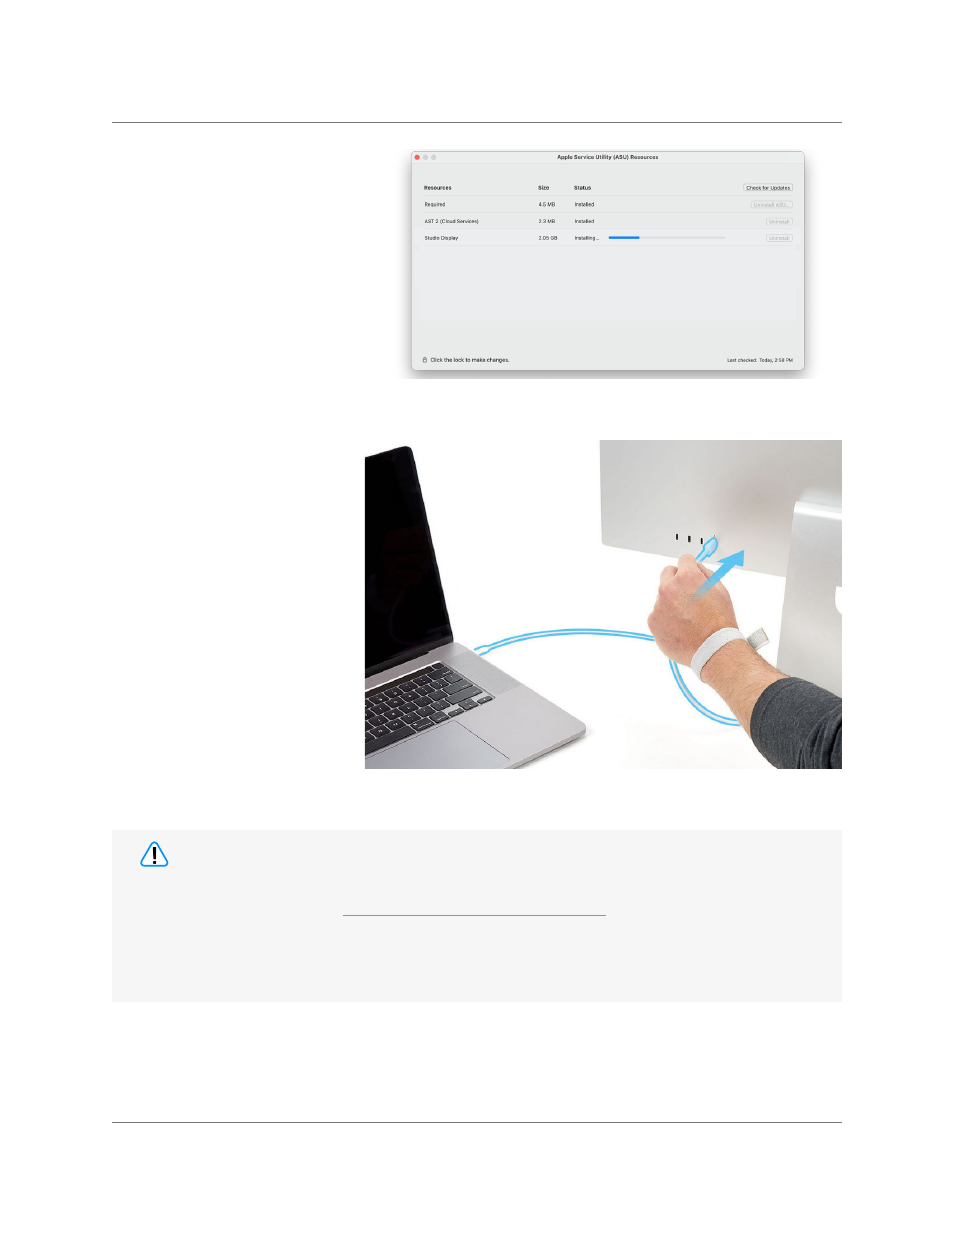
19. Open the Apple Service
Utility app on the Mac.
Ensure that all Resources
have been installed.
Note:
The time to download
and install Resources will
vary based on your network
connection speed to the
internet.
20. Plug the display power cord
into an electrical outlet.
21. Plug one end of the USB-C
charge cable into the Mac.
Then plug the other end of
the USB-C charge cable
into the Thunderbolt 3 port
on the back of the display.
The Thunderbolt 3 port is
the rightmost port.
• After you’ve completed all removal and reassembly steps, learn how to initiate the System
Configuration process at
.
• If you replaced the display, the display’s brightness, True Tone, and Center Stage may not
function properly until you complete System Configuration.
• If you replaced the logic board, an alert symbol and “support.apple.com/display/restore” will
appear on your screen until you complete System Configuration.
Caution