Scan area, You can use the, Magnifying glass – Plustek Opticpro A320E Flatbed Scanner User Manual
Page 70
The TWAIN Interface
35
All rights are reserved.
2.3.1
Scan Area
It is preferable to scan the exact area of the document or image so the file size
is the smallest possible and there are no large blank areas on the page.
The box composed of dotted lines located in the
of the
TWAIN window defines the scan area. It is the image area that will be included
in the final scan.
The Scan Area can be resized and moved.
·
Move the pointer (if you have been using the
button you
button to the left), onto one side of the scan
area until the pointer turns into a double-headed arrow. Then, click the left
mouse button, and while keeping it pressed, move your mouse. This resizes
that side of the scan area. Release the mouse button when you are finished.
This procedure can be repeated on all sides of the scan area.
·
By moving the pointer into the scan area until it turns into a four-headed arrow
you can move the entire scanning area without resizing it.
Reducing the scan area reduces the image size so images take up less
memory and less space on your hard drive.
2.3.2
Magnifying Glass
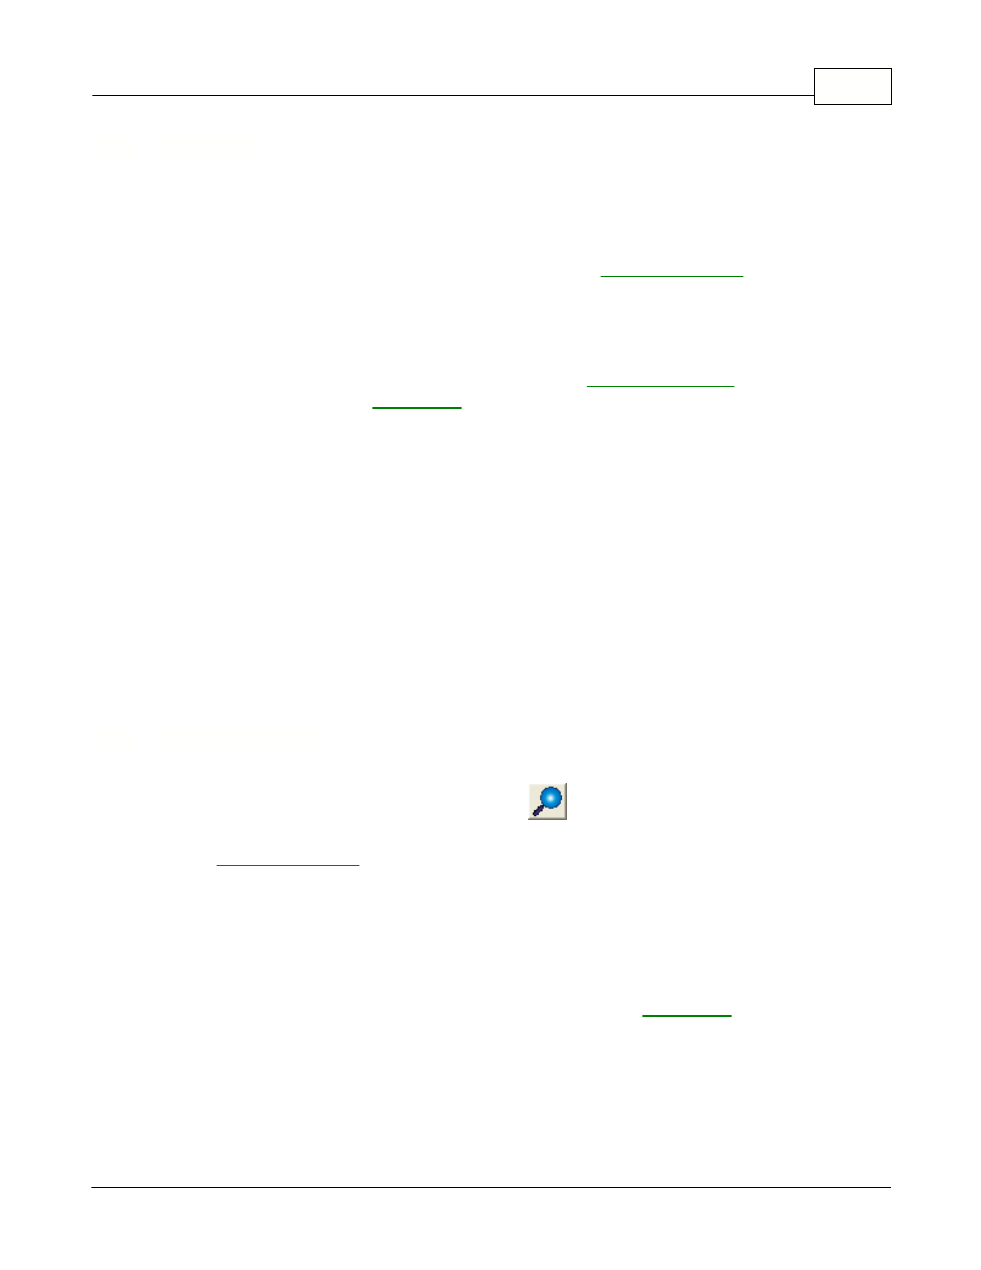
Clicking on the magnifying glass button
changes the cursor to a
magnifying glass and lets you easily zoom into the prescanned image in
the
.
Simply place the magnifying glass over the portion of the picture you wish
to have a close-up view of and click the left mouse button. You can then
view the enlarged detail of the image proportionally. To zoom out, right
click the mouse button.
To stop zooming in and out of the image, click on the
button
next to the Magnifying Glass.