Grass Valley K2 Media Client User Manual Oct.10 2006 User Manual
Page 157
August 15, 2006
K2 Media Client User Manual
157
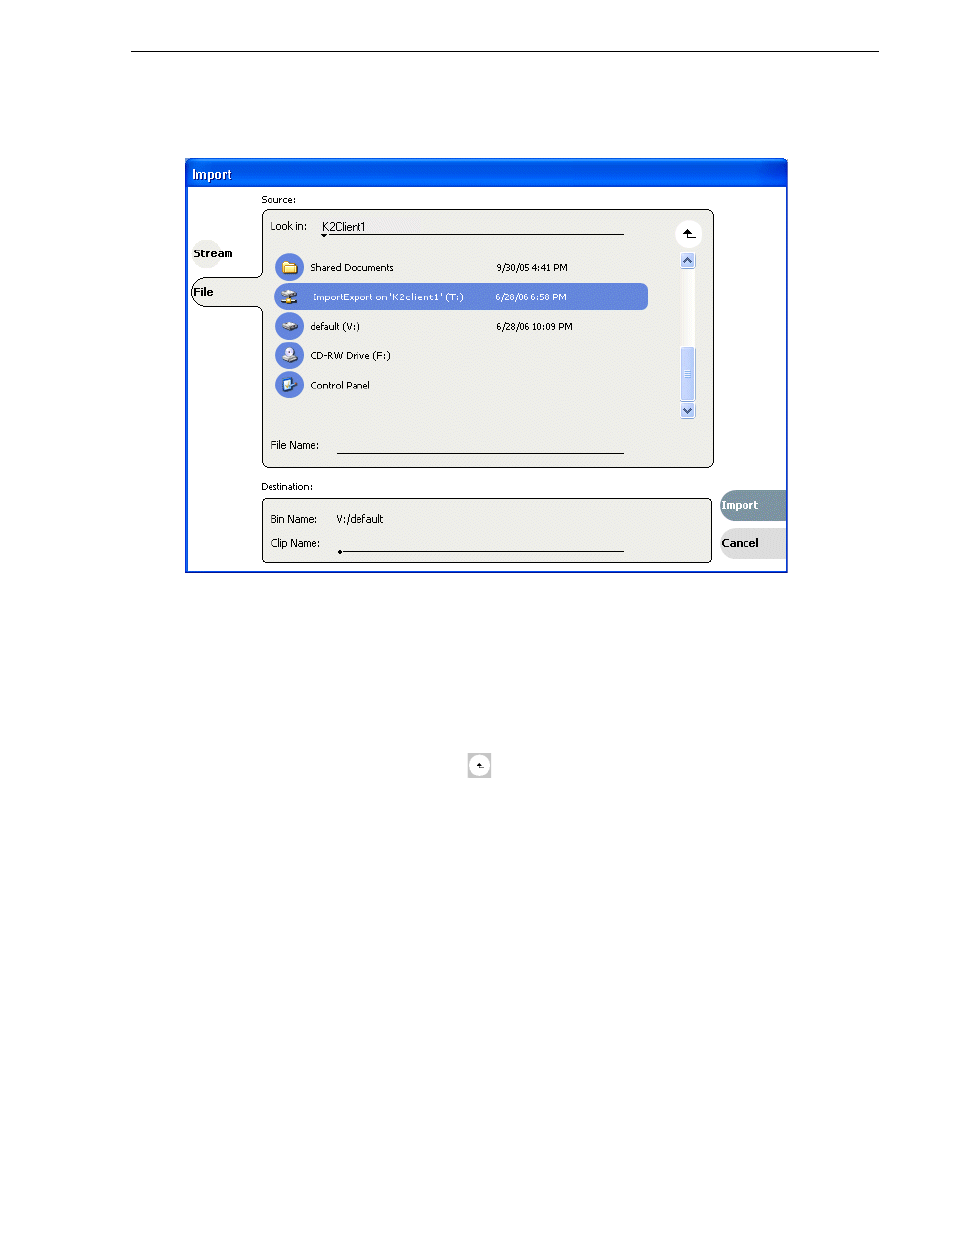
Importing and exporting files
4. Click
File
.
5. In the Source section, browse to locate and select the source file.
The
Look in
label shows the current location. The list under the
Look in
label
displays the contents of the current location. The Import dialog automatically
filters the list of files to show only the type of files that can be imported (such as
.gxf, .mxf, and so on). You can select items in the list (such as a machine, drive, or
folder) to explore its contents.
Clicking the up-arrow button
moves up one directory level in the storage
hierarchy.
The Look in drop-down list allows you to choose from one of the most recent
source locations visited (history).
6. Verify the destination directory indicated next to
Bin Name
. This is where the
imported file is placed.
7. Modify the clip name, if needed, by selecting the
Clip Name
edit control.
8. Click
Import
and proceed as follows.
NOTE: Import is a background task and can be monitored using the Transfer
Monitor.
• If you are importing a video file the import begins. You do not need to continue
with the next step in this procedure.
• If you are importing a still image file, the Importing dialog box is displayed.
Continue with the next step in this procedure.