Using cue points for playback – Grass Valley K2 Media Client User Manual Oct.10 2006 User Manual
Page 71
August 15, 2006
K2 Media Client User Manual
71
Using Cue points for playback
2. Perform one of the following:
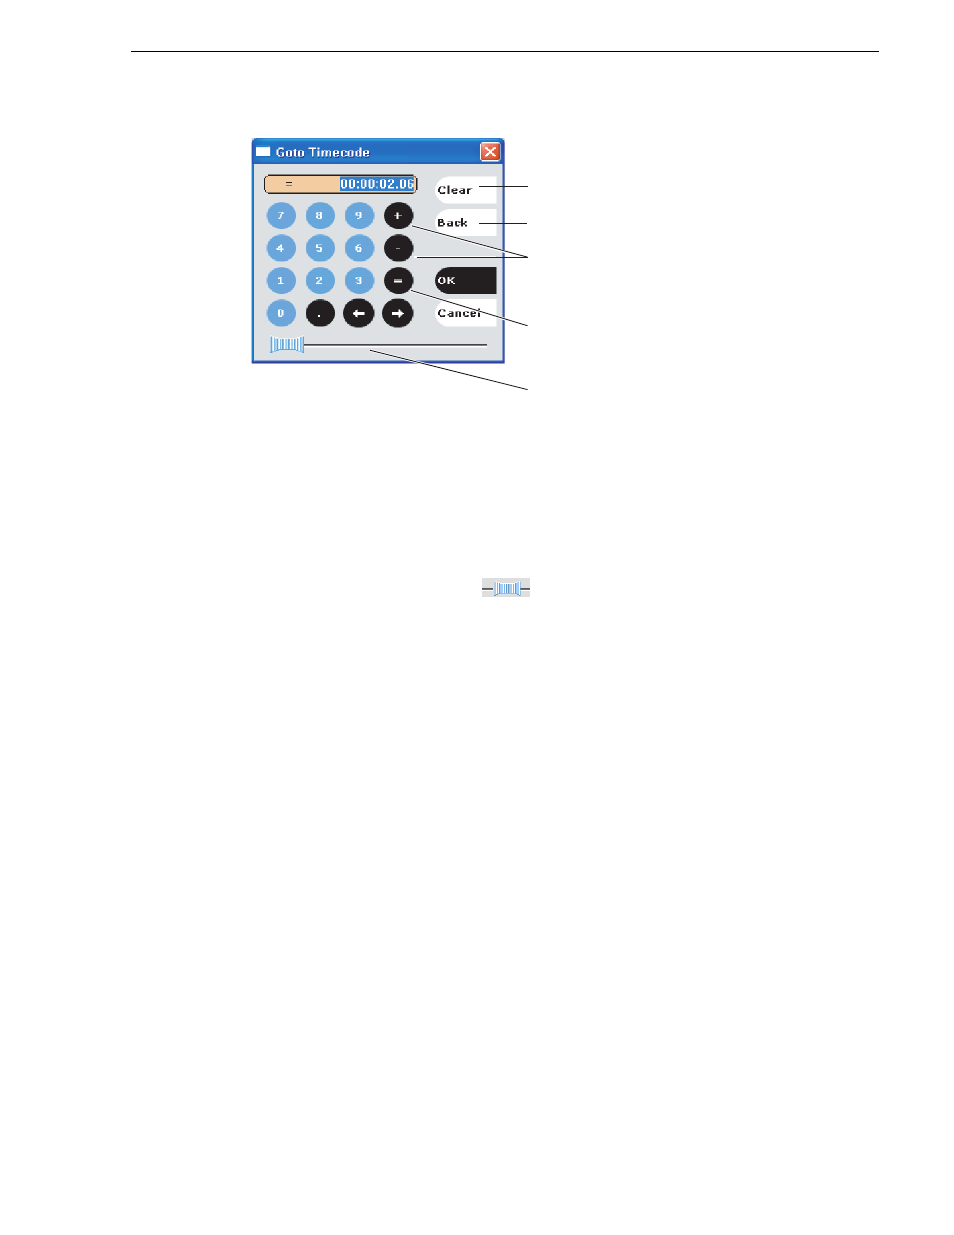
• Enter a relative timecode value, select the ‘+’ or ‘-’ key, enter timecode, then
click
OK
.
• Enter an absolute timecode value, select the ‘=’ key, enter timecode, then click
OK
.
• Click and drag the scrub bar
to cue the desired frame.
Related topics:
• “Loading clips from the clips pane” on page 69
• “Loading a clip from the Player application” on page 69
Using Cue points for playback
Cue view allows you to add cue points to a clip. You can use cue points to manage
clip play out or create subclips. The following sections describe how to work with cue
points.
Topics included here:
• “About using cue points” on page 72
• “Viewing the cue list” on page 72
• “Adding a cue point” on page 72
• “Removing a cue point” on page 73
• “Jump to the selected cue point” on page 73
• ““Jump to the next cue point” on page 73
• “Renaming a cue point” on page 73
Clear
(Select to clear entry)
Back Space
Relative
(Select to enter a
relative timecode)
Absolute
(Select to enter an
absolute timecode)
Scrub bar
(Click and drag to
cue the desired frame)