About editing events while the list is playing, Editing event marks – Grass Valley K2 Media Client User Manual Oct.10 2006 User Manual
Page 98

98
K2 Media Client User Manual
August 15, 2006
Chapter 6 Working with playlists
•
“Locating the event source clip” on page 101
•
“Viewing event properties” on page 101
About editing events while the list is playing
You cannot edit events while the list is playing. You must stop play back, then open
Event view to edit an event.
Editing event marks
Every event has a event-in point and an event-out point which refer to the first and last
frames displayed when the event plays. When first created, event marks are set to the
mark-in and mark-out of the source clip. You can edit the event marks in order to
reference only the desired media. Event marks can be cleared to reset them to the
marks specified in the source clip. (
See “Clearing event marks” on page 99
The following restrictions apply when editing event marks:
• Event-in must precede the Event-out
• Event marks cannot be set outside the recorded media of the source clip.
NOTE: If more media exists outside the current mark, a <<< or >>> symbol is
displayed beneath the current event mark timecode.
To move event marks, view the event in Event view, then use one of the following
methods to move clip marks.
•
“Using the Event In/Out buttons” on page 98
•
“Using the timecode entry controls” on page 98
•
“Using the event length control” on page 99
Using the Event In/Out buttons
To move clip marks:
1. Use the transport controls to locate the desired frame.
NOTE: If the List view is playing a list, you cannot monitor video and audio of an
event when you switch to the Event view. The channel resources— video and audio
outputs, are being used by the List view. However, you can still edit an event in
Event view by using the event in/out timecode controls to enter timecodes values.
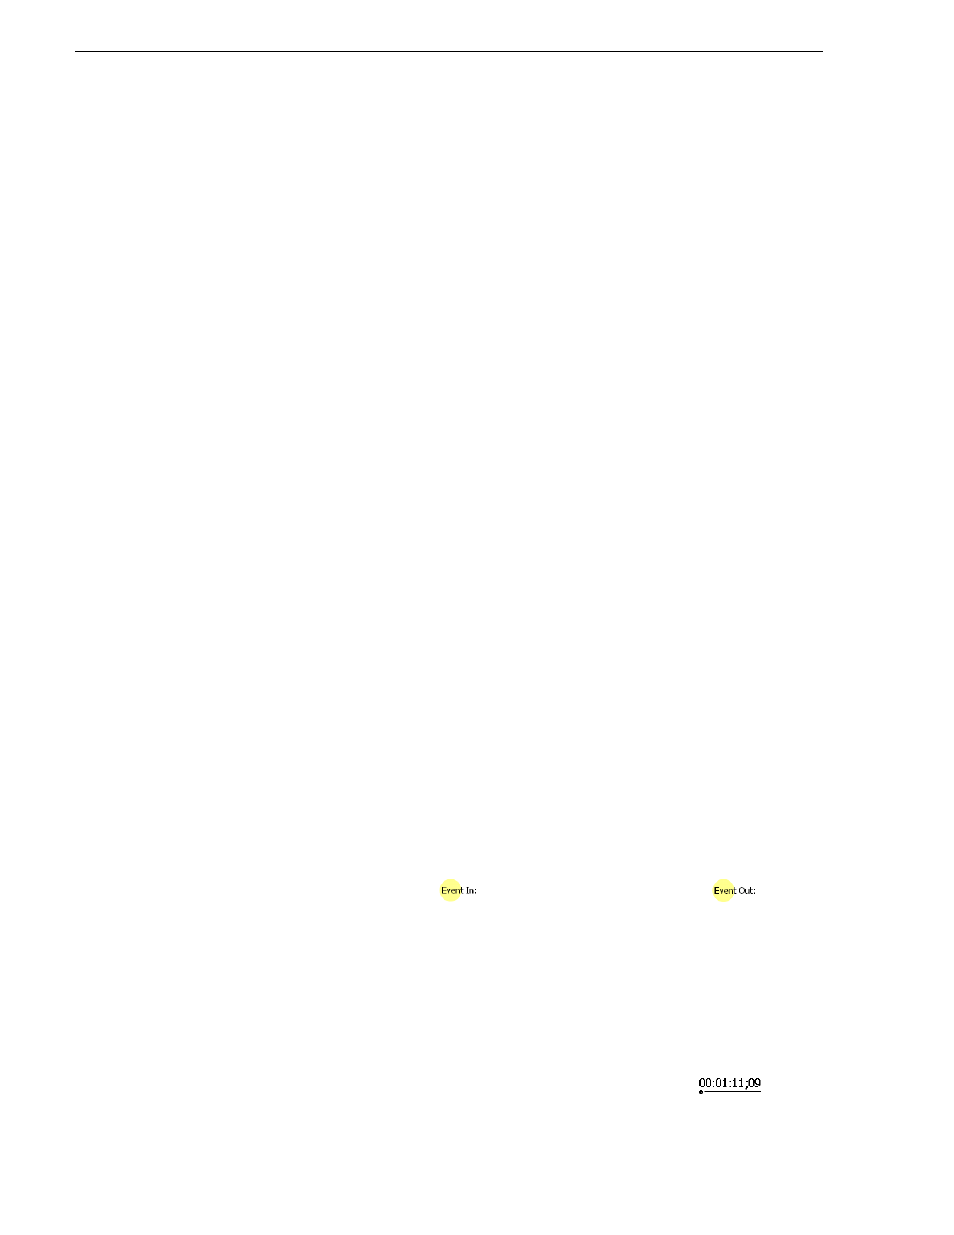
2. In Event view, click
Event In
to set mark-in point, or
Event Out
to set
mark-out point.
3. Do one of the following:
• For an existing event, click
Accept
to propagate the change to the event in the
list.
• For a new event, click
Insert
to add the event to the list.
Using the timecode entry controls
1. In Event view, select the Event-In or Event-Out
timecode control
to