Before you record: recorder settings checklist, Chapter 4 recording clips – Grass Valley K2 Media Client User Manual Oct.10 2006 User Manual
Page 54
54
K2 Media Client User Manual
August 15, 2006
Chapter 4 Recording clips
Before you record: Recorder settings checklist
Before recording, check the following recorder channel settings.
Record Channel Setting
Procedure
Verify video and audio input selection
In the monitor pane, check the thumbnail and its
audio level indicators to verify the correct record
channel inputs are selected. If there is a problem,
correct the settings.
Verify video compression data rate
You can manage storage capacity and
video quality by adjusting the record
channel compression data rate. Generally
set as high as possible to obtain the storage
capacity needed.
Under the
System
menu, click
Configuration
.
Verify digital audio compression setting
Under the
System
menu, click
Configuration
.
Verify the timecode source
Make sure to select a valid timecode
source. You can use the internal timecode
generator, VITC, or LTC.
See “Changing the timecode source” on page 58
.
Verify widescreen mode setting
If the video source is in widescreen format,
you must select widescreen mode for the
recorder. This attribute is saved with the
clip and is used to control video scaling
when the clip is played.
In AppCenter main menu, click
Recorder |
Widescreen 16:9
to toggle widescreen mode. (On
SD K2 Media Clients.)
NOTE: The clip aspect ratio cannot be
changed once the clip is recorded. If
you want to change the clip’s aspect
ratio attribute you must re-record the
clip.
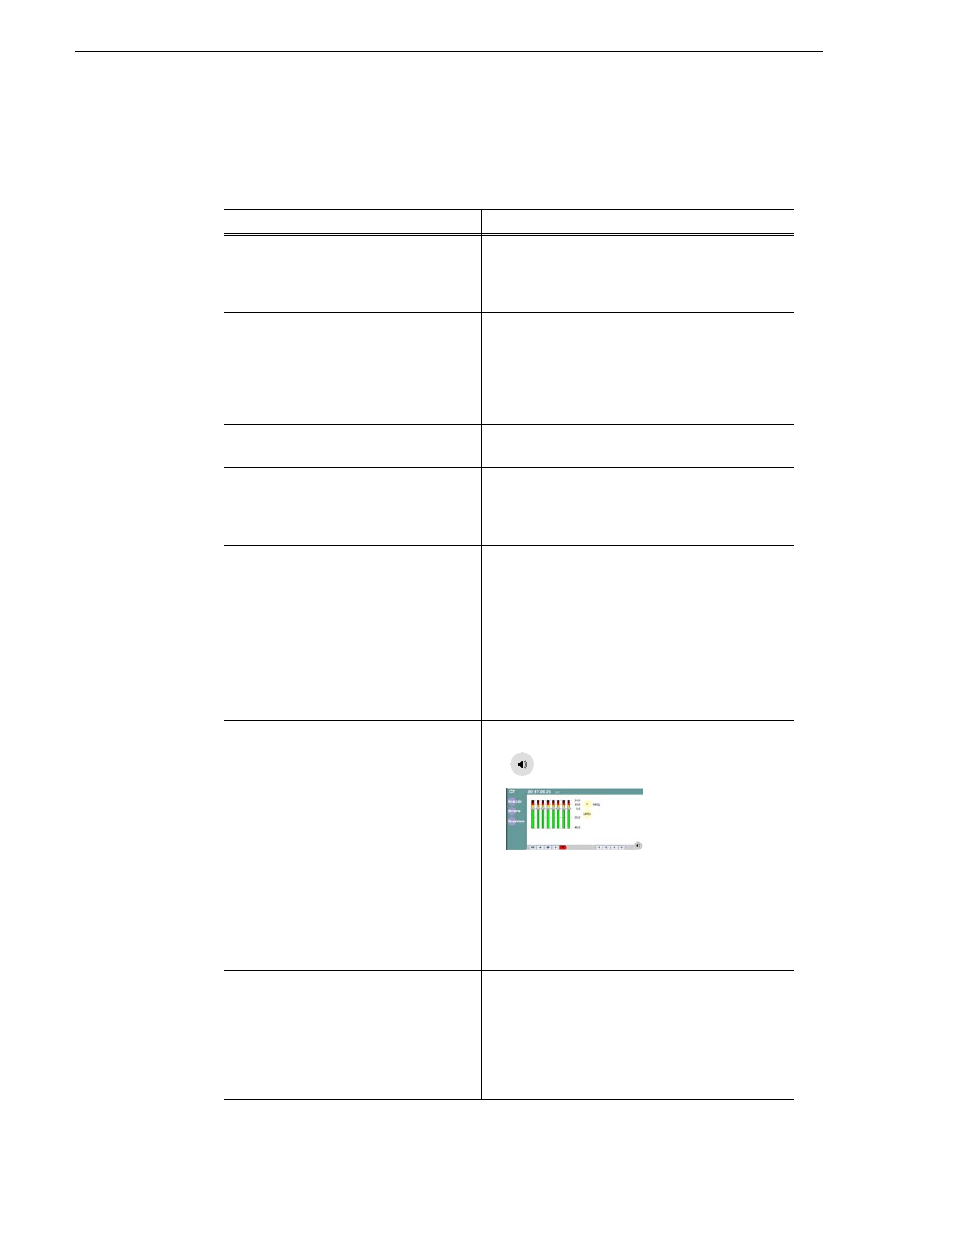
Adjust audio level (if needed)
You can use the audio leveling feature to
adjust the analog or digital audio input
levels, excluding dolby encoded digital
audio.
1. In the Recorder pane, select the
Meter bar
button.
2. Adjust audio level using the graphical
faders. Select the Meter bar button
again to return to Recorder view.
Verify video compression settings
Choosing a video compression setting is a
trade-off between image quality and
storage capacity. Higher video quality
produces larger files which take up more
storage space and take longer to transfer to
external devices.
Select
System | Configuration
to modify the video
compression settings.