Figure 74 – Grass Valley Maestro Master Control v.1.7 User Manual
Page 101
Maestro — Channel Branding User Guide
97
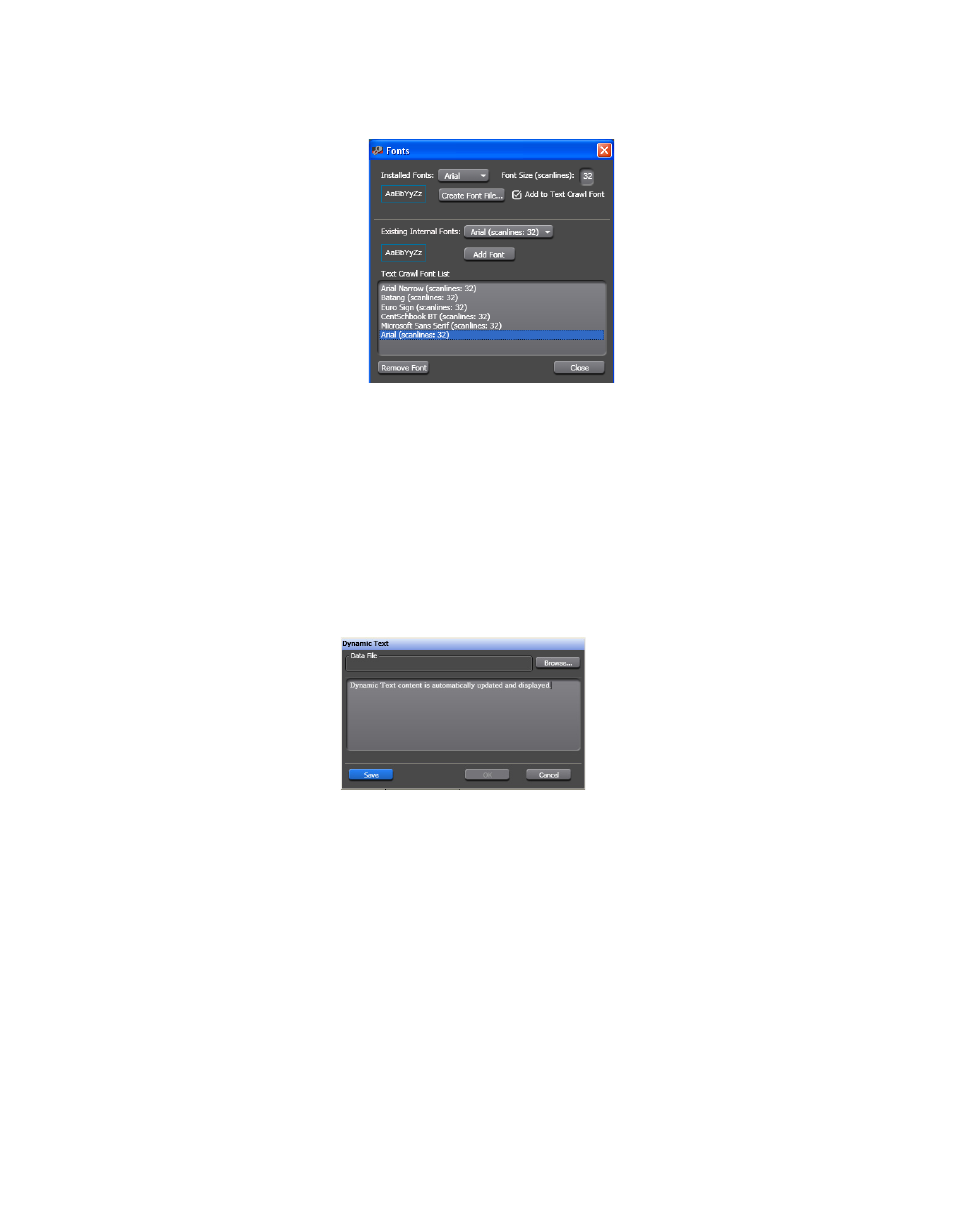
Branding Element Visual Tool
Figure 74. Branding Element Visual Tool - The Fonts Dialog Font Added
8.
Click the
Close
button.
Adding Dynamic Text
Dynamic Text content is automatically updated and displayed.
Follow these steps to add Dynamic text:
1.
Click the
Dynamic Text
button. The Dynamic Text dialog will then appear
Figure 75. Branding Element Visual Tool - The Dynamic Text Dialog
2.
Enter the text that will be used in the Dynamic text file.
3.
Click the
Save
button. The Select Data File Name dialog will then
appear.
4.
Enter a name that the file will be called in the File name field and then
click the
Save
button. The Dynamic Text dialog will then reappear with
the
OK
button active.
Note
Dynamic files are named with the .dat file extension. For example, dynamic
text.dat.
5.
Click the
OK
button. The location of the Dynamic text file will then
appear in the field next to the Dynamic Text button in the Properties
section.