Mount the torch, Mount the torch -10, Powermax – Hypertherm Powermax65 Service Manual Rev.1 User Manual
Page 58
Torch SeTup
3-10
powermax
65/85 Service Manual
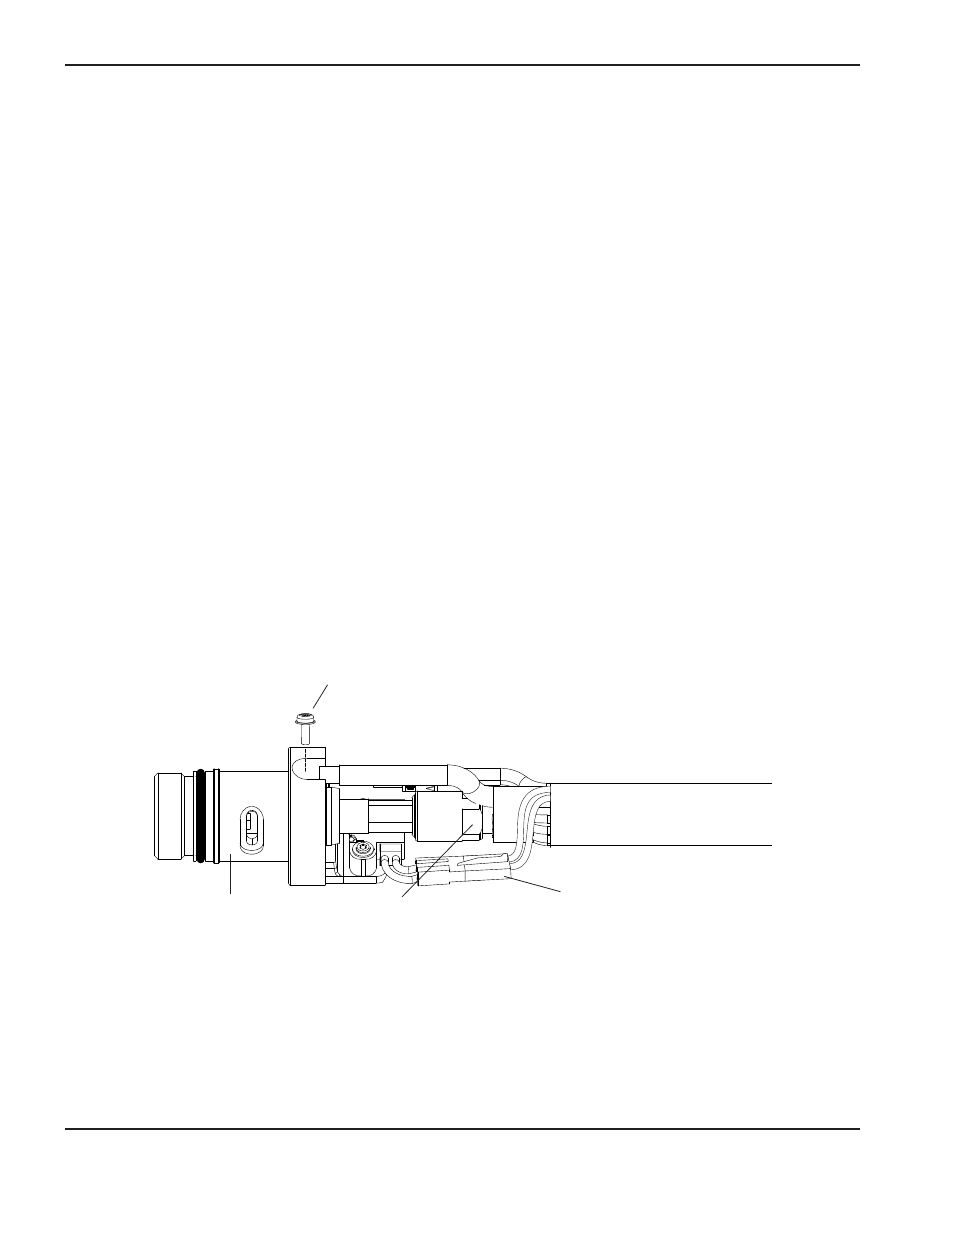
Mount the torch
Depending on the type of cutting table you have, you may or may not need to disassemble the torch to route it through
the track and mount it. If your cutting table’s track is large enough for you to thread the torch through it without removing
the torch body from the lead, do so and then attach the torch to the lifter per the manufacturer’s instructions.
Note: The Duramax machine torches can be mounted on a wide variety of X-Y tables, track burners, pipe bevelers,
and other equipment. Install the torch per the manufacturer’s instructions and follow the instructions below
for disassembly if necessary.
If you need to disassemble and reassemble the torch, refer to the figures in the section 3-7 Machine torch setup and
follow these instructions.
Note: While disconnecting and reconnecting the torch parts, maintain the same orientation between the torch head
and torch lead. Twisting the torch head in relation to the torch lead can cause damage.
1. Disconnect the torch lead from the power supply and remove the consumables from the torch.
2. Unscrew the strain relief body from the strain relief nut and slide the strain relief body back along the torch lead.
3. Unscrew the strain relief nut from the positioning sleeve (full-length machine torch) and slide the nut back along the
torch lead.
4. Unscrew the positioning sleeve from the coupler.
5. Unscrew the coupler from the mounting sleeve.
6. Remove the three screws from the consumables end of the mounting sleeve and slide the mounting sleeve off the
front of the torch body.
Gas supply line
connection
Torch head
Pilot wire
terminal screw
Wire connector for
cap-sensor switch