Hypertherm Powermax30 AIR Service Manual User Manual
Page 198
198
Powermax30 AIR Service Manual 808850
7 – Torch Component Replacement
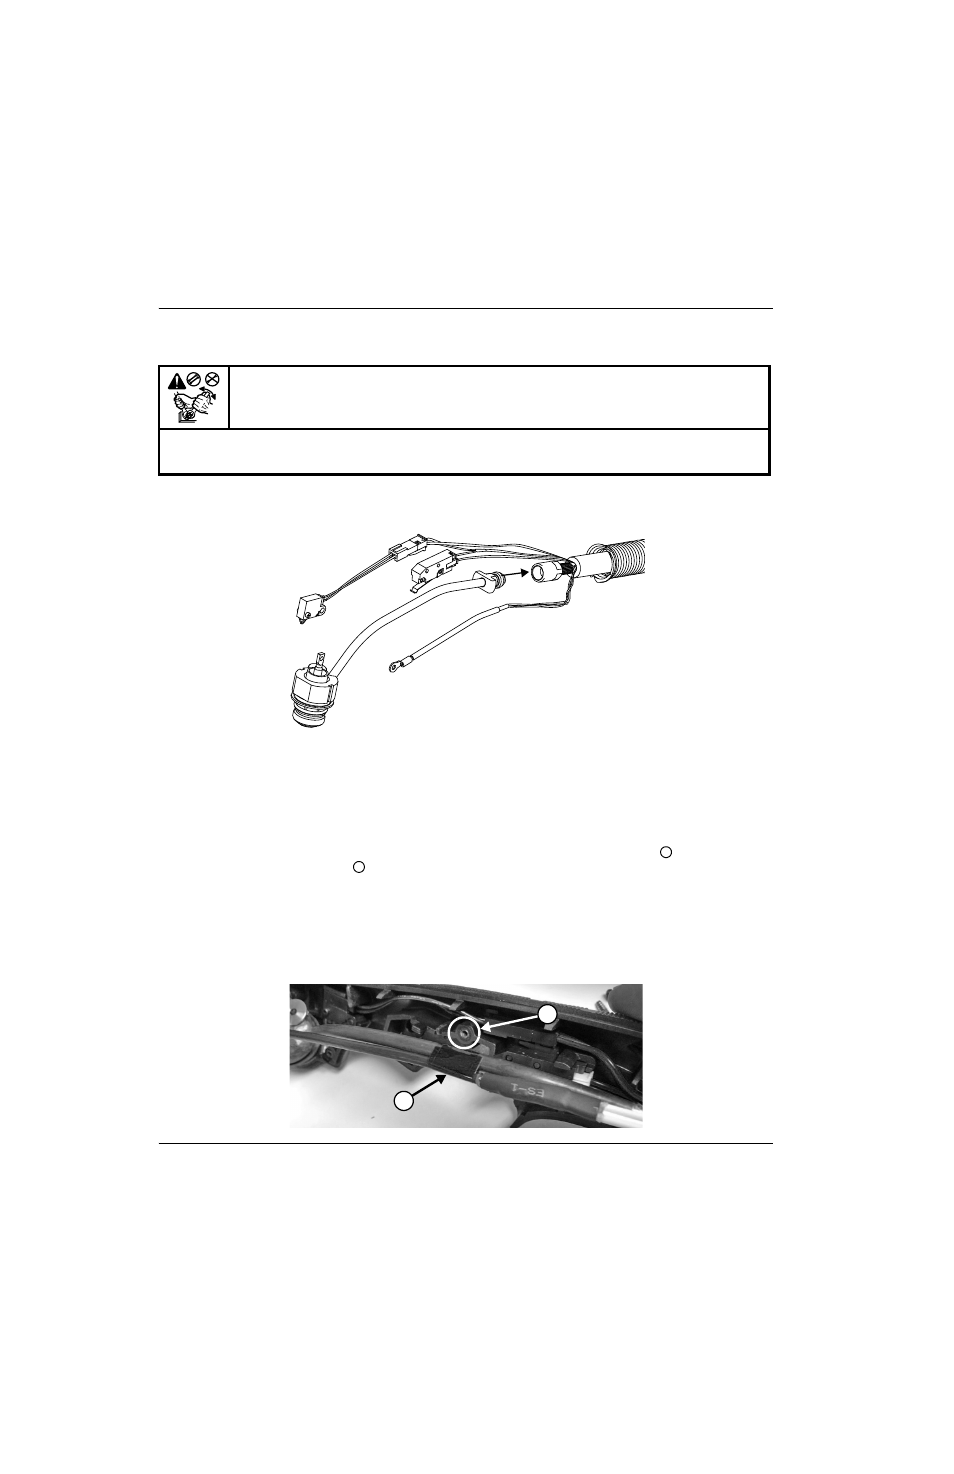
5. Use 2 wrenches to loosen the gas fitting that attaches the torch body to the torch lead.
Figure 105
6. Thread the torch body into the new torch lead to finger tight plus 1/4 turn.
7. Tighten the screw that attaches the torch power wire to the torch body until the ring terminal is snug against the
plunger. See
Figure 104 on page 197 for the screw installation order. It is important that the screw be installed as
shown.
8. Use a small strip of electrical tape to attach the torch power wire to the torch body’s gas tube
. Apply the tape so
that it will be above the post hole
shown in
Figure 106 when the torch body is in the handle. Make sure the wire
runs alongside the gas tube, as shown in
The tape holds the power wire in place and prevents the wire from getting pinched. Do
not pull the wire too tight when you attach it to the gas tube.
Figure 106
CAUTION!
Always use two wrenches to properly loosen and tighten the hex nuts and bolts mentioned in these
procedures.
1
2
1
2