Test 9 – internal – Hypertherm Powermax30 AIR Service Manual User Manual
Page 91
Powermax30 AIR Service Manual 808850
91
5 – Troubleshooting and System Tests
Test 9 – internal compressor, compressor-driver board, and power board
If the internal compressor fault LED and temperature fault LED both illuminate, the root cause may be:
Faulty internal compressor
Faulty compressor-driver board (PCB3)
Faulty power board (PCB2)
Use this test to systematically check each of these 3 components to determine which one needs to be replaced.
For a high-level overview of this procedure, see
Process flow for troubleshooting internal
compressor and temperature fault LEDs on page 220.
Turn OFF the power and remove the cover
1. Set the power switch to OFF (O), and disconnect the power cord from the power source.
2. Remove the power supply handle and cover. See Remove the power supply cover on page 98.
3. Remove the component barrier. See Remove the component barrier on page 100.)
Test 9a – Check the diagnostic LED (D5) on the compressor-driver board
4. Reconnect the power cord, and set the power switch to ON (I).
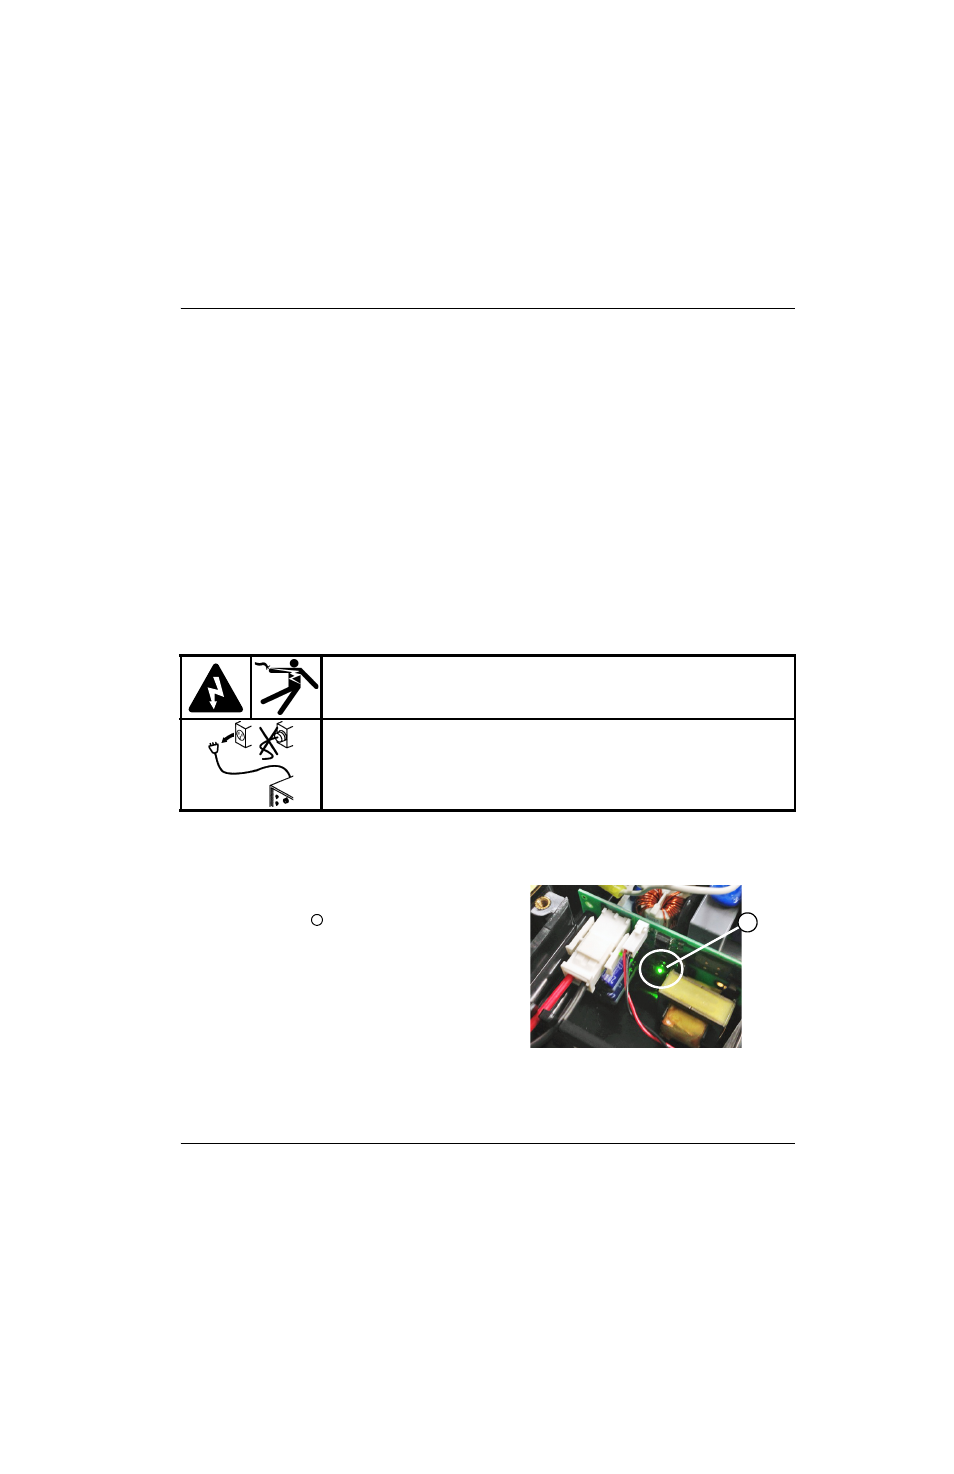
5. Quickly tap the torch trigger to force gas flow
without firing an arc, then watch the green
diagnostic LED (D5)
on the compressor-driver
board. Does the LED illuminate while the torch is
being fired?
a. If yes, check the internal compressor. Skip to
b. If no, continue with the next step.
The D5 diagnostic LED indicates whether or not
there is 15 VDC output from the
compressor-driver board to the internal
compressor.
6. Set the power switch to OFF (O).
WARNING!
ELECTRIC SHOCK CAN KILL
Use extreme caution when working near live electrical circuits. Dangerous
voltages exist inside the power supply that can cause serious injury or death.
See the WARNING! on page 57 before proceeding.
1
1