Step 6 – check the indicator leds, What to expect during and after cutting, Postflow – Hypertherm Powermax30 AIR Service Manual User Manual
Page 47: Internal compressor and fan activity, Water under the power supply
Powermax30 AIR Service Manual 808850
47
4 – Operation
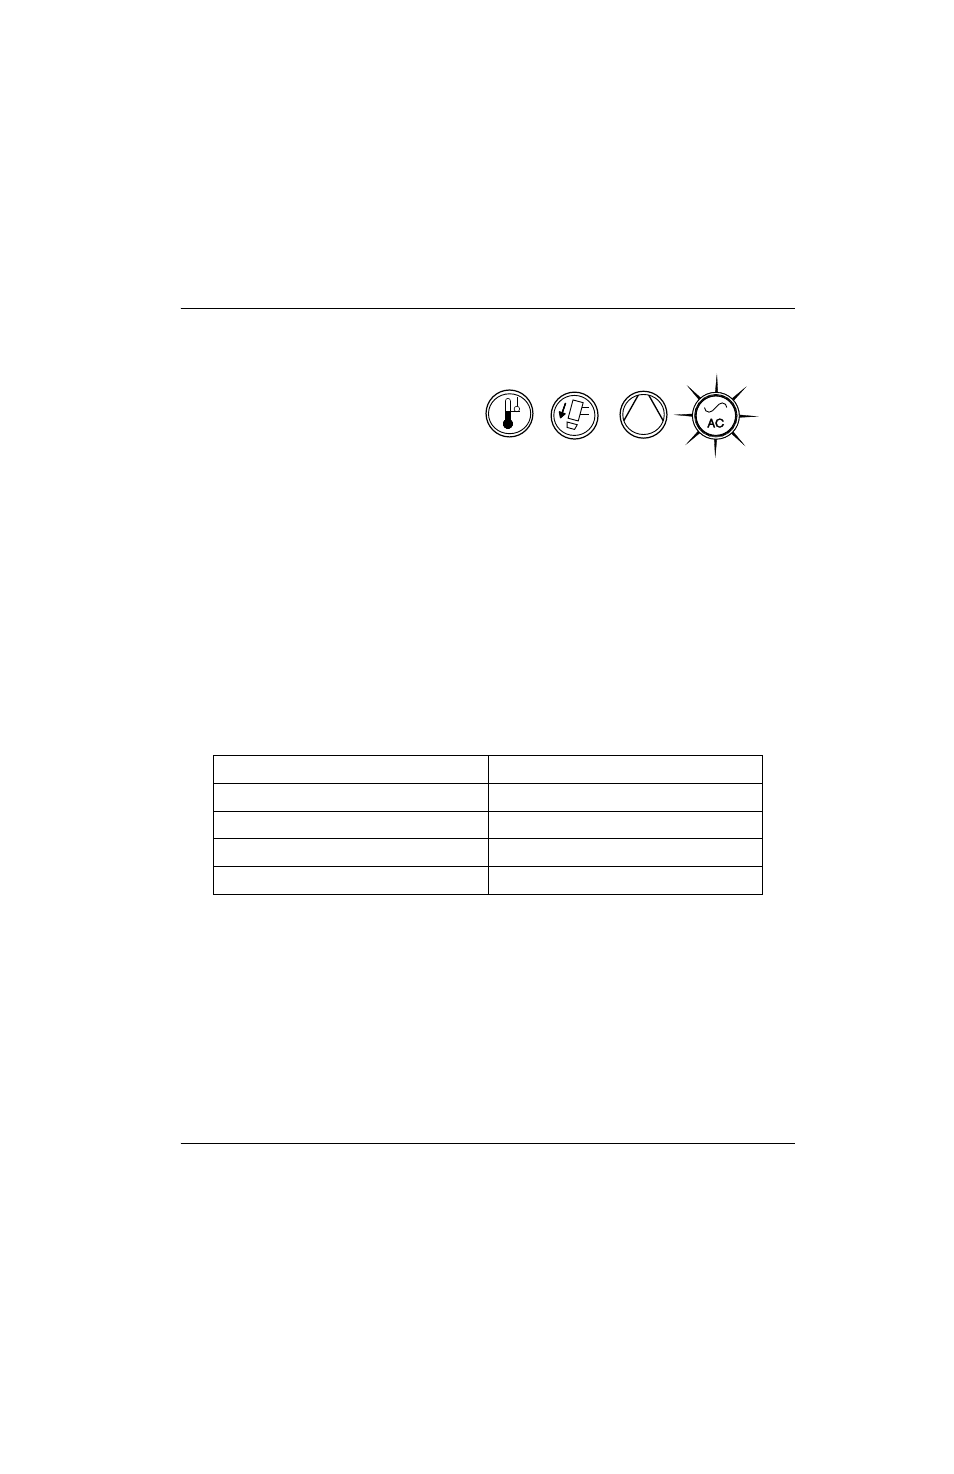
Step 6 – Check the indicator LEDs
Make sure the green power ON LED on the front
of the power supply is illuminated and that none of
the other LEDs are illuminated or blinking.
If the temperature, torch cap sensor, or internal
compressor LEDs illuminate or blink, or if the
power ON LED blinks, this indicates a fault.
Correct the fault condition before continuing. See
Troubleshooting guide on page 63 for more
information.
Step 7 – Make sure the system is ready, and start cutting
When the power ON LED illuminates, none of the other LEDs illuminate or blink, and the amperage knob is set, the
system is ready for use.
What to expect during and after cutting
Postflow
After you complete a cut and release the torch trigger, air continues to flow from the torch in order to cool the
consumables. This is referred to as
postflow.
The length of postflow depends on how long the torch fired a sustained arc:
Internal compressor and fan activity
The internal compressor runs while you are cutting, and it continues to run during postflow.
The fan inside the power supply runs for 7 minutes after postflow. It also runs intermittently during cutting.
Water under the power supply
When cutting, you may see a small puddle form underneath the power supply because the system automatically
purges excess moisture from the internal compressor. It expels this water through a hole in the bottom of the power
supply.
Length of time arc was sustained
Length of postflow
0 – 5 seconds
5 seconds
> 5 – 21 seconds
10 seconds
> 21 – 135 seconds
15 seconds
> 135 seconds
20 seconds