1 create account – Niveo Professional NNAS-R4 User Manual
Page 153
NAS System
User Manual
153
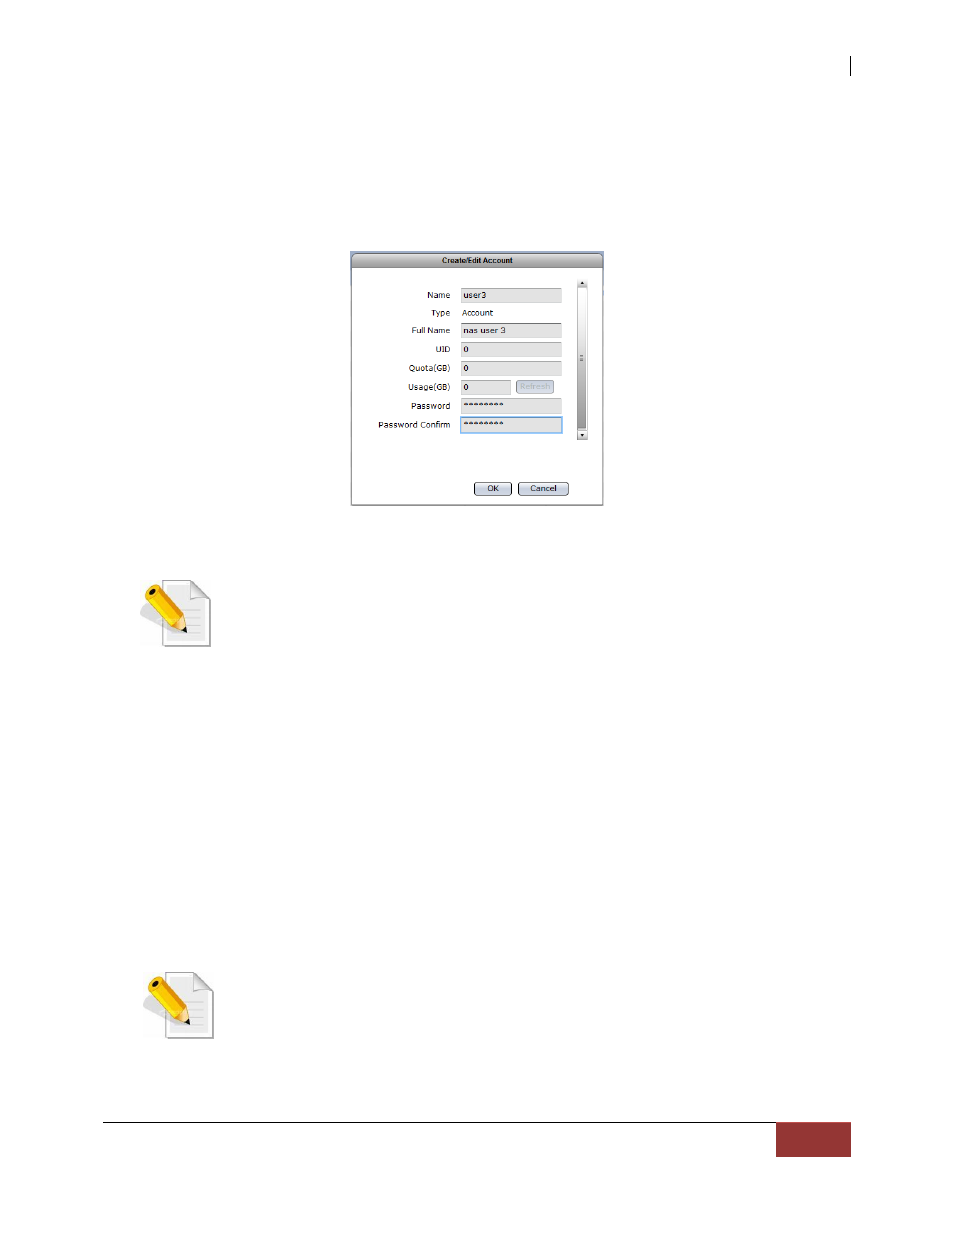
3.4.1.1 Create Account
Steps to Create Account:
1. Click “Create Account” button.
2. A dialog box will be displayed. Enter the necessary information.
Create/Edit Account Options:
Name – Used this option to enter the user account name. It should be unique.
NOTE: The account name does not allow space in-between characters.
Duplicate account name is also not allowed. Names used by the
system, such as root, nobody, mail, adm, etc., are reserved names
and cannot be used as account name.
Type – Displays the type. Shows Account for user account.
Full Name – Use this option to enter user account full name.
UID – Use this option to manually assign a UID for the account. Use a valid
UID starting from 500. If this option is not set (UID is 0), the system
will automatically assign UID starting from 500. Domain accounts will
have UID from 10000 to 30000.
Quota (GB) – Use this option to assign quota to the user account’s home
folder. Default quota is 0, which means no limit (or will use the total
capacity of home folder).
Usage (GB) – read-only information which shows the user account’s current
usage of home folder.
Password – Enter the user account’s password.
Password Confirm – Enter again the user account’s password.
NOTE: The setting for “Quota (GB)” when creating or editing a user
account applies only to the home folder of the user account. This is
different from the user account’s quota for other share folders. The
setting of a user account quota for a share folder is done in the Share
folder itself, in the Privilege section.