Niveo Professional NNAS-R4 User Manual
Page 69
NAS System
User Manual
69
3.1.3.5 Accessing Share Folder from Windows Clients via Samba
NOTE: Make sure Samba service is enabled in System Service, and
Samba protocol is enabled in Storage/Share Share/Security
Share Protocol Setting Windows(Samba).
Make sure the account that will be used to login the share folder has
permission or already added in Storage/Share Share/Security
Share Privilege. By default, all local NAS accounts, which belong to
“users” group, have read/write permission to share folders.
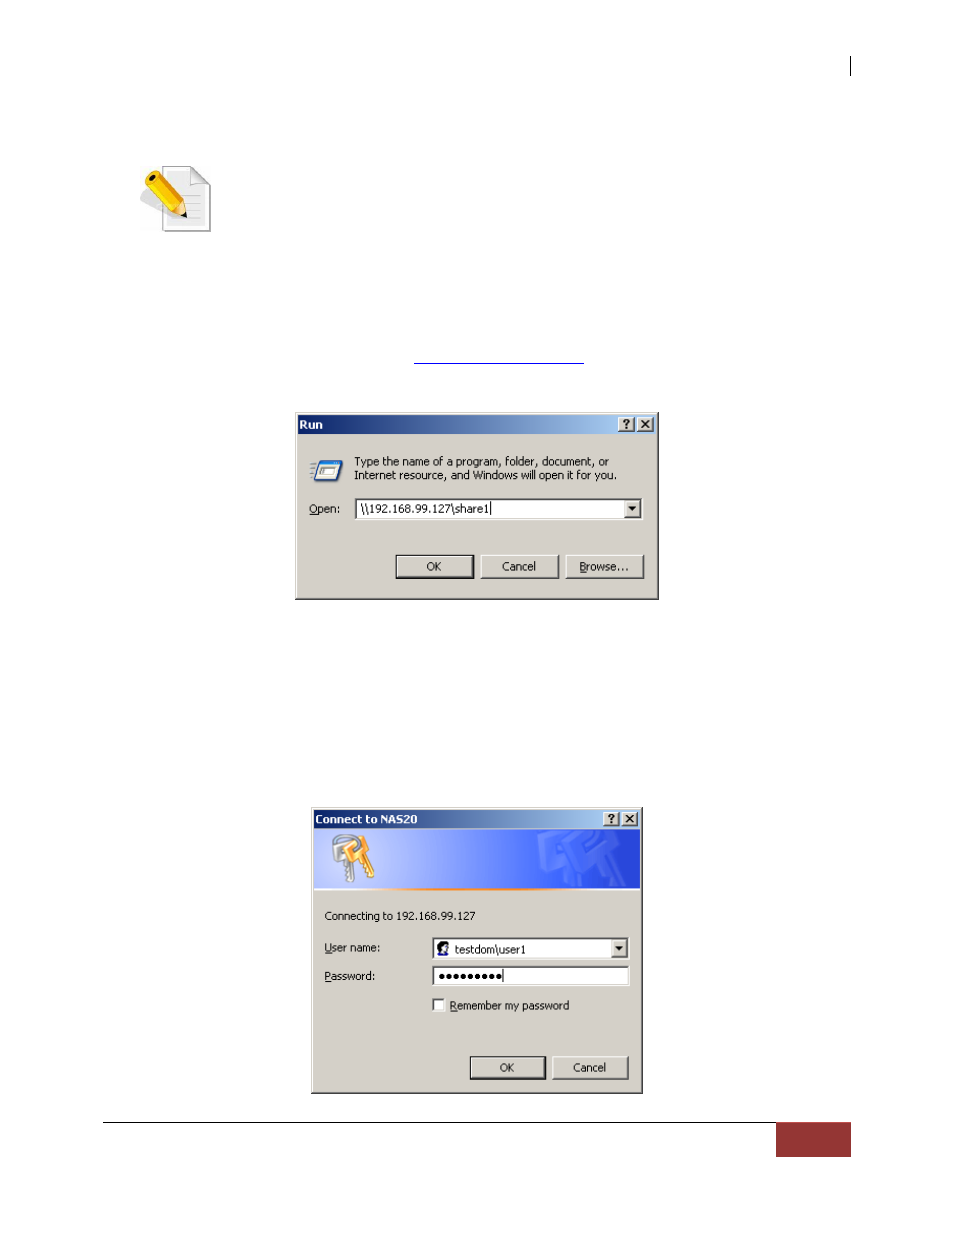
1. To access the share folder from Windows client PC, click “Start” then “Run”. Enter in
the Open input box as follows:
\\x.x.x.x\share-name
, where x.x.x.x is the NAS IP.
For example: \\192.168.99.127\share1
NOTE: You can also use the NAS host name, if DNS is setup in Network Device
Configuration and in DNS server (NAS host name is added).
2. Enter the login account and password. If login account is a Windows domain account,
use the domain name followed by account name, such as Domain-name\Account-
name. For example: testdom\user1