1 create new share folder – Niveo Professional NNAS-R4 User Manual
Page 59
NAS System
User Manual
59
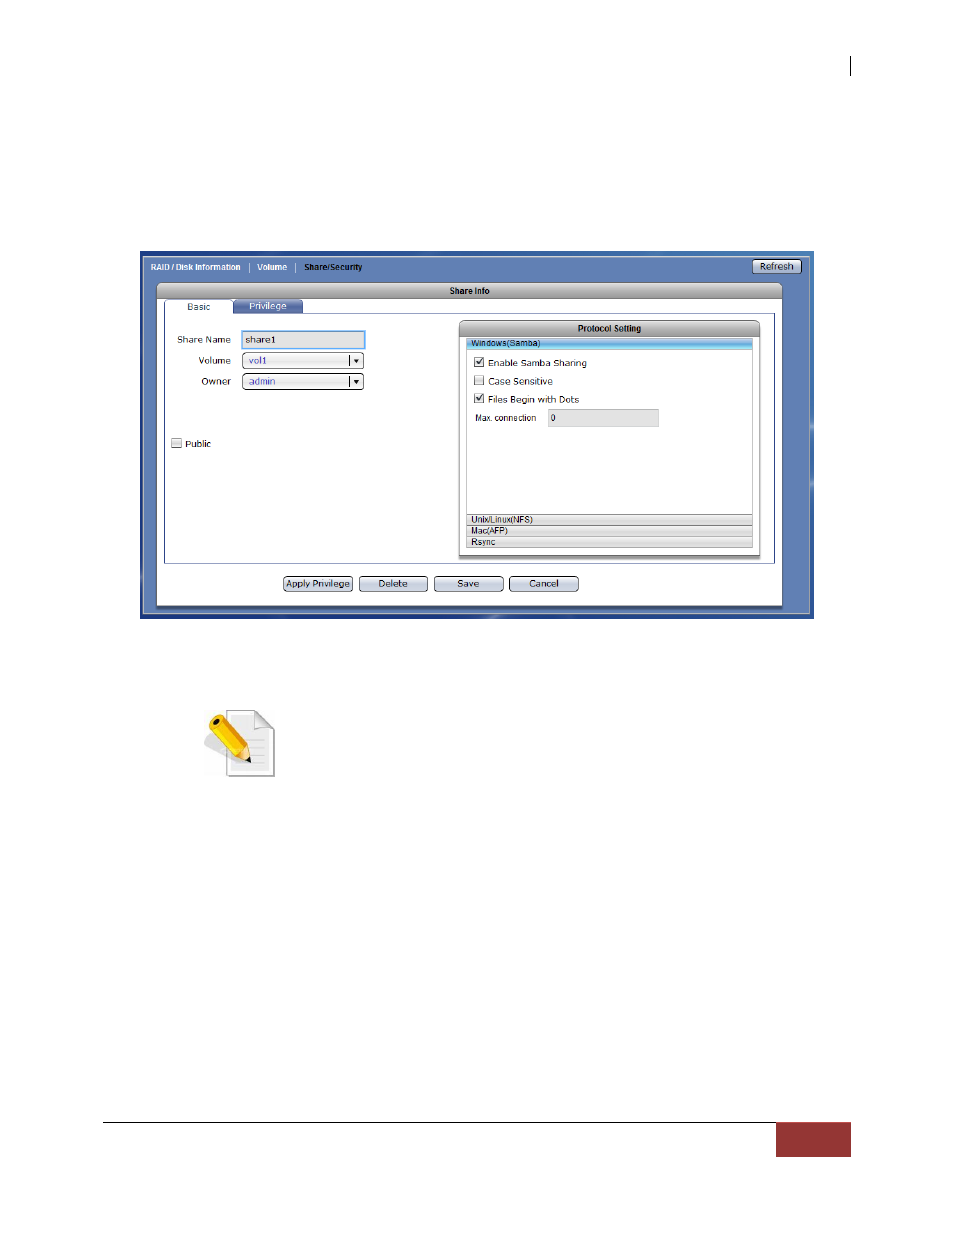
3.1.3.1 Create New Share Folder
Steps to Create New Share Folder:
1. Click “Create Share Folder”.
2. The Share Folder Basic Configuration screen will be displayed. Configure the
necessary options.
Share Configuration Options:
Share Name – Enter the share folder name.
NOTE: The share folder name does not allow space in-between
characters.
NOTE: If the share folder is designated as WEB target share
folder, do not enable “Public” option.
Volume – Select the Volume where the share folder will be created.
Owner – Set the owner of the share folder. By default, admin owns all share
folders.
Public – When enabled (checked), the share folder is accessible to all users.
Share Configuration Buttons:
Apply Privilege – Use this to propagate the ACL from the parent share folder
(the share name created in this GUI) into its child directories or sub-
directories (sub-folders) and files. For example, if user1 has read/write
permission on a sub-directory but read-only on the main share folder,
after applying privilege, user1 will now have a read-only permission on
the sub-directory.
Delete – Use this to delete the share folder.
Save – Use this to save changes made.
Cancel – Use this to undo changes made.