Kip graphics pro – KIP Graphics Pro User Manual
Page 26
KIP Graphics Pro
No part of this publication may be copied, reproduced or distributed in any form without express written permission
from KIP. 2015 KIP. v1.
- 26 -
(e.g. glossy paper) as some ink types do not dry on certain media.
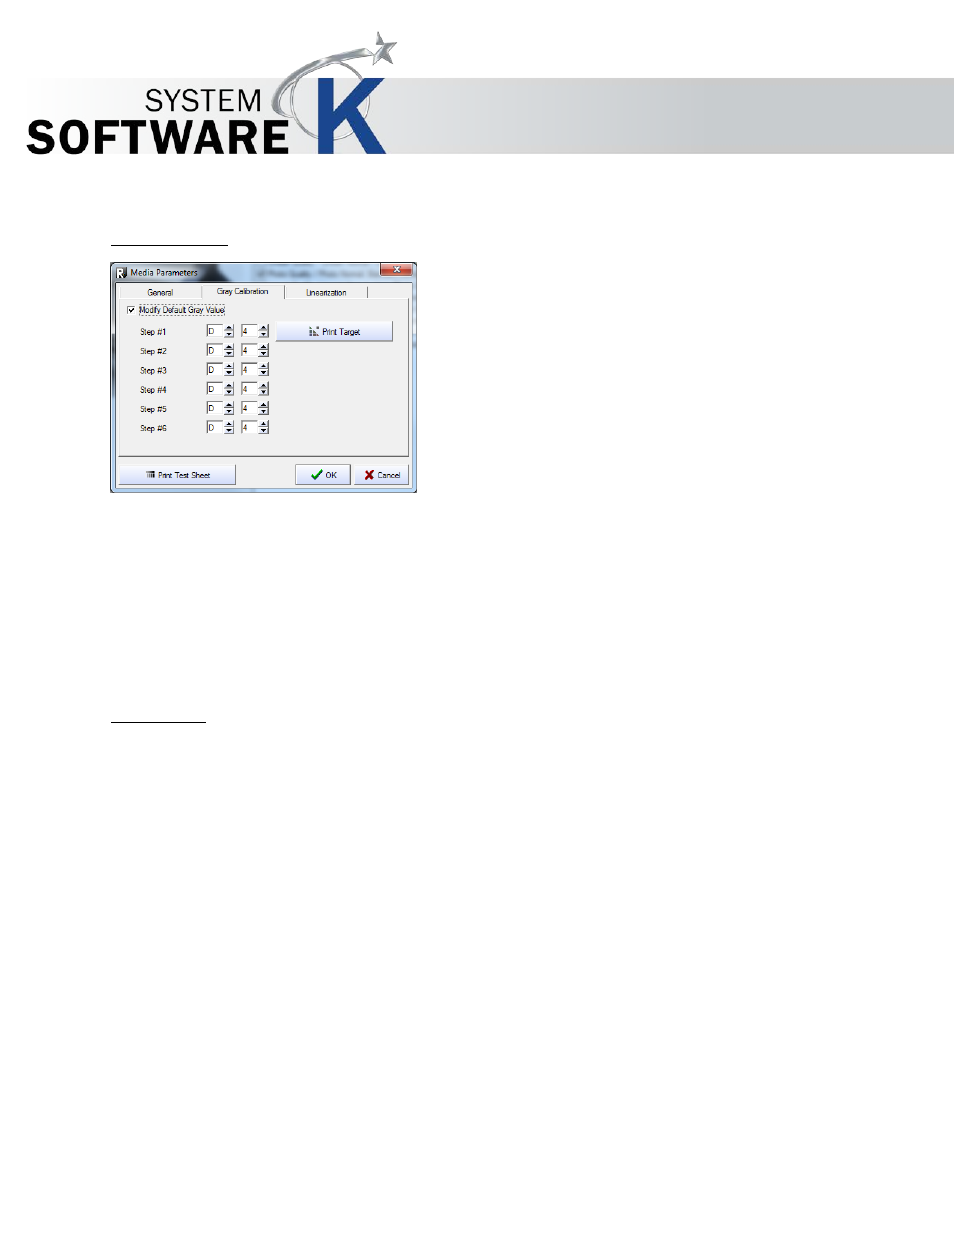
3. Gray Calibration
A gray calibration may help reduce color shifts in gray areas.
To make a gray calibration, proceed as follows:
•
Check the box
M
O D I F Y D E F A U L T
G
R A Y
V
A L U E
.
•
Click
P
R I N T
T
A R G E T
to get a calibration target.
•
Cut out the black & white mask on the left of the target along the trim lines and take the square out of the center.
•
With the mask, find the most neutral gray tone within each level and enter the corresponding coordinates in the
window.
•
Check the new settings via
P
R I N T
T
E S T
S
H E E T
.
4. Linearization
Every LED printer has a slightly different curve of printing density. To achieve linear colors you can calibrate KIP Color 80 and
KIP Color 7800 with a spectrometer.
Please select your appropriate spectrometer press Print Target and afterwards start Measure Target.
For a successful linearization the date and time will be displayed.