Copies, Printer, Mediua – KIP Graphics Pro User Manual
Page 67: Print mode, Filter, Kip graphics pro
KIP Graphics Pro
No part of this publication may be copied, reproduced or distributed in any form without express written permission
from KIP. 2015 KIP. v1.
- 67 -
By default, the original size entered is taken as the output size. The output size can be increased or reduced by a
percentage. You may of course enter the desired copy size directly in millimeter or inch. The copy width or length
always changes proportionally when you alter one of these parameters.
The
S
E T
S
I Z E
button opens a menu, where you can pick a predefined size or decide to print with
M
A X I M U M
P
R I N T
S
I Z E
depending on the size of the medium in use.
Hint: With the key combination Ctrl and Page-up, the maximum print width will be displayed.
Copies
Enter the number of copies required under
C
O P I E S
. If a test copy is supposed to be done first, set the number of copies to "1".
The option
J
O B
C
O U N T
given below the tab area is not to be confused with the number of
C
O P I E S
, since
J
O B
C
O U N T
defines the number of repetitions of the same job, whilst
C
O P I E S
sets the number of the selected document. Just pay attention
to the information under the
N
O
. column in the job list after altering the
J O B
C
O U N T
or
C
O P I E S
parameters.
Printer
Select the desired output device from the drop down list which contains all installed printers and queues.
The button next to the printer list opens the window for the printer/queue configuration. The dialog for the printer
configuration is device-dependent:
In the tab
P
R I N T
O
P T I O N S
you can change the settings of your printer. In the tab
P
L A C E M E N T
you set additional
arrangements of the picture. In the tab
C
O S T
T
R A C K I N G
you may enter information for KIP Track. If values are
mandatory, KIP Color RIP will open the dialog during job submission.
Mediua
A selection of different media is displayed under
M
E D I U M
. Select the paper type you want to use for your output.
All calibrated paper types are displayed with black letters, whereas the paper types with red fonts have not been calibrated yet
or are not available for the selected printer. A description of the problem is shown when pointing to the medium name.
You will only be able to start the output if you have selected a calibrated paper type.
The list of media can individually be set and calibrated for every printer by clicking on the configuration button left of
the media drop down list. It will take you to the
C
O N F I G U R A T I O N
/
L
O A D E D
C
O N S U M A B L E S
as known from
T
HE
C
ONFIGURATION
W
IZARD
. There is again the possibility to
E
D I T M E D I A
by using the corresponding button which takes
you to the
D
E F I N E
M
E D I A
dialog.
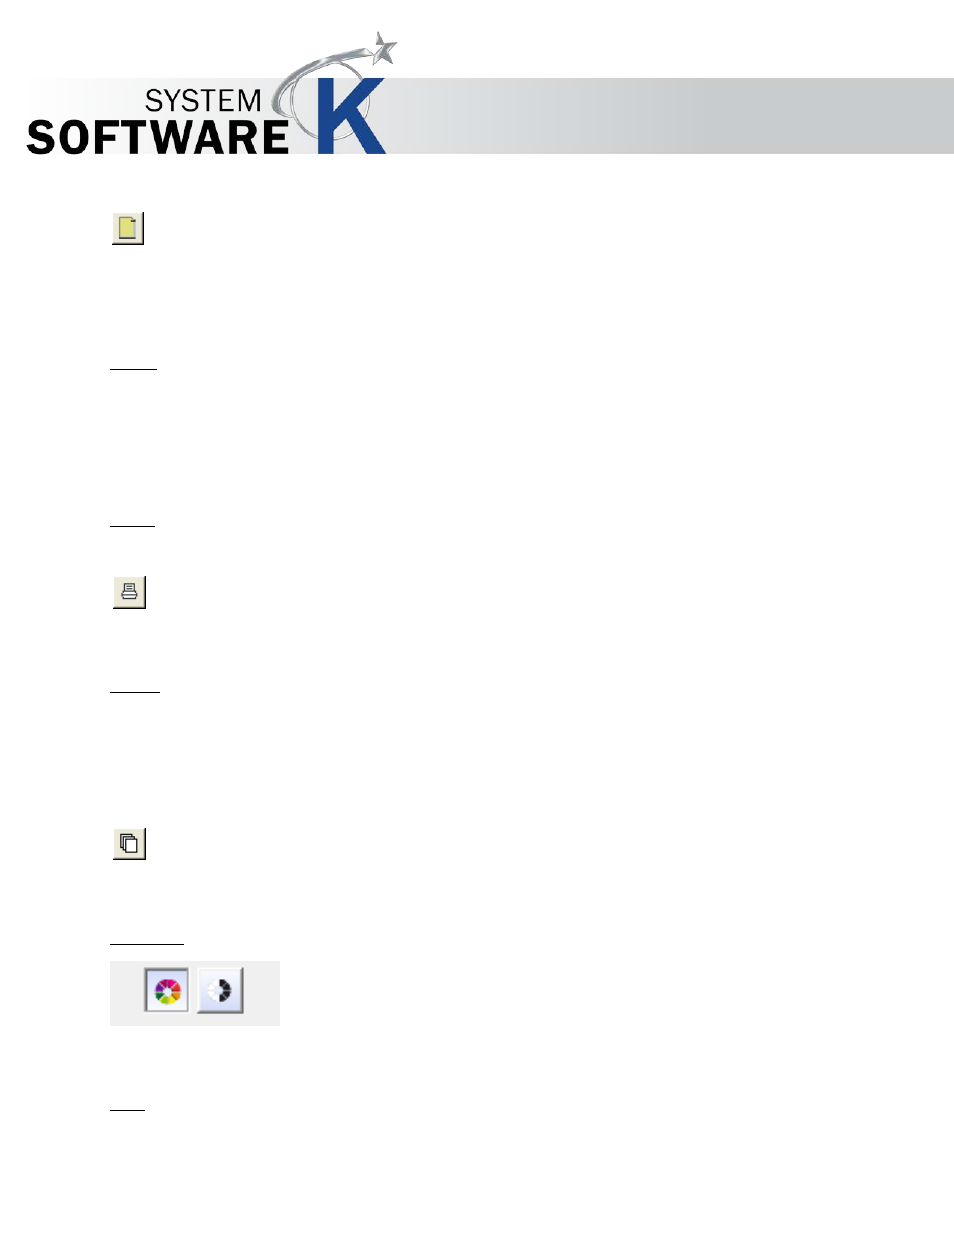
Print Mode
Select the print mode. You may choose color or gray scale / b/w mode.
The availability of selections is file and device dependent.
Filter
Select the corresponding color mode. You may choose color, gray scale or b/w mode. The availability of selections is file
dependent.