Save / load pen parameters, Preview, Job count – KIP Graphics Pro User Manual
Page 75: Reverse print order, Filter editor, Arameters, Review, Kip graphics pro
KIP Graphics Pro
No part of this publication may be copied, reproduced or distributed in any form without express written permission
from KIP. 2015 KIP. v1.
- 75 -
Select one of the 48 basic colors.
Confirm with
O K
.
The selected color is assigned to the corresponding pen.
Repeat this process for each color.
With the menu field
D
E F I N E
C
U S T O M
C
O L O R S
, you can define more color tones and save or assign them to the corresponding
pen as user-defined colors.
Save / Load Pen Parameters
You have the option to save the altered pen parameters of a file for later applications using the icon
S
A V E
. The
parameters are then stored under a filename (e.g. customer, employee or project) that gets the addition "
P E N
". Using
the icon
L
O A D
, the parameter file can be reloaded at any time.
Preview
If you click on the button
P
R E V I E W
, you will get to the preview window for HPGL files. The HPGL file will be displayed with the
current settings (line thickness, colors, rotate file etc.).
If you want to check details of the drawing, you have the option to enlarge sections. To do this, draw a rectangle with the left
mouse button and click on the button
Z
O O M
I
N
. This can be repeated several times.
With the button
Z
O O M
O
U T
, the drawing can progressively be reduced again.
With the cursor keys to the right of the button
Z
O O M
O
U T
you can move the enlargement half the size of the section to the right,
left, up or down. With the rhombus, the complete picture (full picture) is recovered.
The status line in the lower part of the window shows the size of the window as well as the size of the drawing.
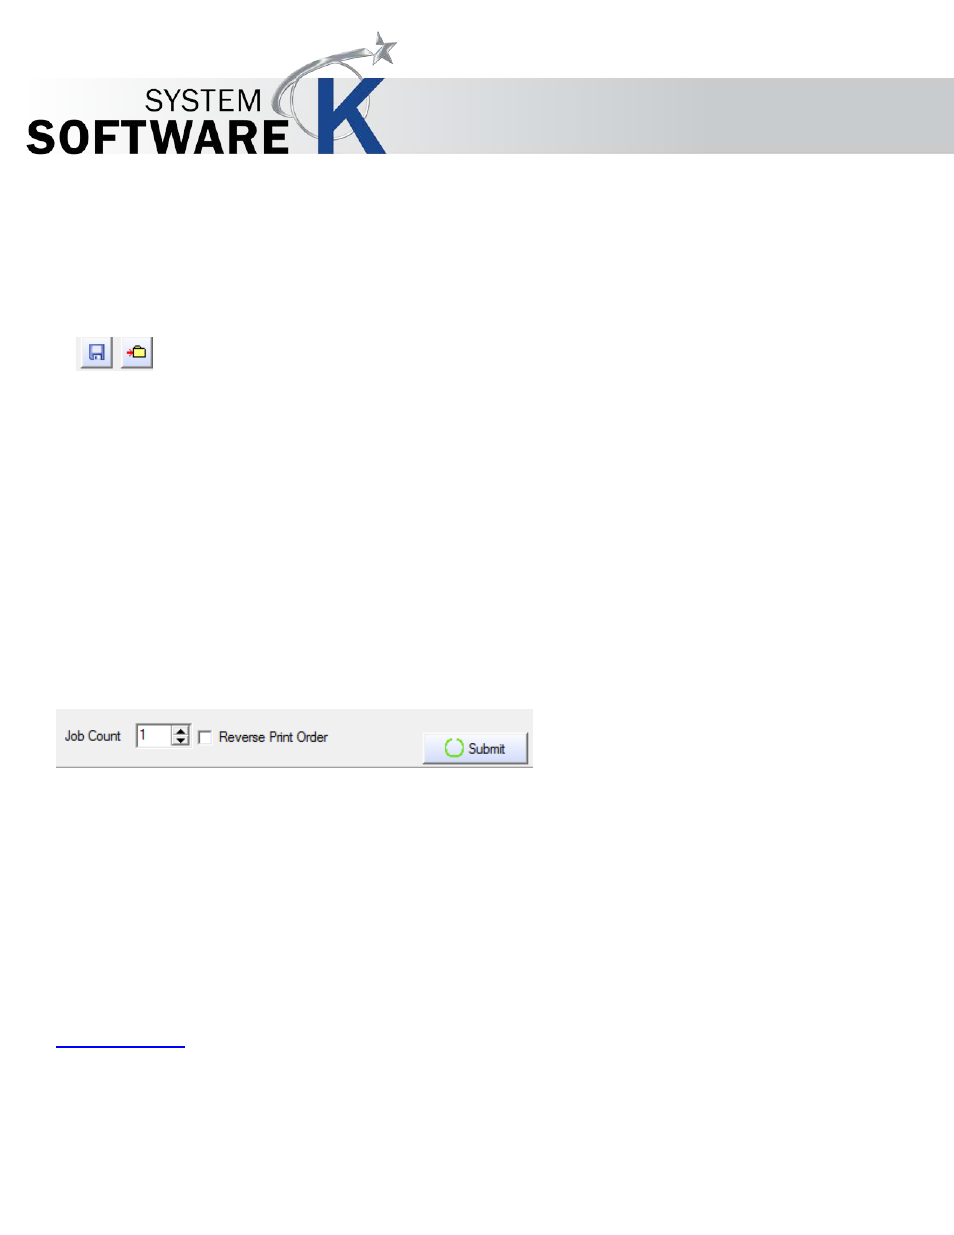
Job Count
It shows how many times this job will be printed.
Reverse Print Order
Activate this box to start printing with the last jobs listed.
Filter Editor
You will get to the filter editor by clicking the buttons
N
E W
or
C
H A N G E
inside the tab
G
E N E R A L
of the main window. After having
started the filter editor, the name of the loaded filter or “
N
E W
” is displayed on the upper boundary of the window.
You will start with the simple version of the filter editor. To open the expert level, just press the button
E
X P E R T
at the bottom part of
the filter editor window. If you want to activate the expert mode as your default filter editor, erase the checkmark at
S
I M P L E
F
I L T E R
E
D I T O R
B Y
D
E F A U L T F O R
R I P
to be found at
P
R E F E R E N C E S
(menu bar)
tab
G
E N E R A L
.