Hint: using the adaptive sharpness filter, Kip graphics pro – KIP Graphics Pro User Manual
Page 85

KIP Graphics Pro
No part of this publication may be copied, reproduced or distributed in any form without express written permission
from KIP. 2015 KIP. v1.
- 85 -
clear edit.
Hint: Using the adaptive sharpness filter
S
H A R P
and
S
M O O T H
are combined in
A
D A P T I V E
S
H A R P N E S S
to allow you to reduce apparent raster pattern without
undesirable side-effect: text and edges remain sharp and can even be sharpened.
A
D A P T I V E
S
H A R P N E S S
is made of two unique filters, both possessing the features of
S
H A R P
and
S
M O O T H
, whose intensity
can be adjusted in the entry fields under
L
E V E L
. The upper entry field controls foreground objects that should be enhanced,
such as text, whereas the lower field is for image backgrounds needing smoothing. With both filters, you will reach a maximum
smoothing effect at 0 and a maximum sharpening effect at 100.
L
I M I T
works as a threshold. The figures entered on the abscissa are contrast values. 0 stands for minimum contrast, 100 for
maximum contrast.
The left entry field is dedicated to the background and affects the smoothing filter, which will be applied up to the value
entered. In the right entry field, corresponding to foreground objects and the sharpening filter, enter a value from which the
sharpening filter will be applied.
Both smoothing and sharpening filters will be applied to values between the two ones entered as
L
I M I T
.
To use this filter:
Open the filter editor and select the tab
S
P E C I A L
F
I L T E R
.
Make a
P
R E V I E W
.
Select
A
D A P T I V E
S
H A R P N E S S
.
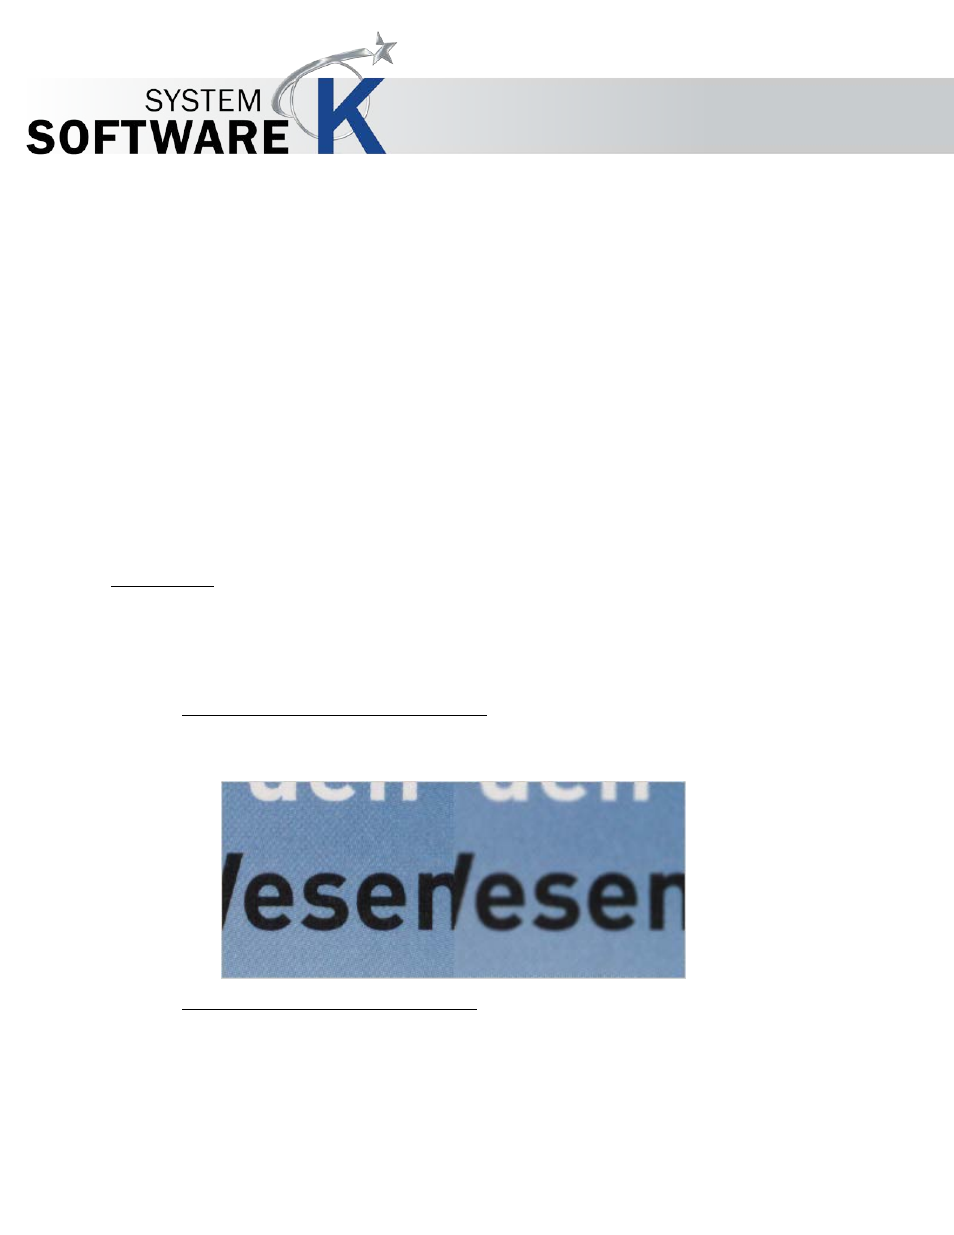
Now look in our before/after illustrations at the effects reached by the adaptive-sharpness filter:
o
Step 1: Setting the level of the smoothening filter:
Move the boxes to the extreme right in the histogram, at about the middle in the height.
You will see raster pattern in the zoom window. Move the left or lower box towards the bottom of the
histogram until the raster pattern disappears. Usually, the box must be moved almost to the base of the
histogram.
o
Step 2: Setting the level of the sharpening filter:
Move both boxes to the extreme left, but leave their position in the height unchanged.
In the zoom window, look at text sharpness. Move the upper box upwards until text is sharp enough.