Smooth, Kip graphics pro – KIP Graphics Pro User Manual
Page 86

KIP Graphics Pro
No part of this publication may be copied, reproduced or distributed in any form without express written permission
from KIP. 2015 KIP. v1.
- 86 -
o
Step 3: Setting the limit:
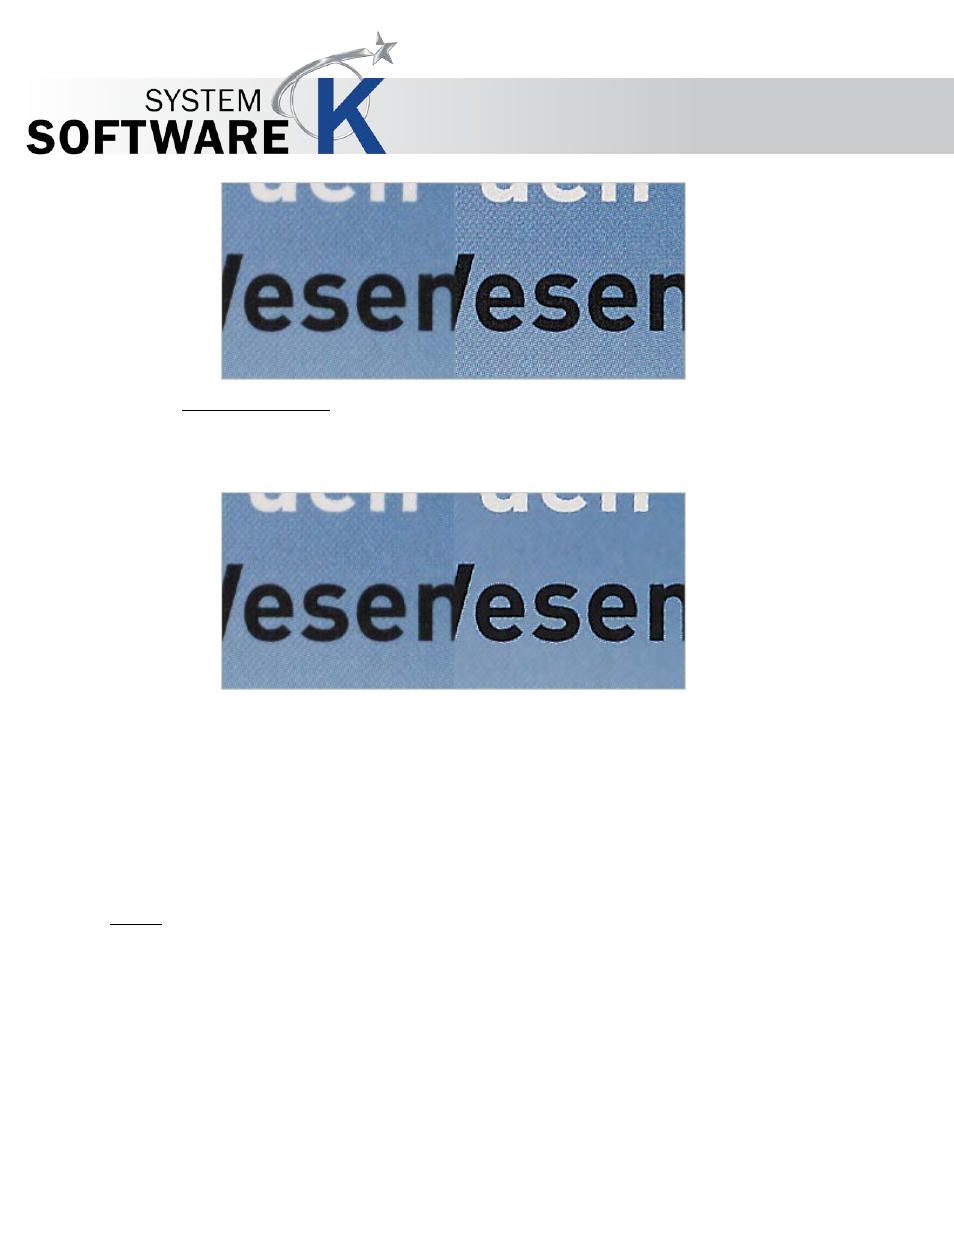
Move first the upper box, then the lower box to the left without changing their position in the height, until
raster pattern disappears and text is sharpened.
To see the effect of the filter
A
D A P T I V E
S
H A R P N E S S
, activate the radio button
N
O N E
and compare the
results you had achieved with the original image.
To edit a filter already existing, open the filter editor via the button
C
H A N G E
, and click on the tab
S
P E C I A L
F
I L T E R
.
Display a preview.
Activate the radio button
A
D A P T I V E
S
H A R P N E S S
.
To reduce raster pattern in single-color area, enter a lower value in the bottom field under
L
E V E L
in order to get a greater
smoothing effect.
Enter a larger value in the left
L
I M I T
field to apply the smoothing filter to areas with higher contrast.
To enhance edge sharpness, enter a bigger value in the upper field under
L
E V E L
in order to get a greater sharpening effect.
Enter a smaller value in the right
L
I M I T
field to lower the threshold from which the sharpening filter is active.
Smooth
This filter is intended to reduce image noise and distortions, and affects the whole picture contrast.
Edit the picture with the slider.
0: no smoothing
100: max. smoothing
Default value: 50