Rip preview, Select an area, Edit aoi – KIP Graphics Pro User Manual
Page 61: Review, Elect an, Kip graphics pro
KIP Graphics Pro
No part of this publication may be copied, reproduced or distributed in any form without express written permission
from KIP. 2015 KIP. v1.
- 61 -
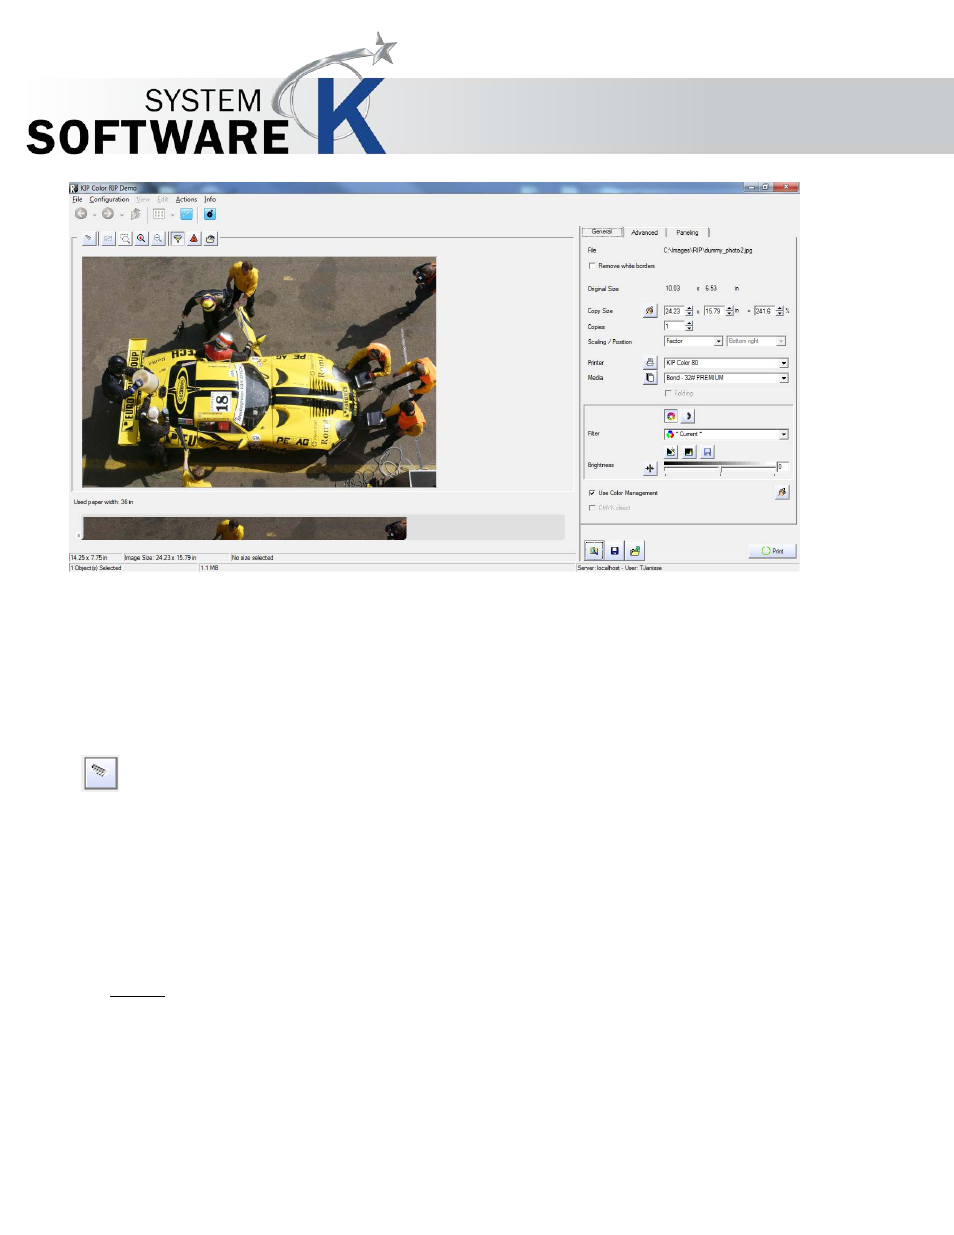
The preview of the highlighted document is shown within the main window instead of the explorer list. Additionally, a role preview is
displayed at left hand corner bottom. It gives you an impression, how the image(s) will be located on the medium role.
Changing the size of the document will have an effect on the line and column left and above the preview image which let you know
the size of the picture. Furthermore, you can find additional figures about the size of the picture at the bottom line.
You can select these following features represented by icons within the Preview window:
RIP Preview
The preview has to be recalculated as soon as sizes are changed in the tab
G
E N E R A L
or if you use a new original.
Select an Area
An arbitrary area can be defined from the preview: this is the “
A O I
” or area of interest. To set an area of interest, draw a rectangle
around the desired section, keeping the left mouse button pressed. The size of the defined area is entered as the
C
O P Y
S
I Z E
in
the tab
G
E N E R A L
.
The
A O I
can be enlarged or reduced in any direction. To do this, move the mouse pointer to an edge of the rectangle so that a
double-arrow appears. Move then this arrow in the height or width.
To move the AOI to a new position, click into the AOI and move it while keeping the left mouse button pressed.
Edit AOI
Instead of dragging the AOI manually, you can exactly determine its width, height and position and enter a scaling factor. To
open the window
E
D I T
A O I ,
right-click into the picture or in the AOI and select
E
D I T
A O I
.