Network settings, Network connection overview, Connection methods – Canon REALiS 4K501ST Pro AV 5000-Lumen LCoS Projector User Manual
Page 130: An port, P130, Fer to “network settings
Menu Settings
130
Network settings
Network Connection Overview
Connecting the projector to a network enables you to control the projector from a
computer and receive notification of projector errors via email.
Depending on the method of network connection, preparation on the computer side
may be necessary. The following is an explanation of preparation on the computer
side.
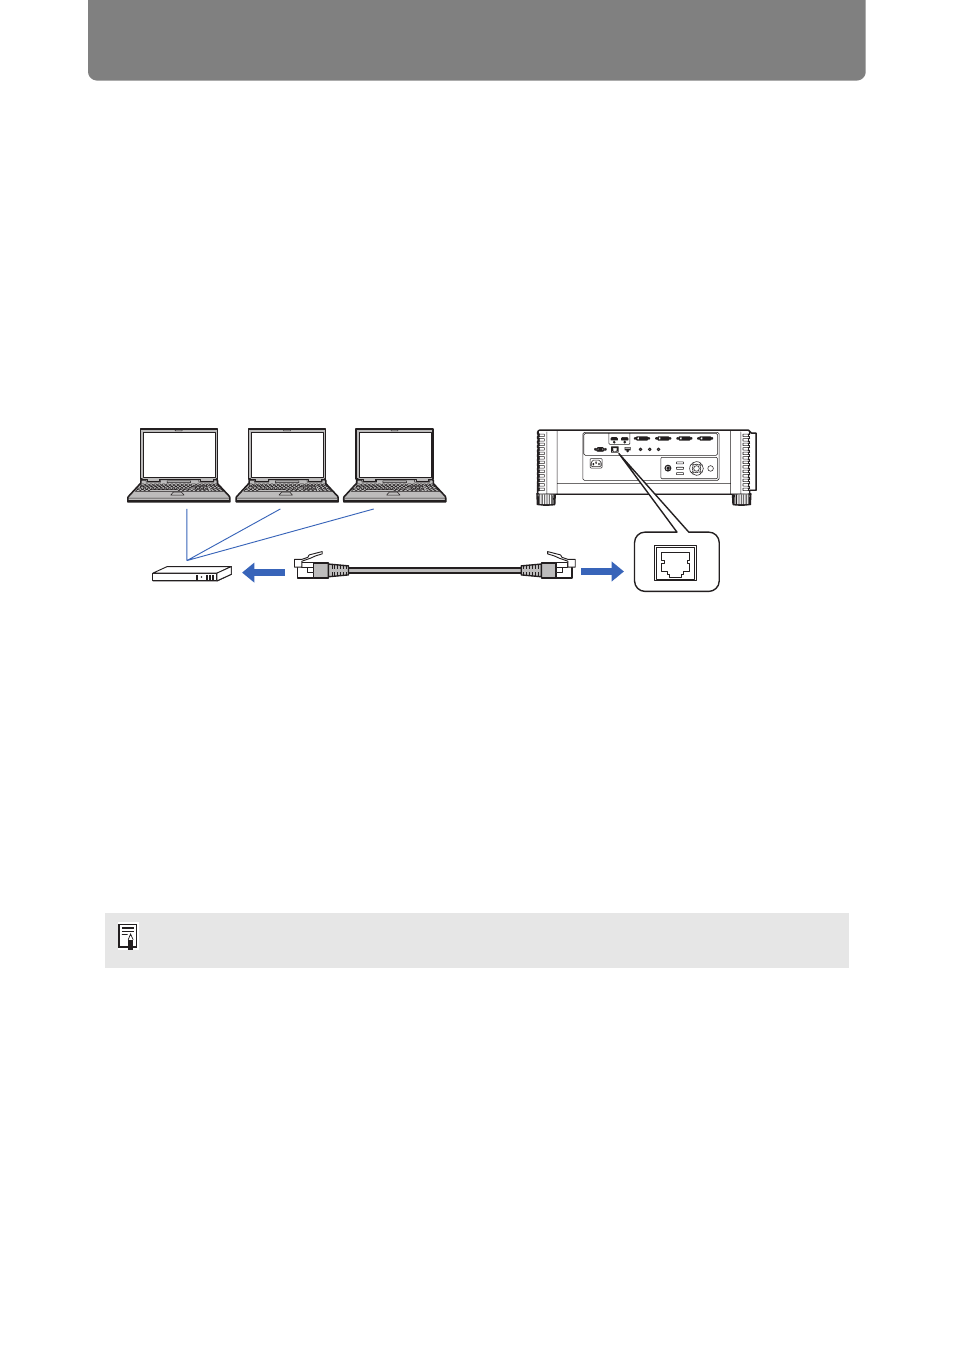
Connection Methods
To connect the projector to a computer network, use a LAN cable.
•
When the [Network function] setting of the projector is set to [Off] (Network
Connections is disabled), switch it to [On] to enable it. (
)
•
Referring to “Checking Projector Information” (
), check that the projector IP
address does not overlap with other computers that are on the same LAN. To set
a projector IP address, follow the instructions in “Completing Computer Settings
for a Network Connection” (
) and use the web screen, or use projector TCP/
IP settings. (
•
When you connect the computer to the network for the first time, it is also
necessary to perform settings on the computer. In this case, consult the network
administrator regarding the necessary settings.
In a network environment where a DHCP server is operating, choose [On] on the
projector [DHCP] screen to enable the DHCP function and connect it. (
)
LAN cable (shielded twisted pair;
not included)
Hub or router, etc.
LAN port