Advanced projection, Basic instructions, P157 – Canon REALiS 4K501ST Pro AV 5000-Lumen LCoS Projector User Manual
Page 157
157
Ad
va
nc
ed
G
uid
e
Ad
va
nced
Pr
oje
ction
Advanced Projection
Projecting from Multiple Projectors at Once
(Edge Blending)
The brightness of overlapping image edges from multiple projectors used together
can be adjusted to make them blend in better.
■
Basic Instructions
Follow these steps when using two projectors side by side.
1
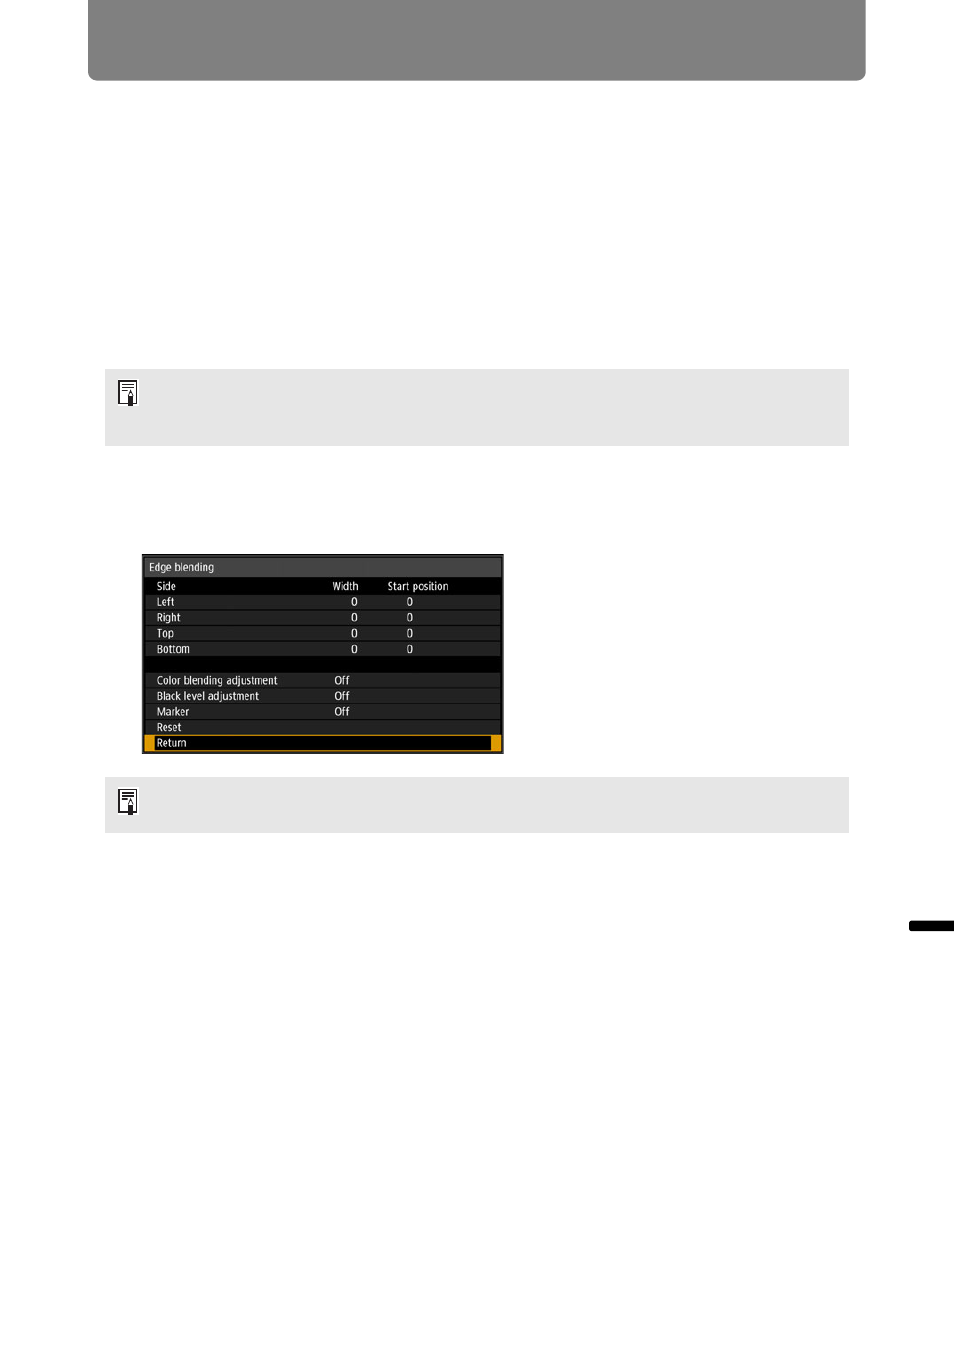
In the [Install settings] menu, select [Professional settings] > [Edge
blending] > [Adjust].
2
Set [Marker] to [On].
Marker lines are projected on the images. The red marker indicates the start
position for adjustment, and the green marker, the end position.
3
Adjust [Start position] for the side where images overlap. Move the start
marker to the outer edge of the overlapping area, or press a number
button on the remote control to specify the start position.
4
Adjust [Width]. Move the end marker to the inner edge of the overlapping
area, or press a number button on the remote control to specify the width
of the area to correct.
The area between the starting and ending markers is called the blending area.
Values indicated for this blending area are adjusted to match manually entered
blending area values. Shading is applied to this area, and the brightness is
adjusted to match portions that overlap with other areas. After you complete
settings for one image, do the same thing for the other one to specify the
blending area. Adjust the settings to make the blending area for each image
the same.
5
Set [Marker] to [Off].
• If you have already completed edge blending settings, selecting [Adjust] will apply
them.
• To redo adjustment from the beginning, select [Reset].
By default, the green and red markers are displayed in the same position, so only the red
marker is visible.