Projection procedure, Step 1 turn the projector on, See “step 1 turn the projector on – Canon REALiS 4K501ST Pro AV 5000-Lumen LCoS Projector User Manual
Page 60
60
Projection Procedure
Step 1 Turn the Projector On
1
Check the connection between the projector and the computer or AV
equipment. (
)
For instructions on connecting the power cord, refer to “Plugging the Projector
In” (
2
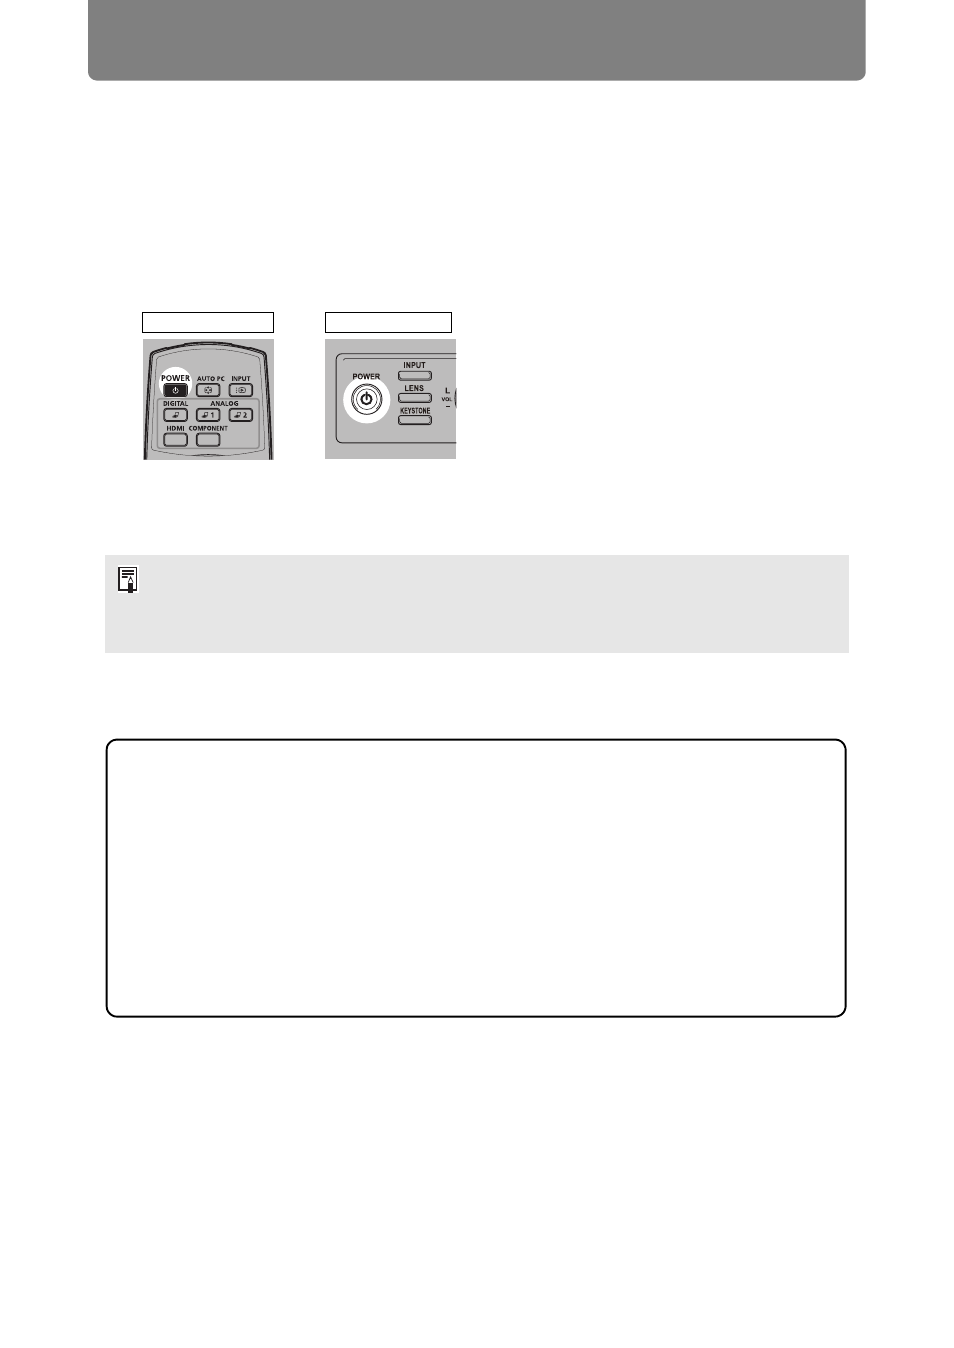
Press the POWER button.
The [POWER] indicator initially flashes green, after which it remains lit.
The countdown window is displayed for approximately 20 seconds, and then
the projection is started. Press the
OK
or
EXIT
button to hide the countdown
window.
3
Turn on the computer or AV equipment power.
Images from the computer or AV equipment are now projected.
• Network functions are not available until about 40 seconds after you plug the projector
in.
• Some noise may appear in the projected image during the first few minutes, until the
image stabilizes.
Remote control
Projector
Changing Operations When Projector is Turned On
You can change operations when the projector is turned on as follows.
•
You can turn on the projector by connecting the power cord, without
pressing the
POWER
button. (
•
You can change the countdown window. (
•
You can skip the countdown window. (
)
When the Projector Is Left Idle
If no signal is received, the power management feature automatically turns off
the projector after a certain period of inactivity (by default, 15 minutes). (