NewTek TriCaster Advanced Edition User Guide User Manual
Page 154
Page | 142
Hint: Don’t overlook the fact that the input Position controls, including Borders, let you create very elaborate
compositions even with these ‘simple’ compositing effects.
The output of active KEY layers is then added to the effect output before passing the combined result onward
as the final M/E output.
A
DVANCED
T
RACKER
(T
RI
C
ASTER
8000)
As we mentioned, effects can be ‘simple’ compositing effects, like most of the Default group, or more
advanced. Before considering TriCaster’s virtual set system (a.k.a, LiveSet™), let’s talk about some of the
other effect types. Effects can vary widely in their types, from relatively simple utilities effects to image
processing or advanced compositing effects.
For example, we mentioned that one member of the Default group is unique.
The Advanced Tracking effect takes three video sources as input to produce a result
that would otherwise require the use of an additional M/E.
Set up this effect as follows:
1. Click the label above the Effect icon, and use the Media Browser to select the
Advanced Tracking effect from the Default group.
2. Add the clip named Tracking Example.mov (NewTek>Green Screen group) to the
playlist for DDR 1.
3. Enable Loop mode for DDR 1.
4. Add the clip named “Bumper Cars.mov” (NewTek>Clips group) to DDR 2, set it to Loop as well.
5. Add an attractive full frame graphic to the GFX 1 player.
6. Select M/E 1 on the main Switcher’s Program row, to make it easy to view the result of the following
steps.
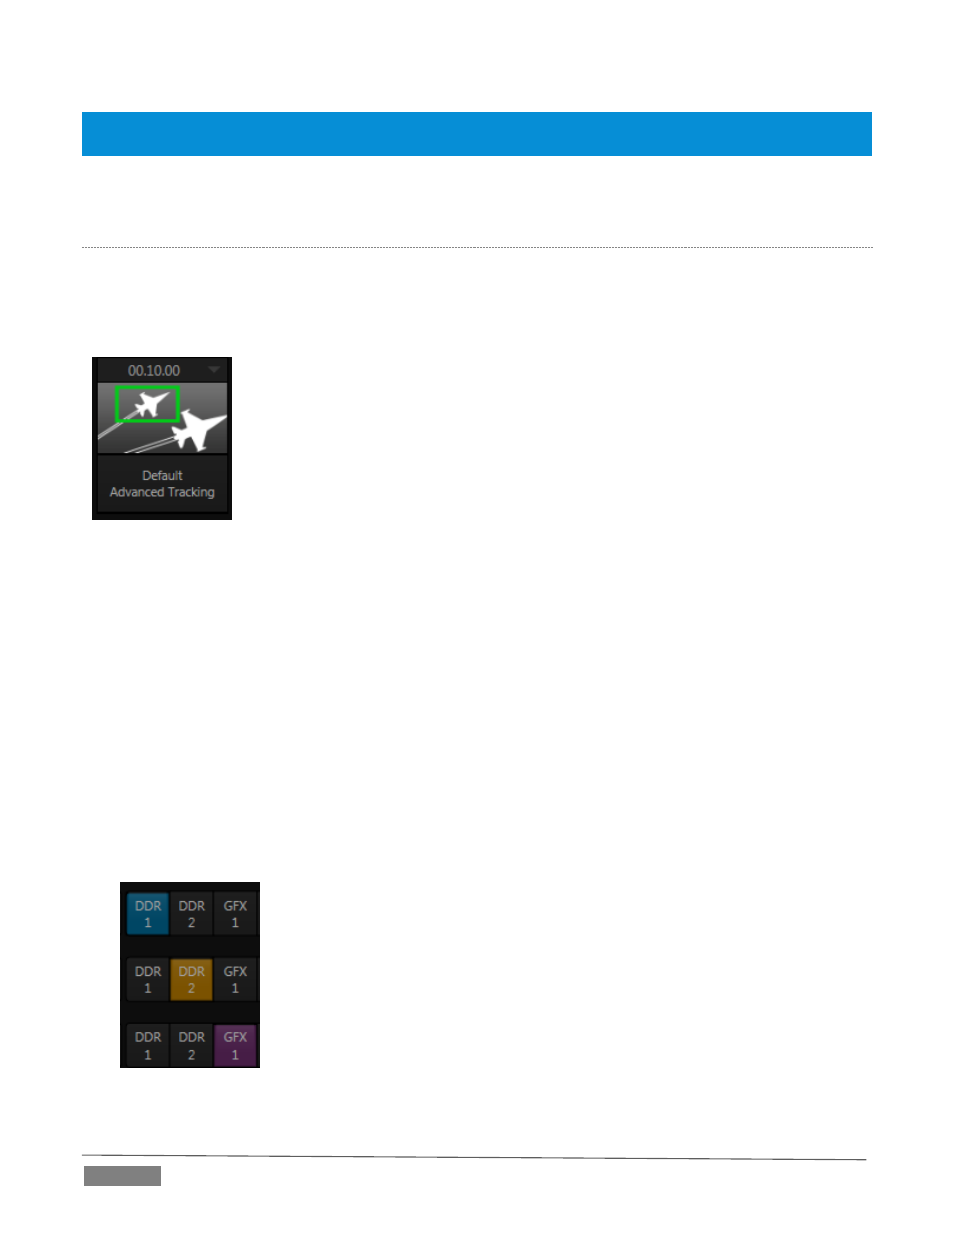
FIGURE 166
7. In the M/E 1 tab, select DDR 1 on the input A row.
8. Select DDR 2 as input B.
9. Select GFX 1 as input C.
10. Double-click the monitor for DDR 1 to open its Input Configuration panel.
FIGURE 165