1 ivga for os x – NewTek TriCaster Advanced Edition User Guide User Manual
Page 182
Page | 170
16.1.1
IVGA FOR OS X
The iVGA installation for OS X is supplied as a zipped disk image (.dmg) file. To install it, first copy this file to
your Macintosh® Desktop (either using a network connection between your Macintosh® and TriCaster
systems, or perhaps by using a USB thumb drive).
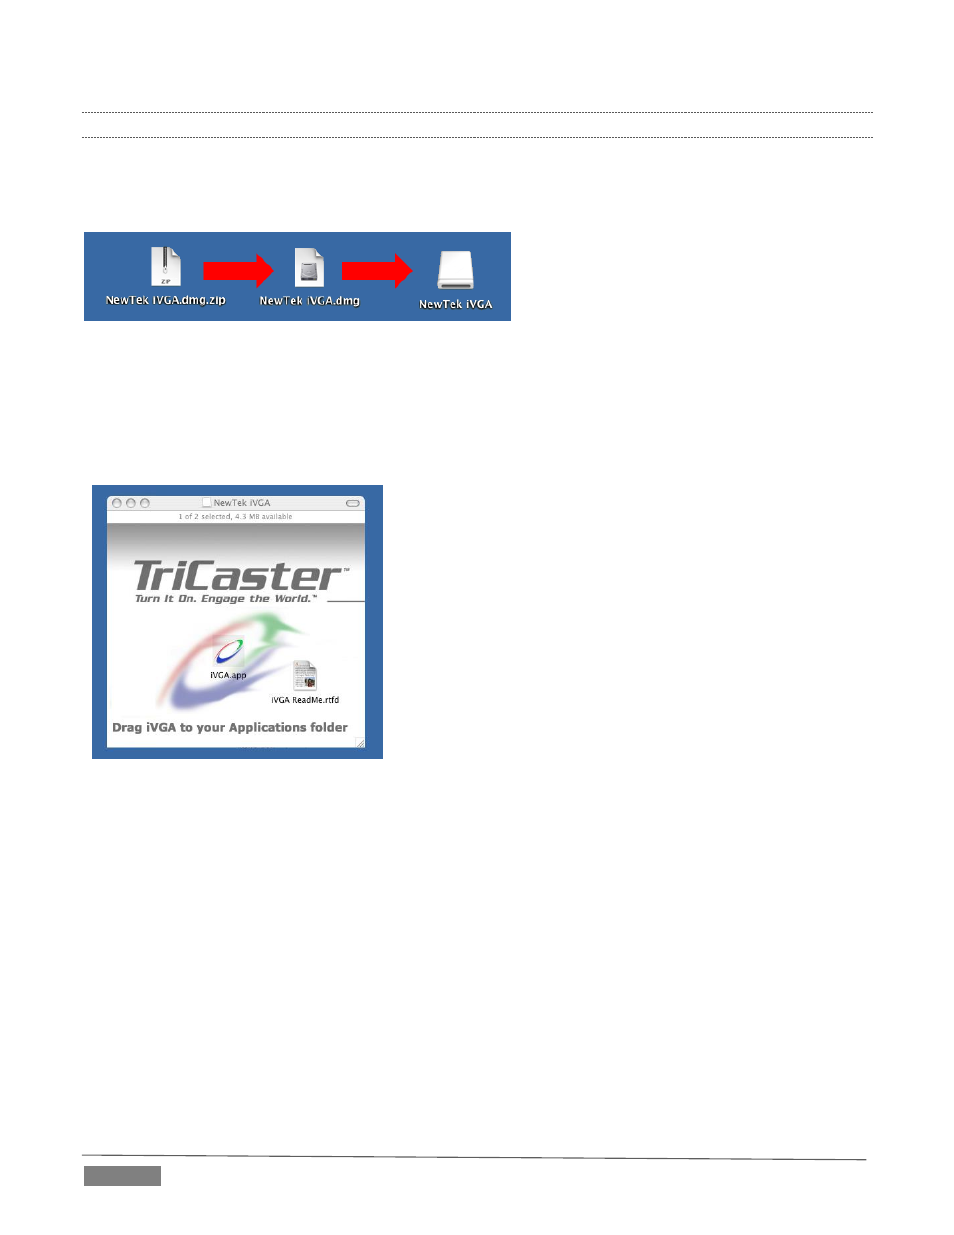
FIGURE 209
Double-click the Zip file to decompress it, and then double-click the .dmg file to mount it.
The NewTek iVGA icon shown above will be placed on your Desktop. Open it (by double-clicking, and you
will see two files in a Finder window – the readme file, and the iVGA client program.
FIGURE 210
Drag the iVGA icon from the finder to your Applications folder.
Run it by double-clicking the icon, and in a moment or two the
iVGA swirl will be placed in your Dock, and an onscreen dialog
reporting ‘iVGA Ready and listening!’
When you roll your mouse over the Net 1 or Net 2 monitors in
TriCaster’s All Monitors tab, a triangular button appears next to
the Configure button (gear). The new source (your ‘Mac’ desktop)
will be listed in the drop-down selection menu that opens when
you click the triangle.
When iVGA is running, the icon in the (OS X) Dock has a menu you can access by right-clicking it:
Engaging Privacy Mode prevents the client display from appearing accidentally on the TriCaster
display when you don’t want it to.
Keynote Mode allows the iVGA client to update the screen even if Keynote® is running. (This also can
be used with some games, though the framerate will likely be only one frame per second.)
Hide the mouse cursor in output with the Hide Mouse option.
Show either desktop monitor when you have more than one attached using the Monitor 1 or Monitor
2 options in the menu.
The Options list contains settings for Open at Login, Remove from Dock, and Show in Finder.