Add to – NewTek TriCaster Advanced Edition User Guide User Manual
Page 222
Page | 210
A
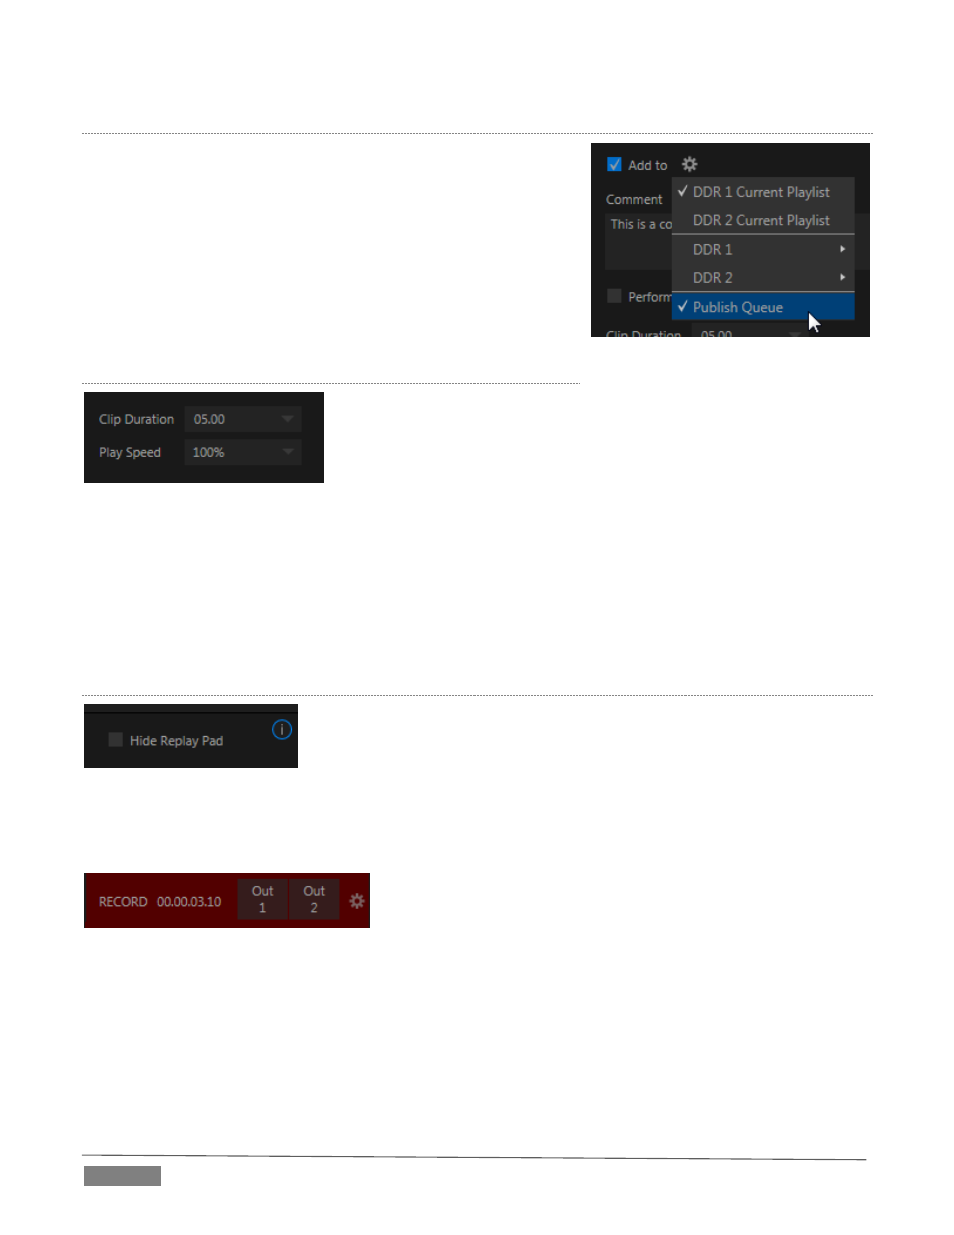
DD TO
Enable the switch next to the Add to label to automatically send
newly-created clips to the target(s) you choose in the menu that
opens when you click the gear at right.
You can choose Current Playlist options for either DDR, or collate the
clips into different MEM slots.
Enabling the Publish Queue option will send clips to the Publish Bin,
and – if Auto Queue is enabled for Clips – these will be immediately
queued for handling by the Publish processor.
C
LIP
D
URATION AND
P
LAY
S
PEED
FIGURE 258
Let’s spend a moment on these two controls before getting into the more interesting bits.
Clip Duration, as you’d expect, determines the length of clips added to the DDRs or Publish Bin. (Note
that this control accepts values typed directly, up to 30 seconds.)
Play Speed affects clips added to DDRs only, pre-setting their individual playback speed to the value
you select here.
T
HE
R
EPLAY
P
AD
FIGURE 259
The nearby Hide Replay Pad option does just what you’d expect. But – what is the Replay Pad, and why would
you want to hide it?
FIGURE 260
TriCaster Advanced Edition makes it easy to send clips from any recorder defined in the Capture tab to a DDR
or to the Publish module. Notice the two buttons (labeled “Out 1” and “Out 2”) just left of the configuration
gear in Figure 247. This is the Replay Pad area. The button labels show which sources are assigned to the
corresponding recorders. The Replay Pad can show up to eight buttons, depending on your TriCaster model.
FIGURE 257